How to Assemble Your Home Reformer
A step-by-step guide to setting up your Pronto Home Reformer. No special tools required.
What you’ll need
- Toolkit (included with your reformer)
- Phillips-head screwdriver
- Pliers
- A clean, flat surface
- About 30 minutes
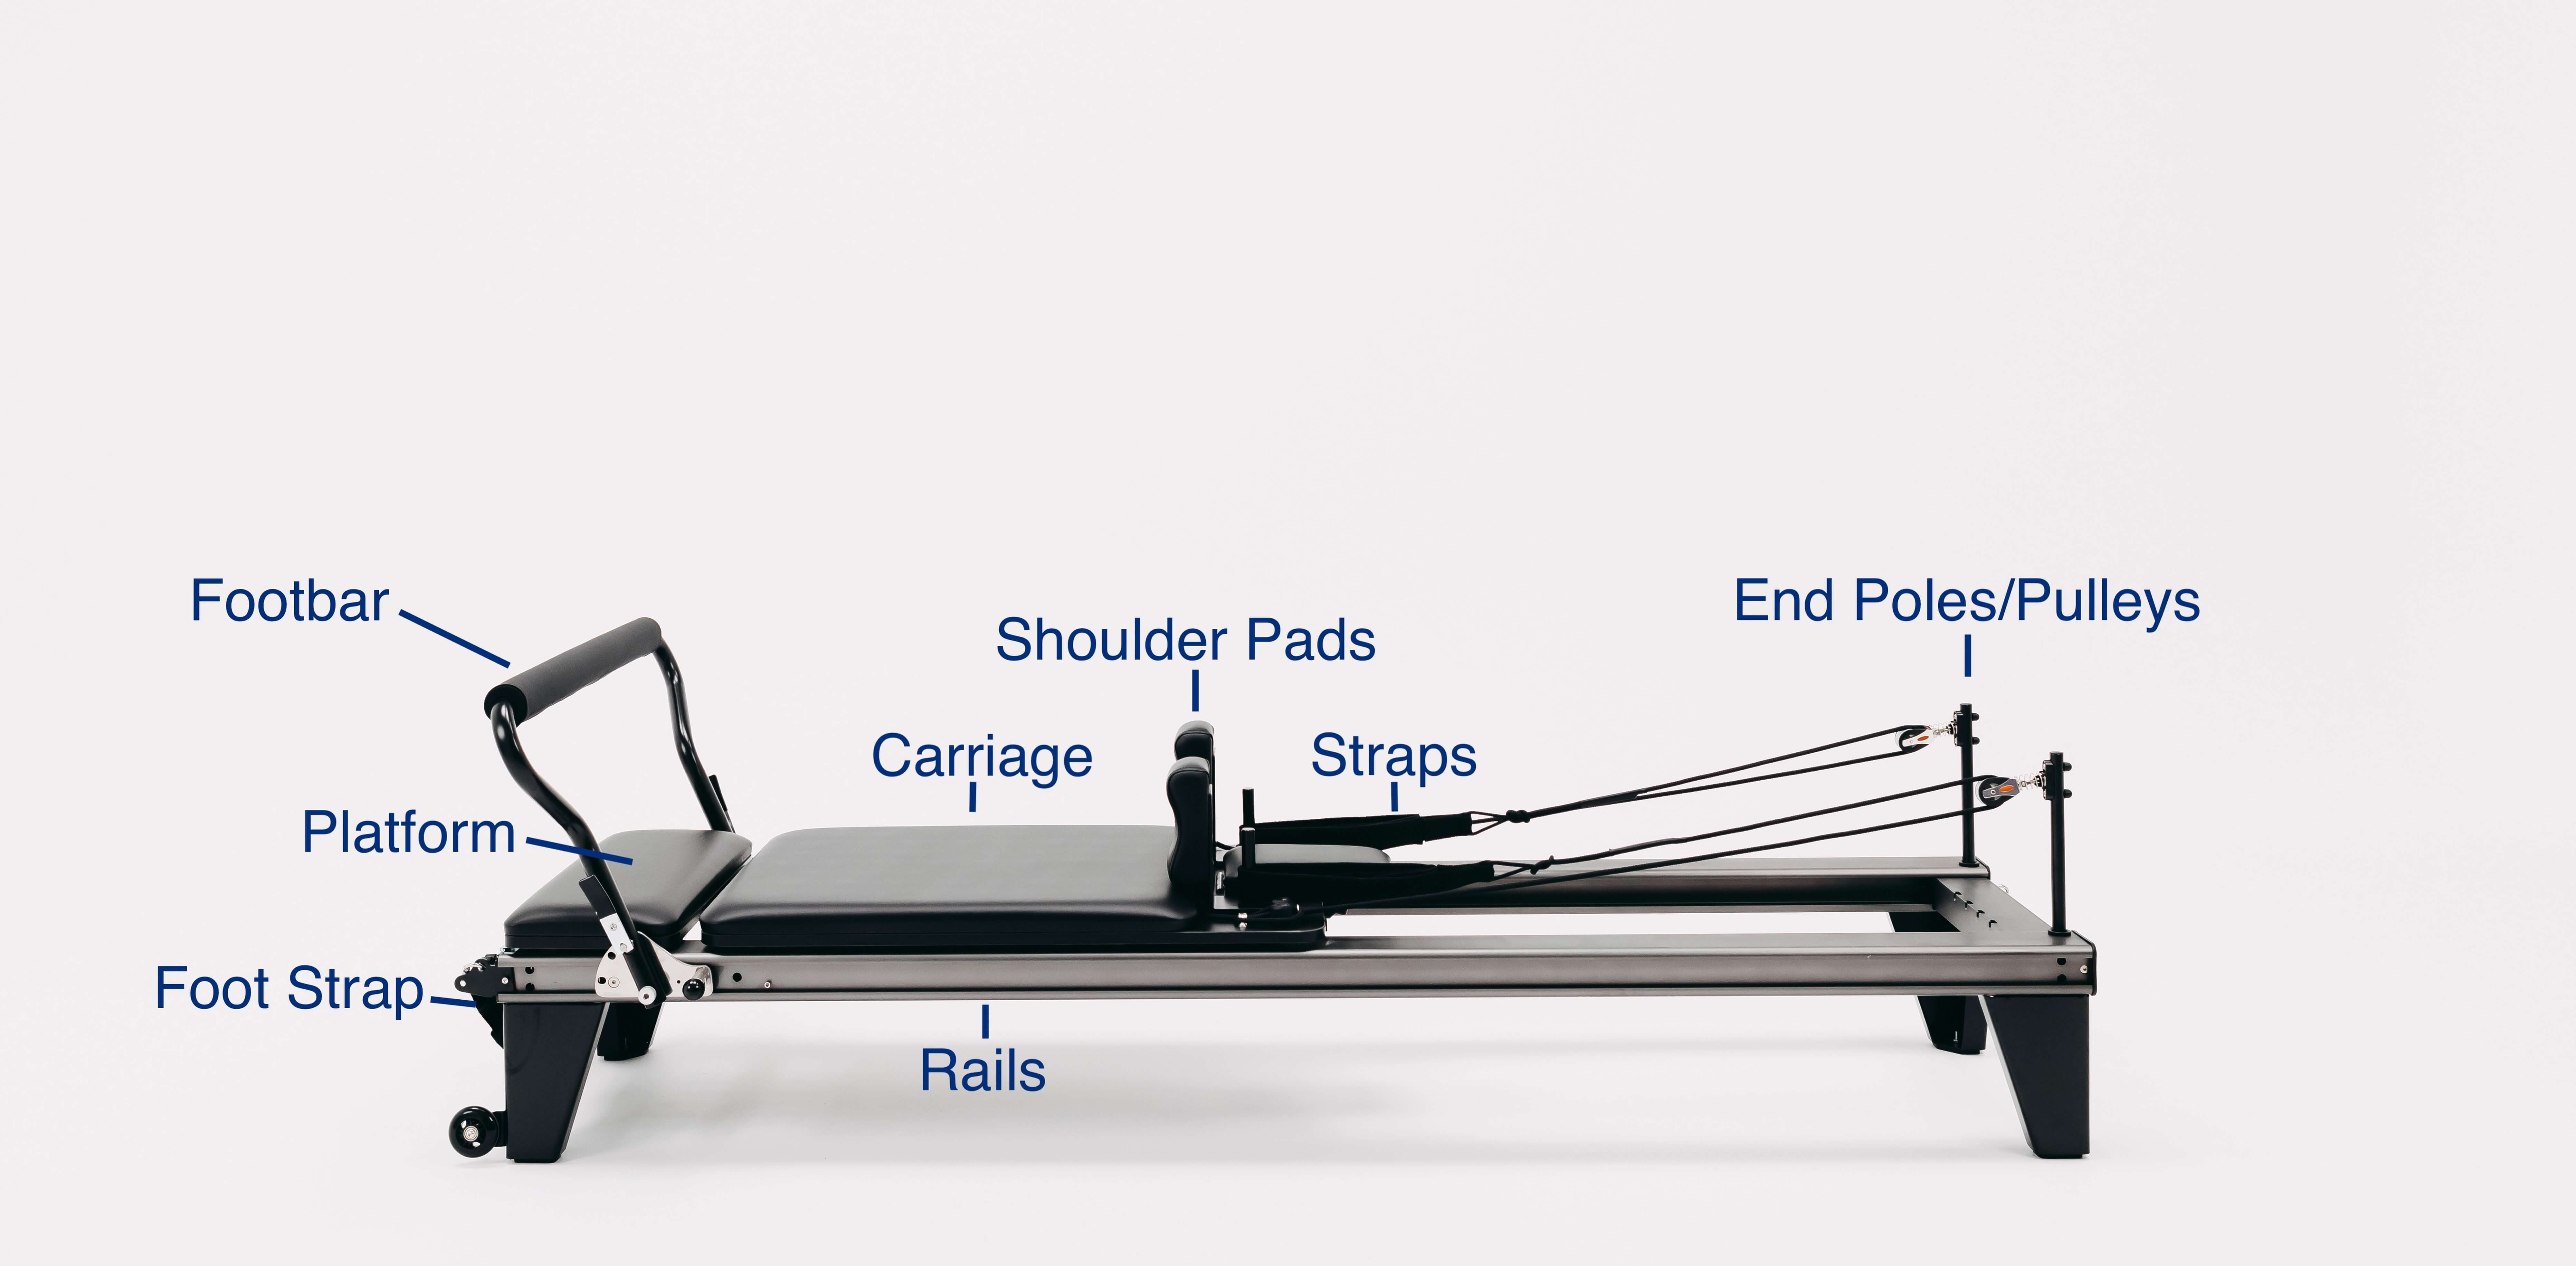
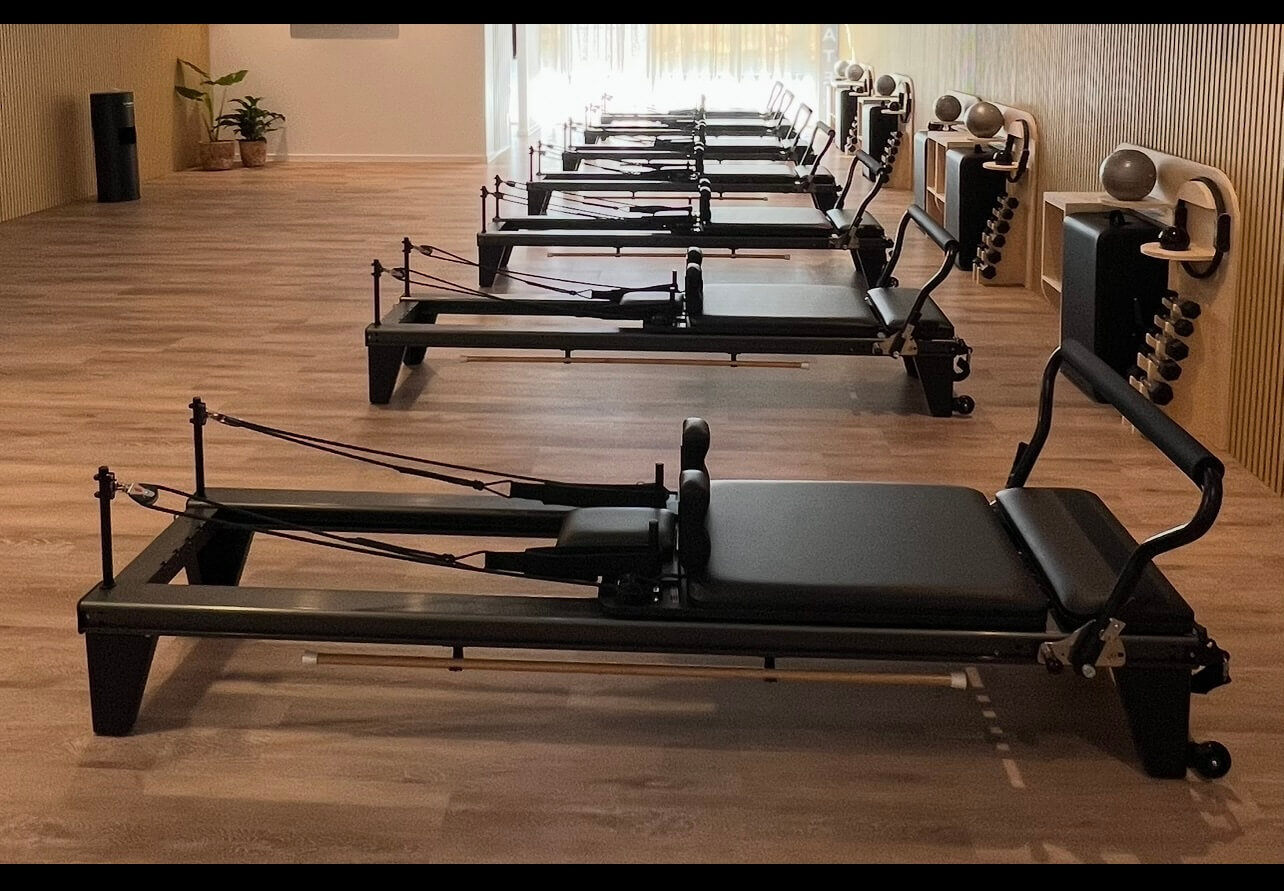
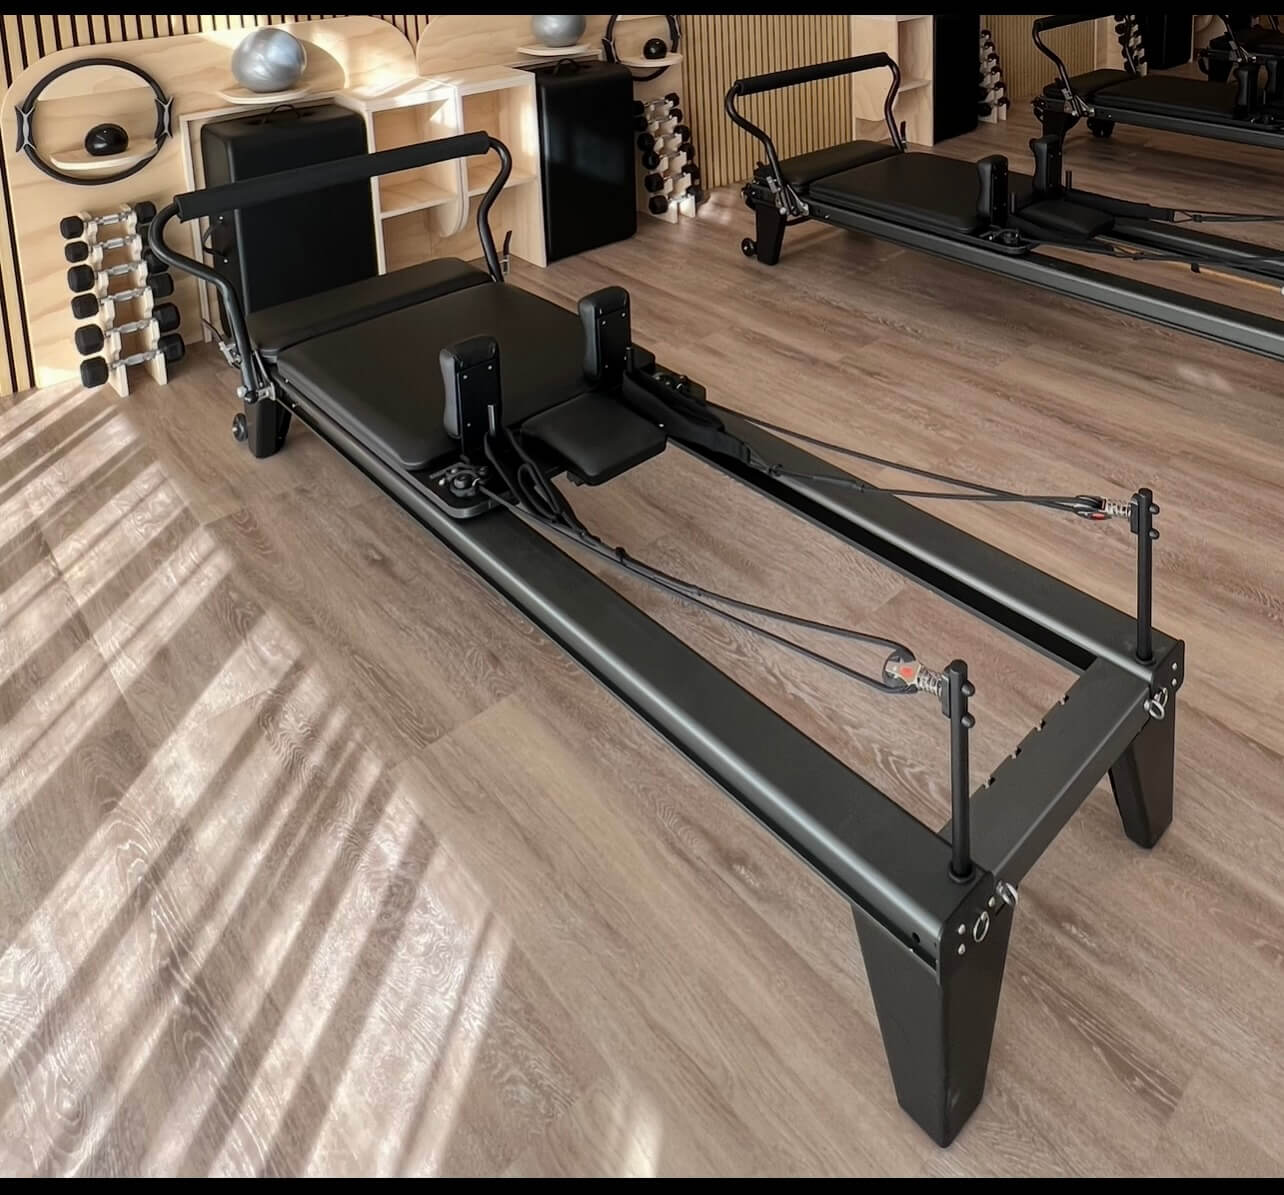
Know your reformer
Familiarise yourself with the parts before you start.
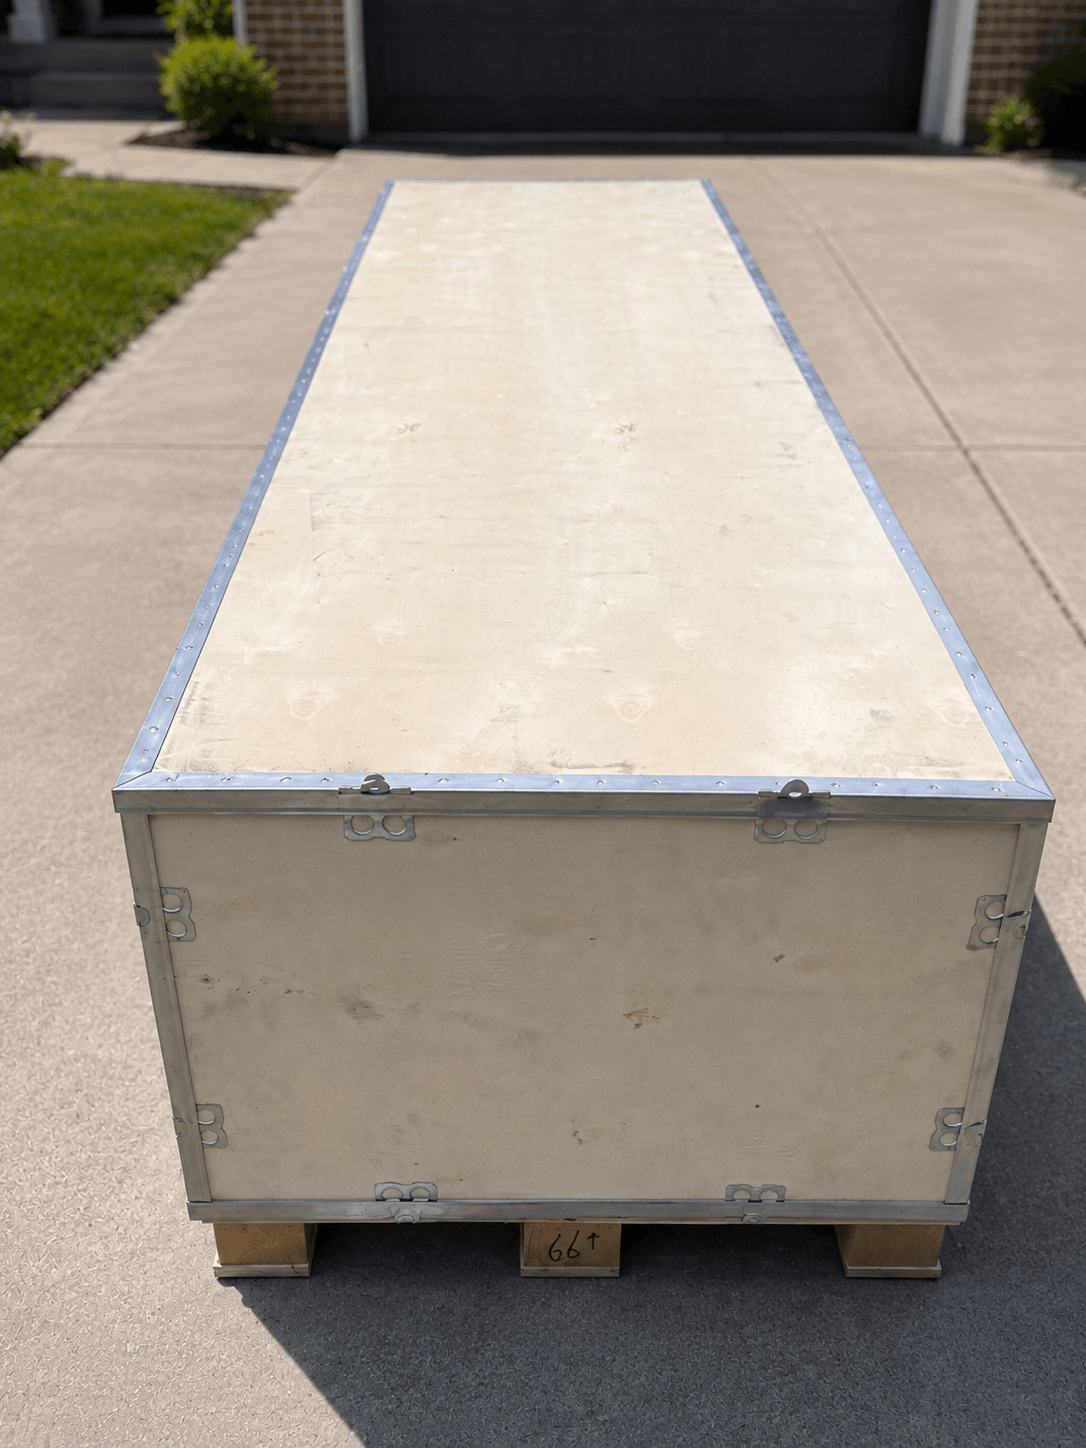
Open the crate
Use some pliers to lift the metal tabs on the wooden crate, then take the lid off to access your reformer.
Unbox your reformer
Carefully remove the reformer from its packaging. Lay out all components on a clean, flat surface. Check that nothing has been damaged during transit.

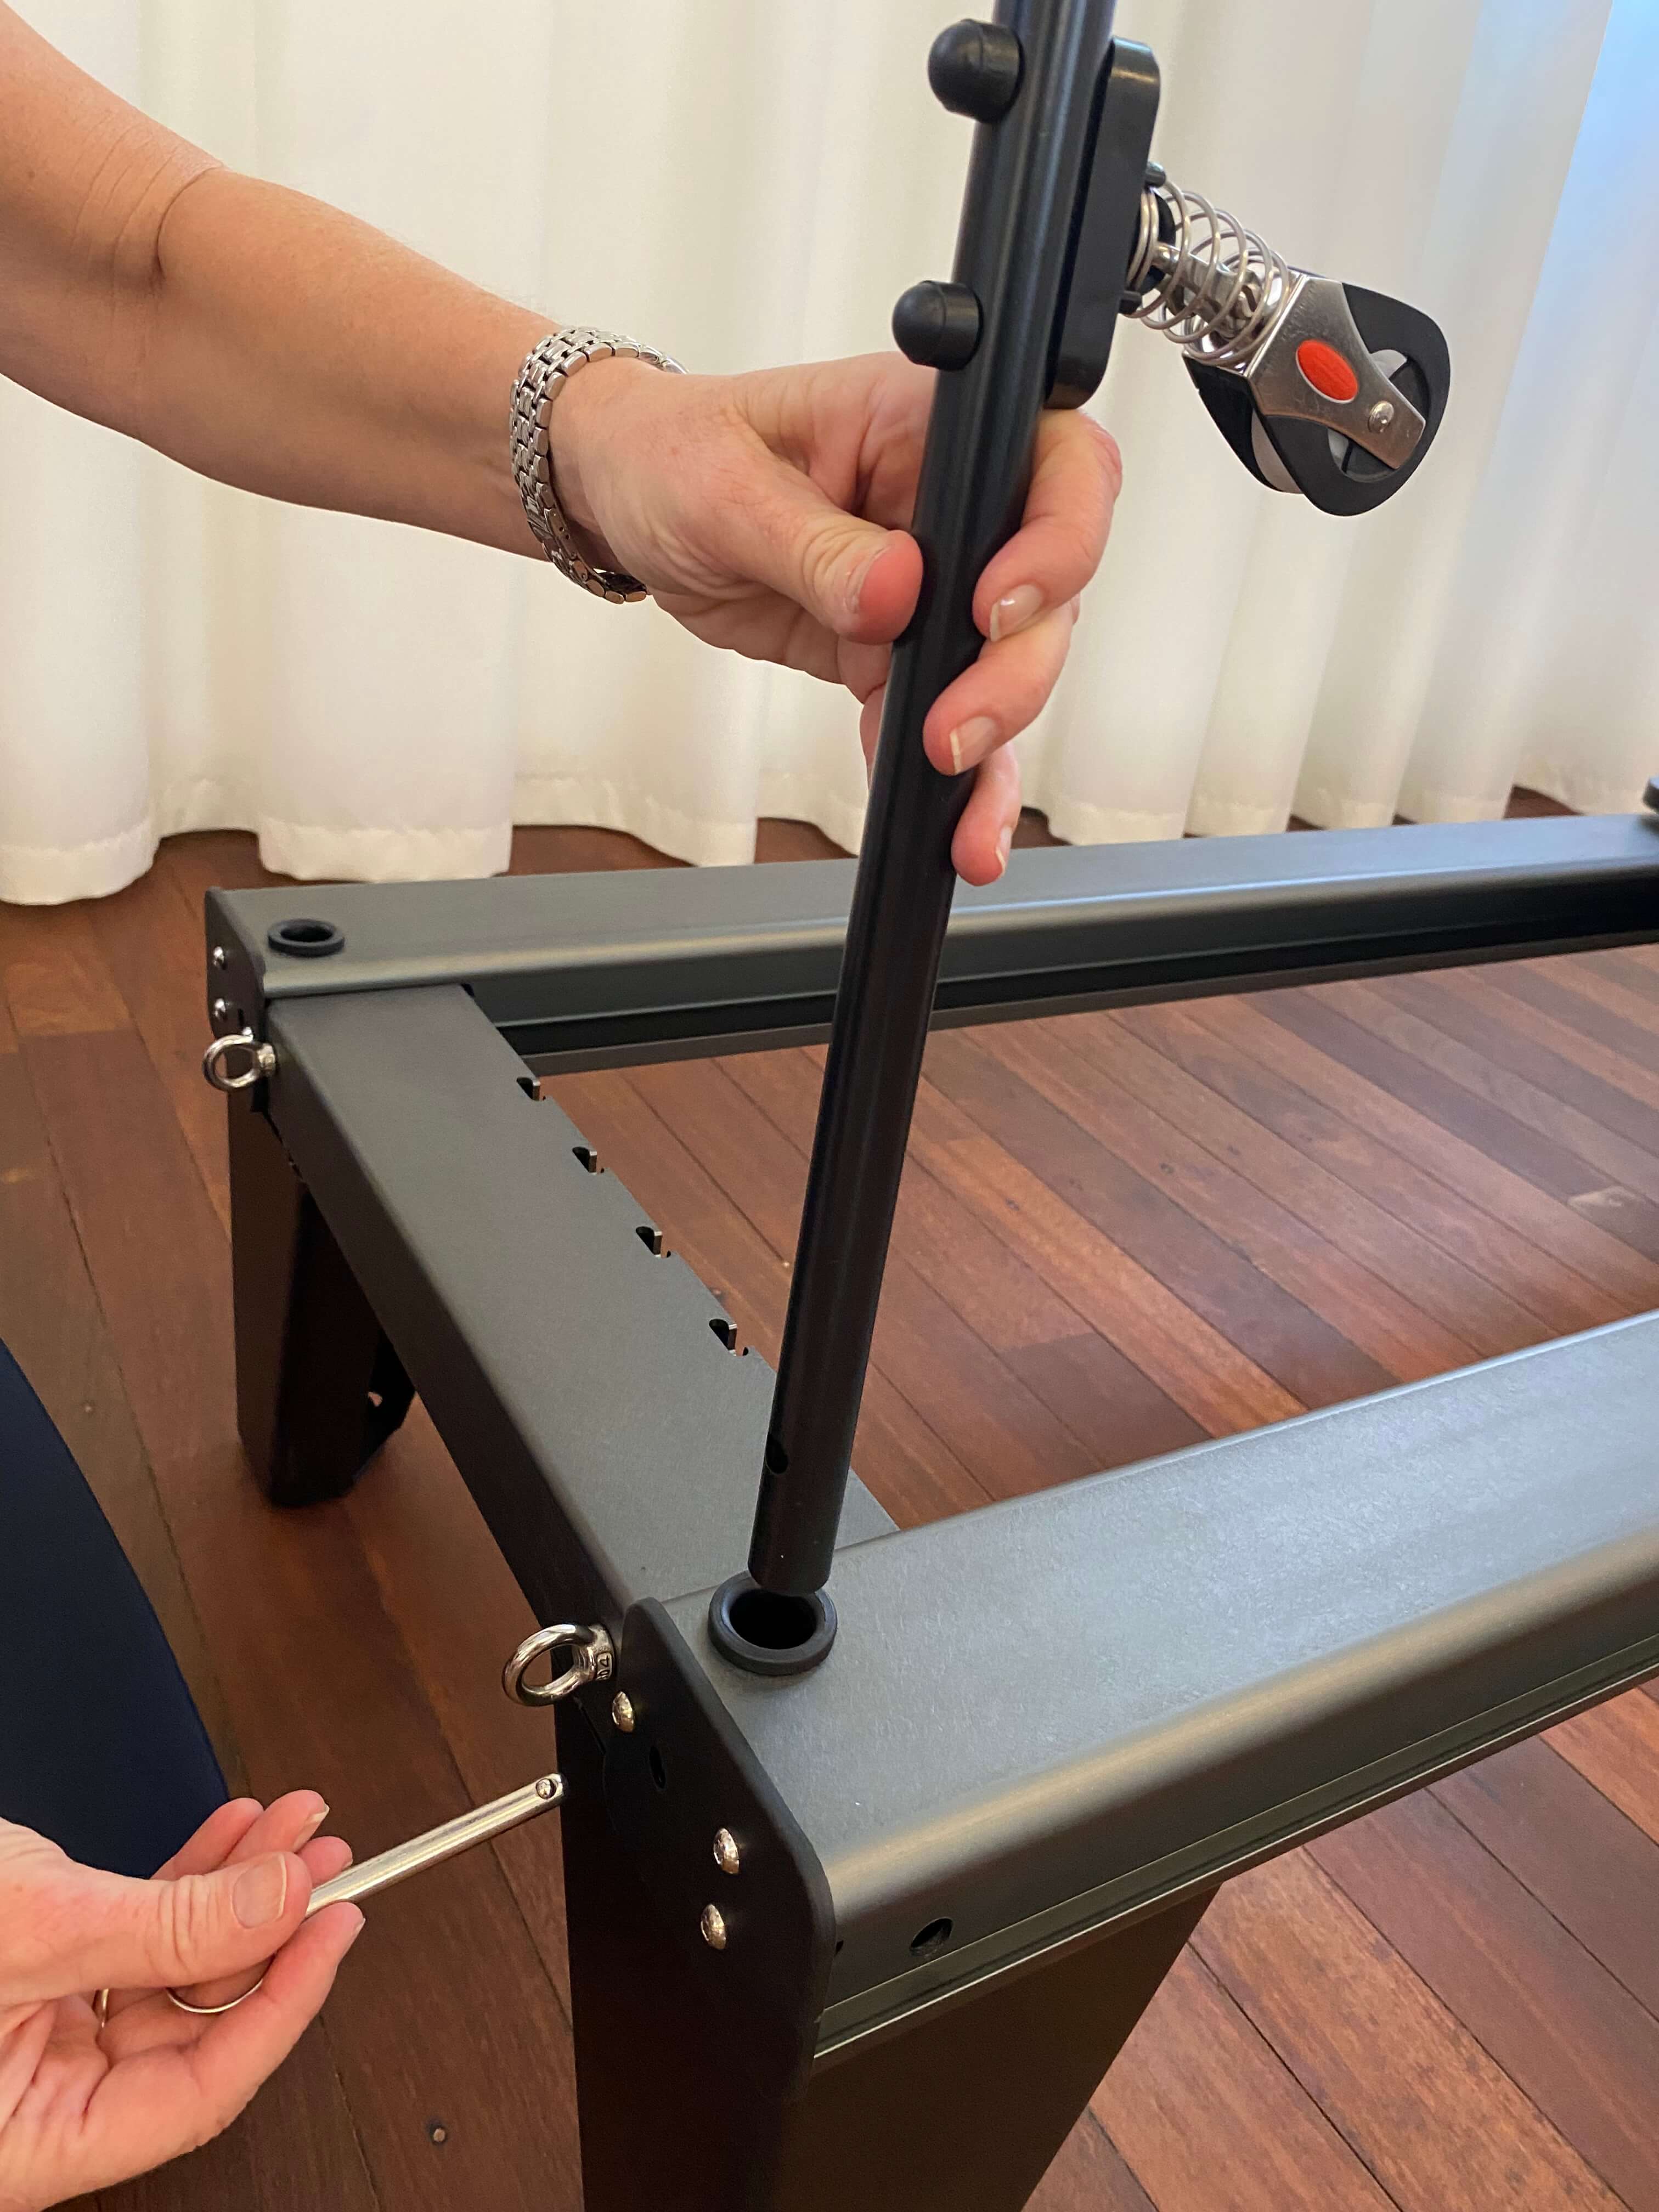
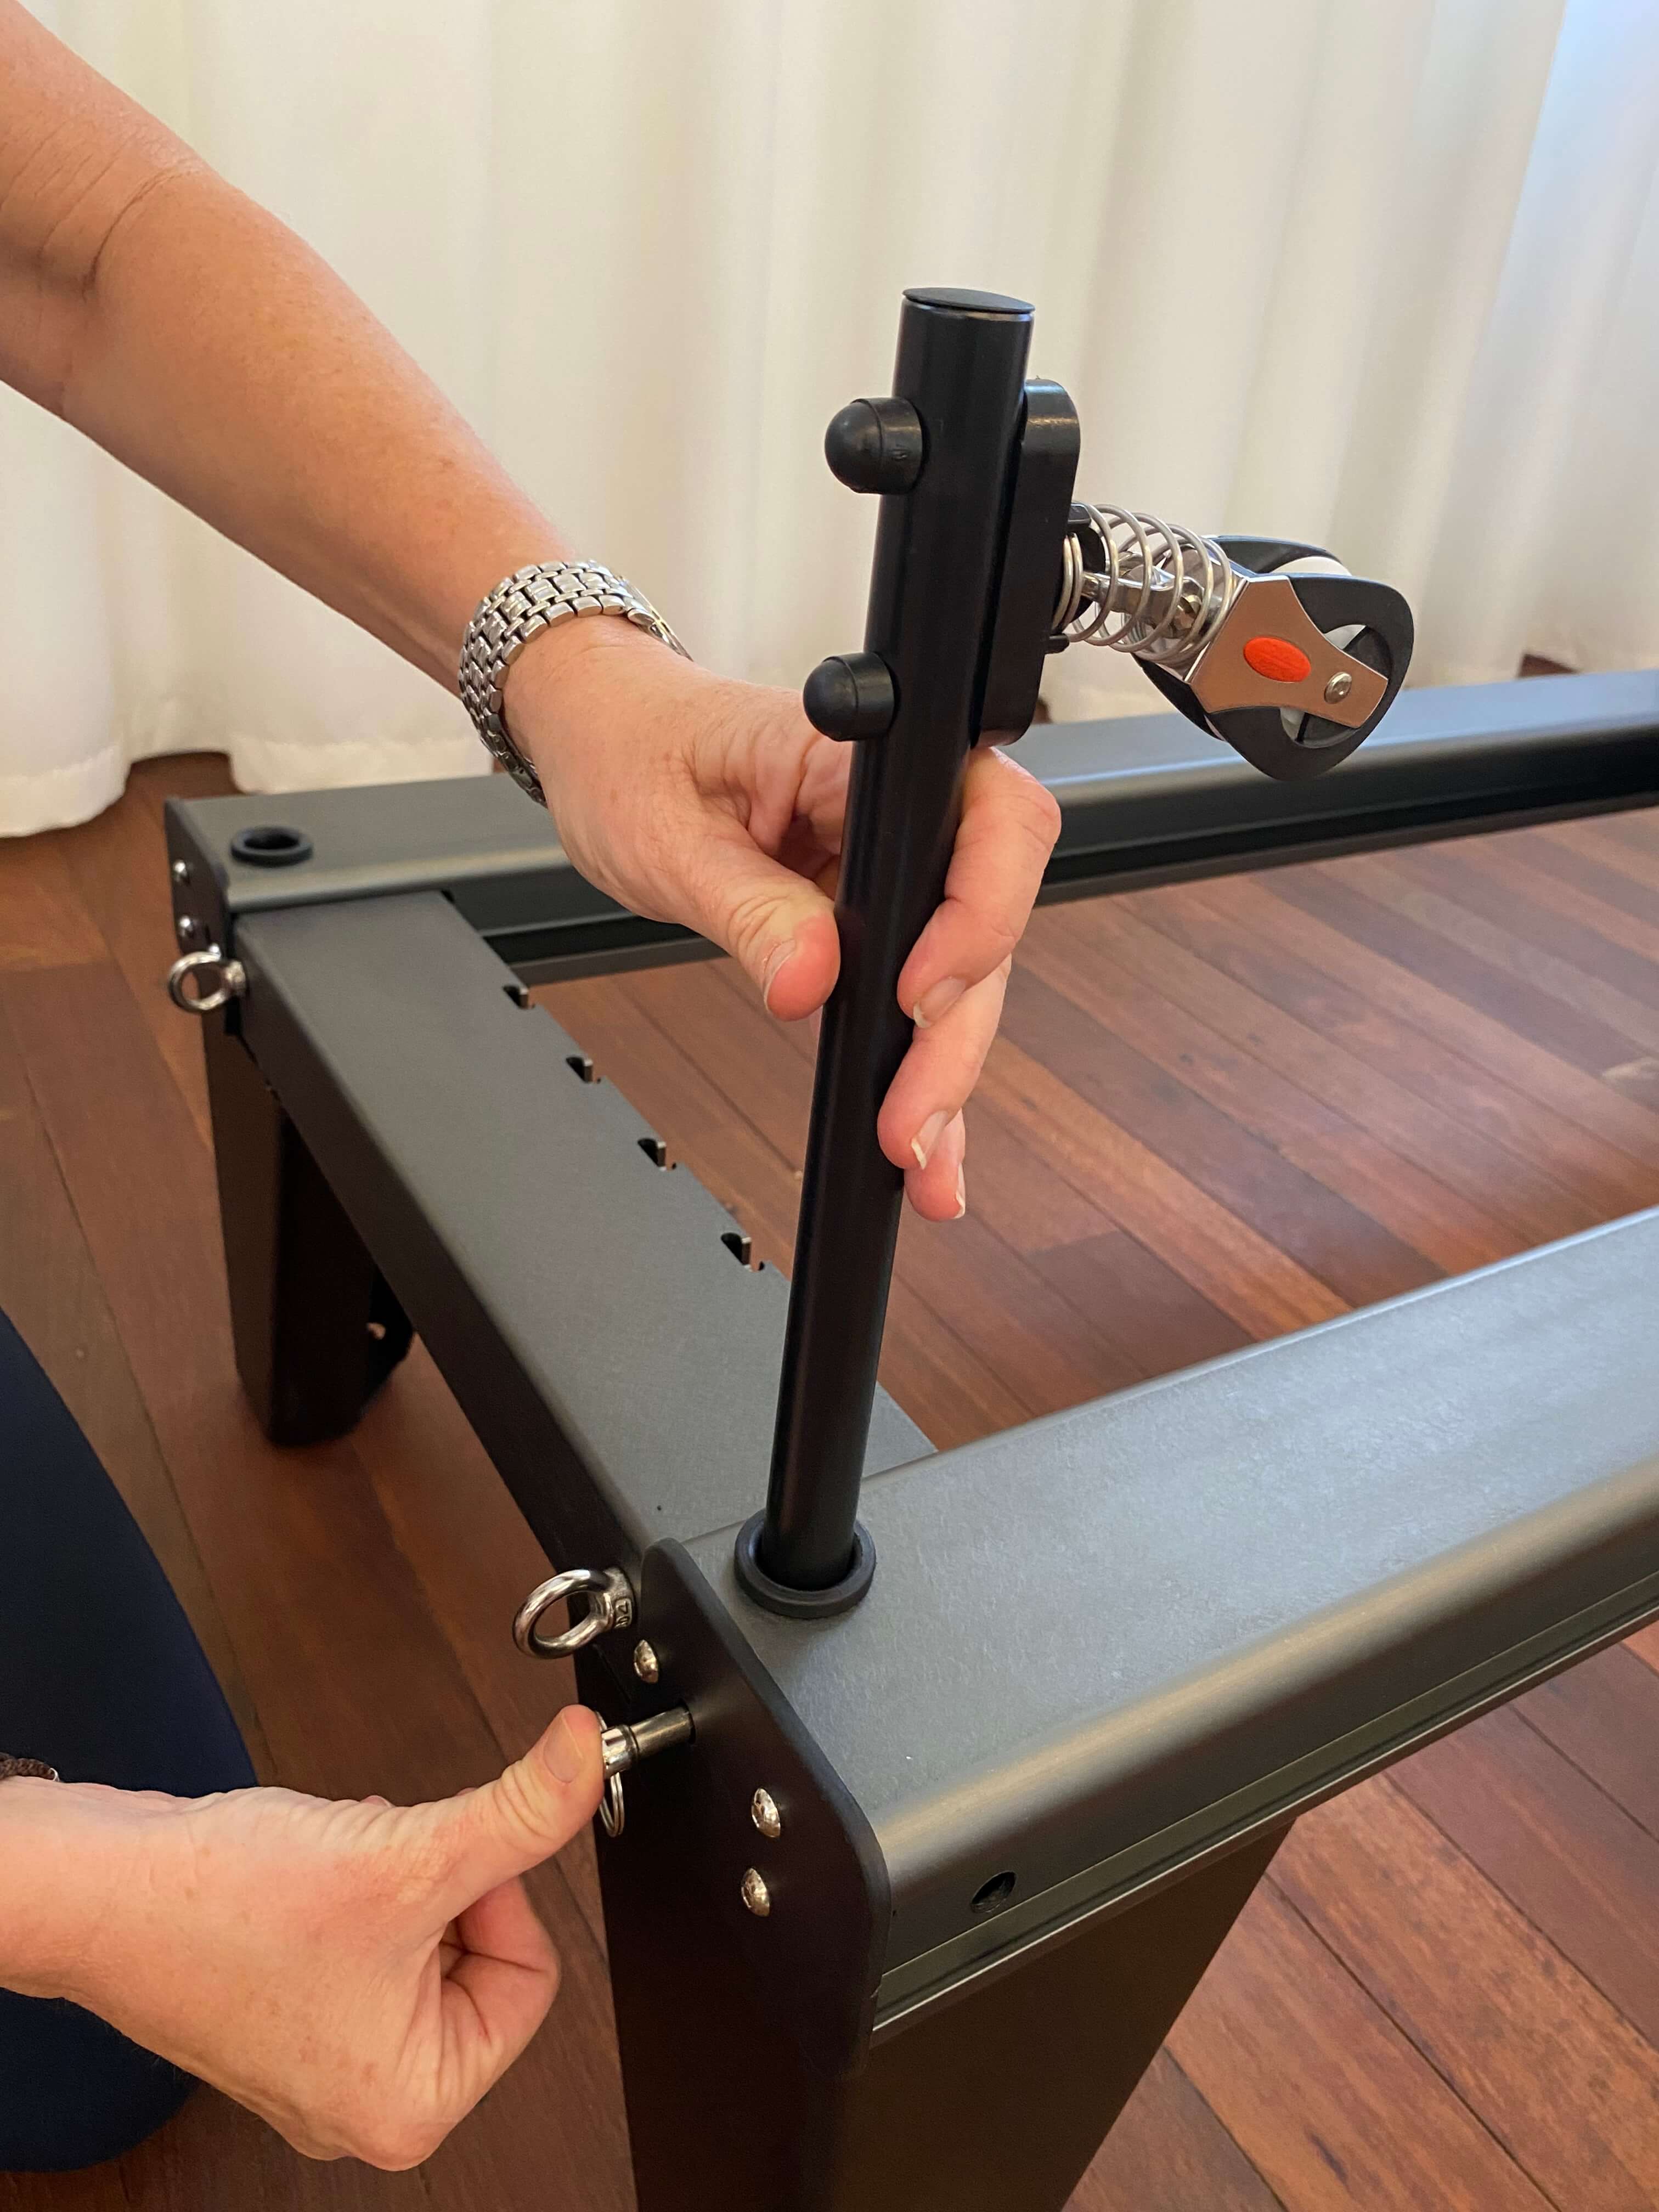
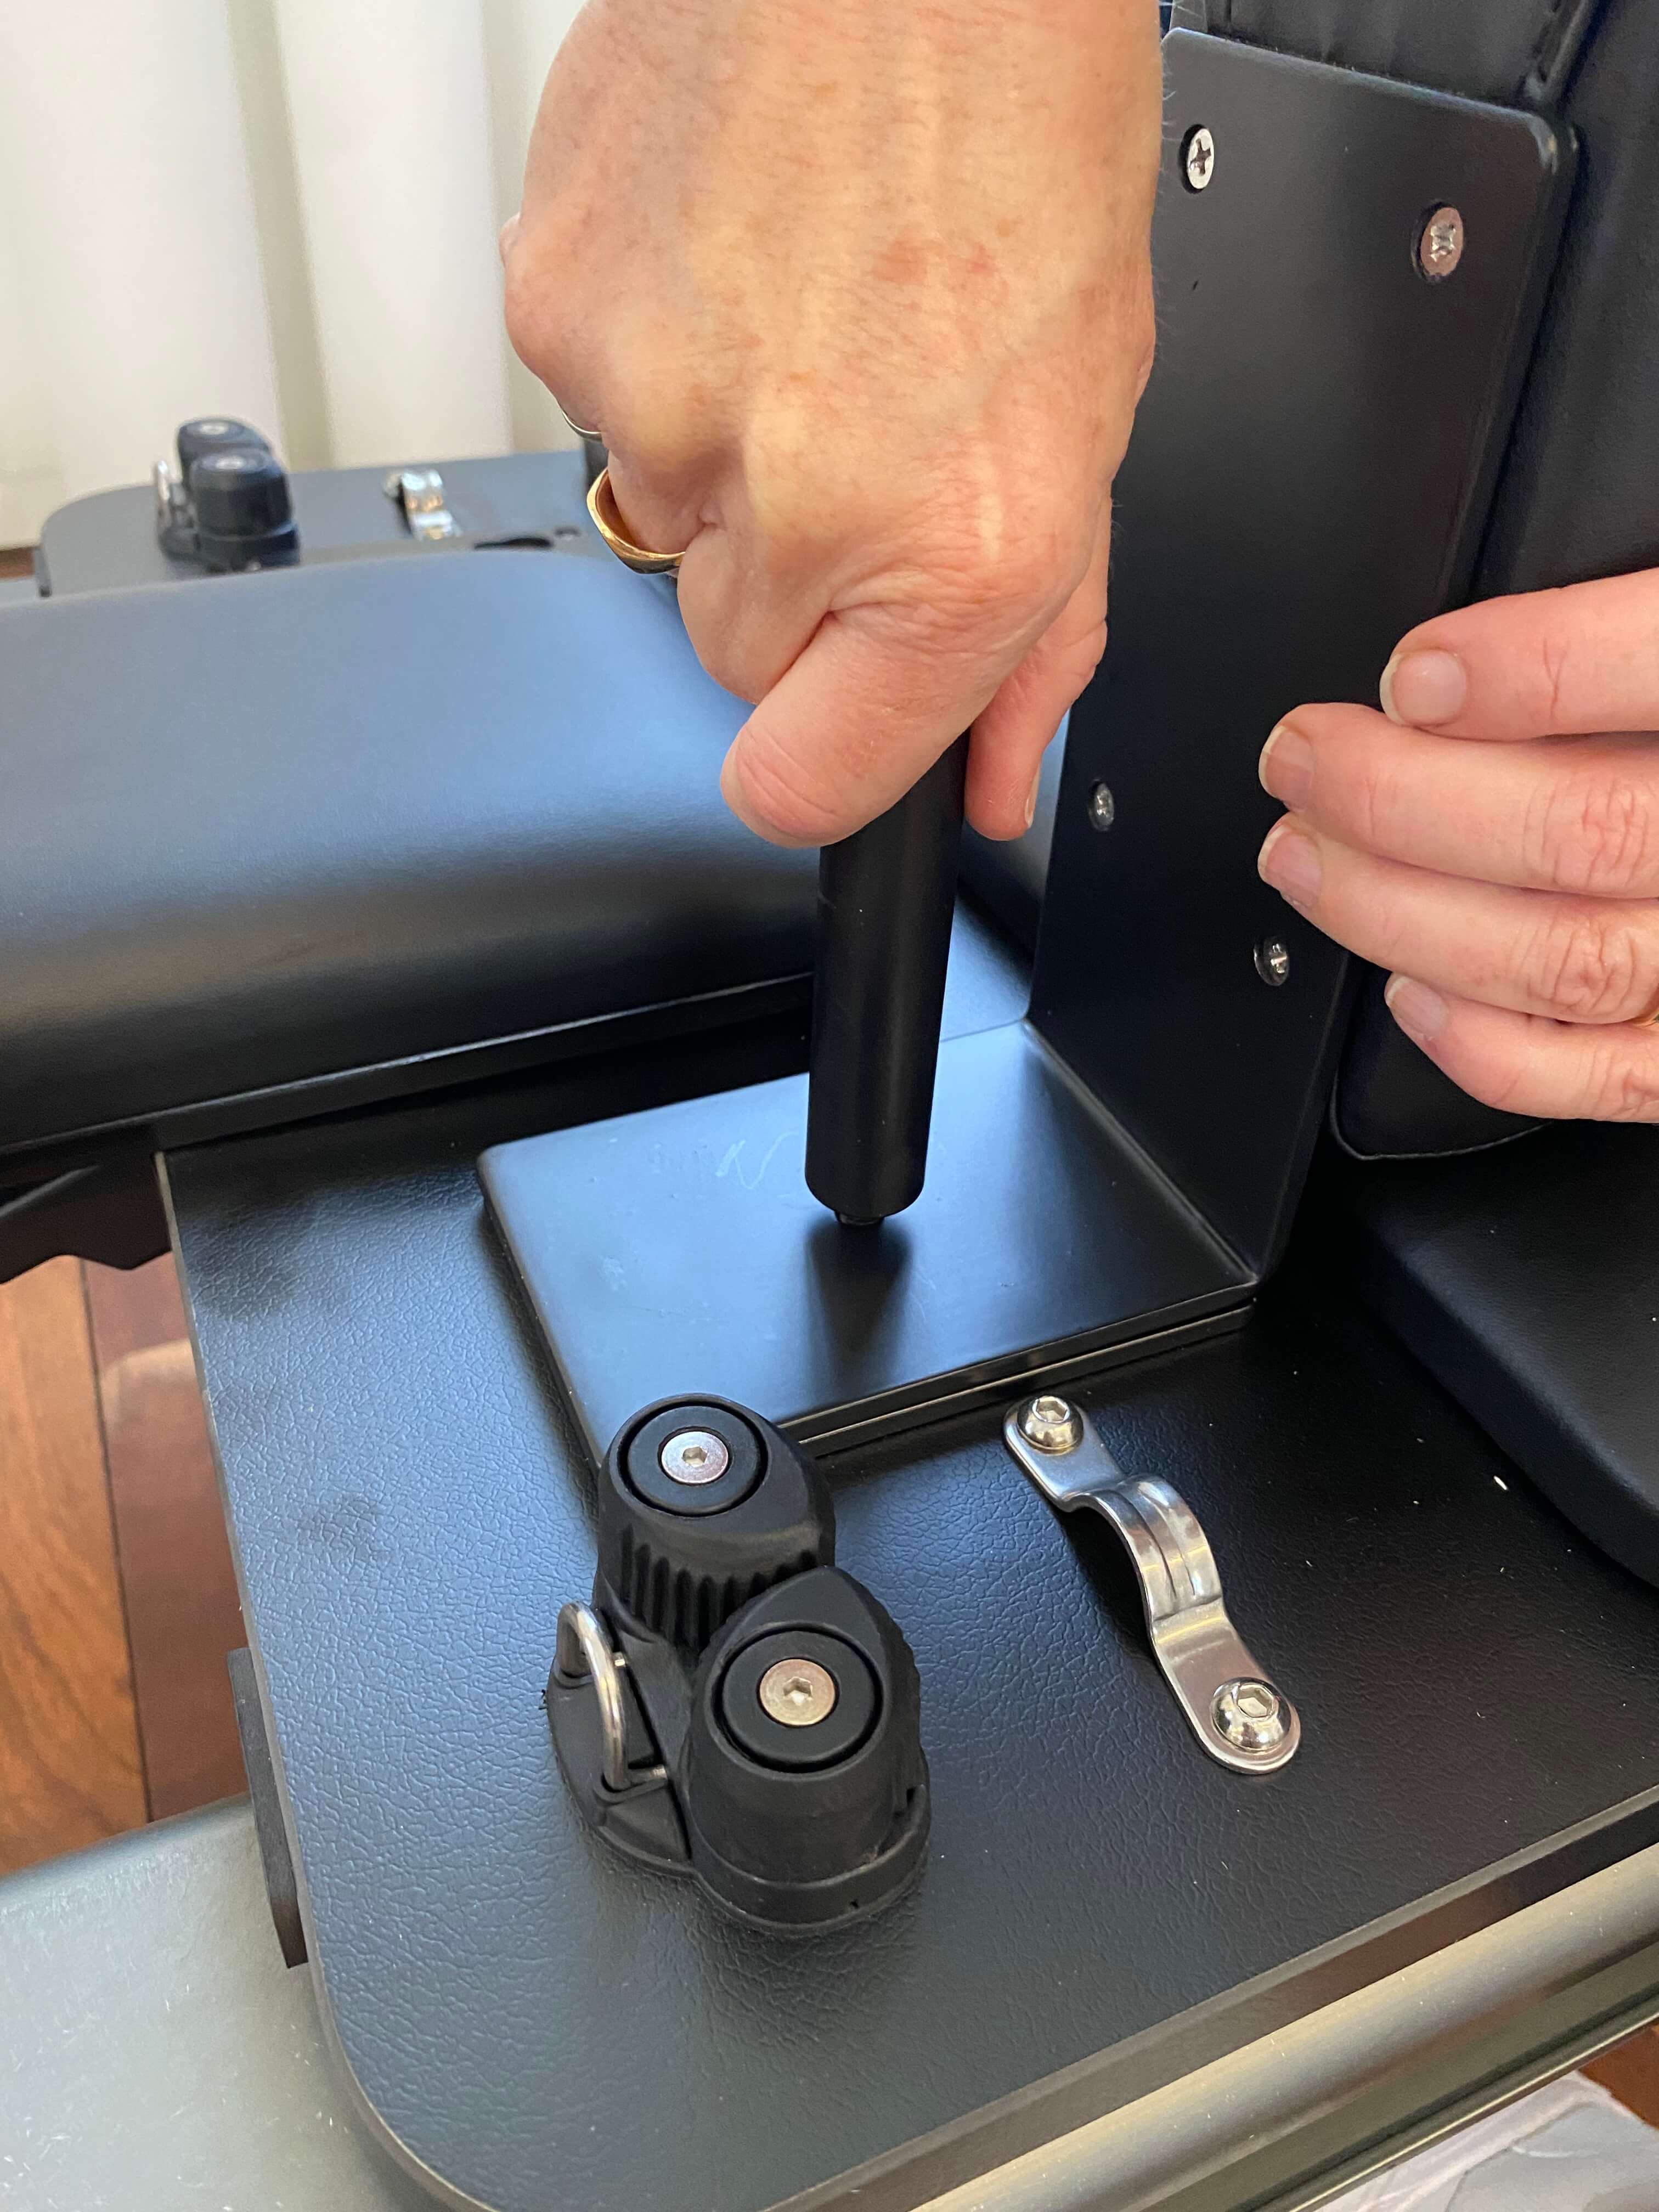
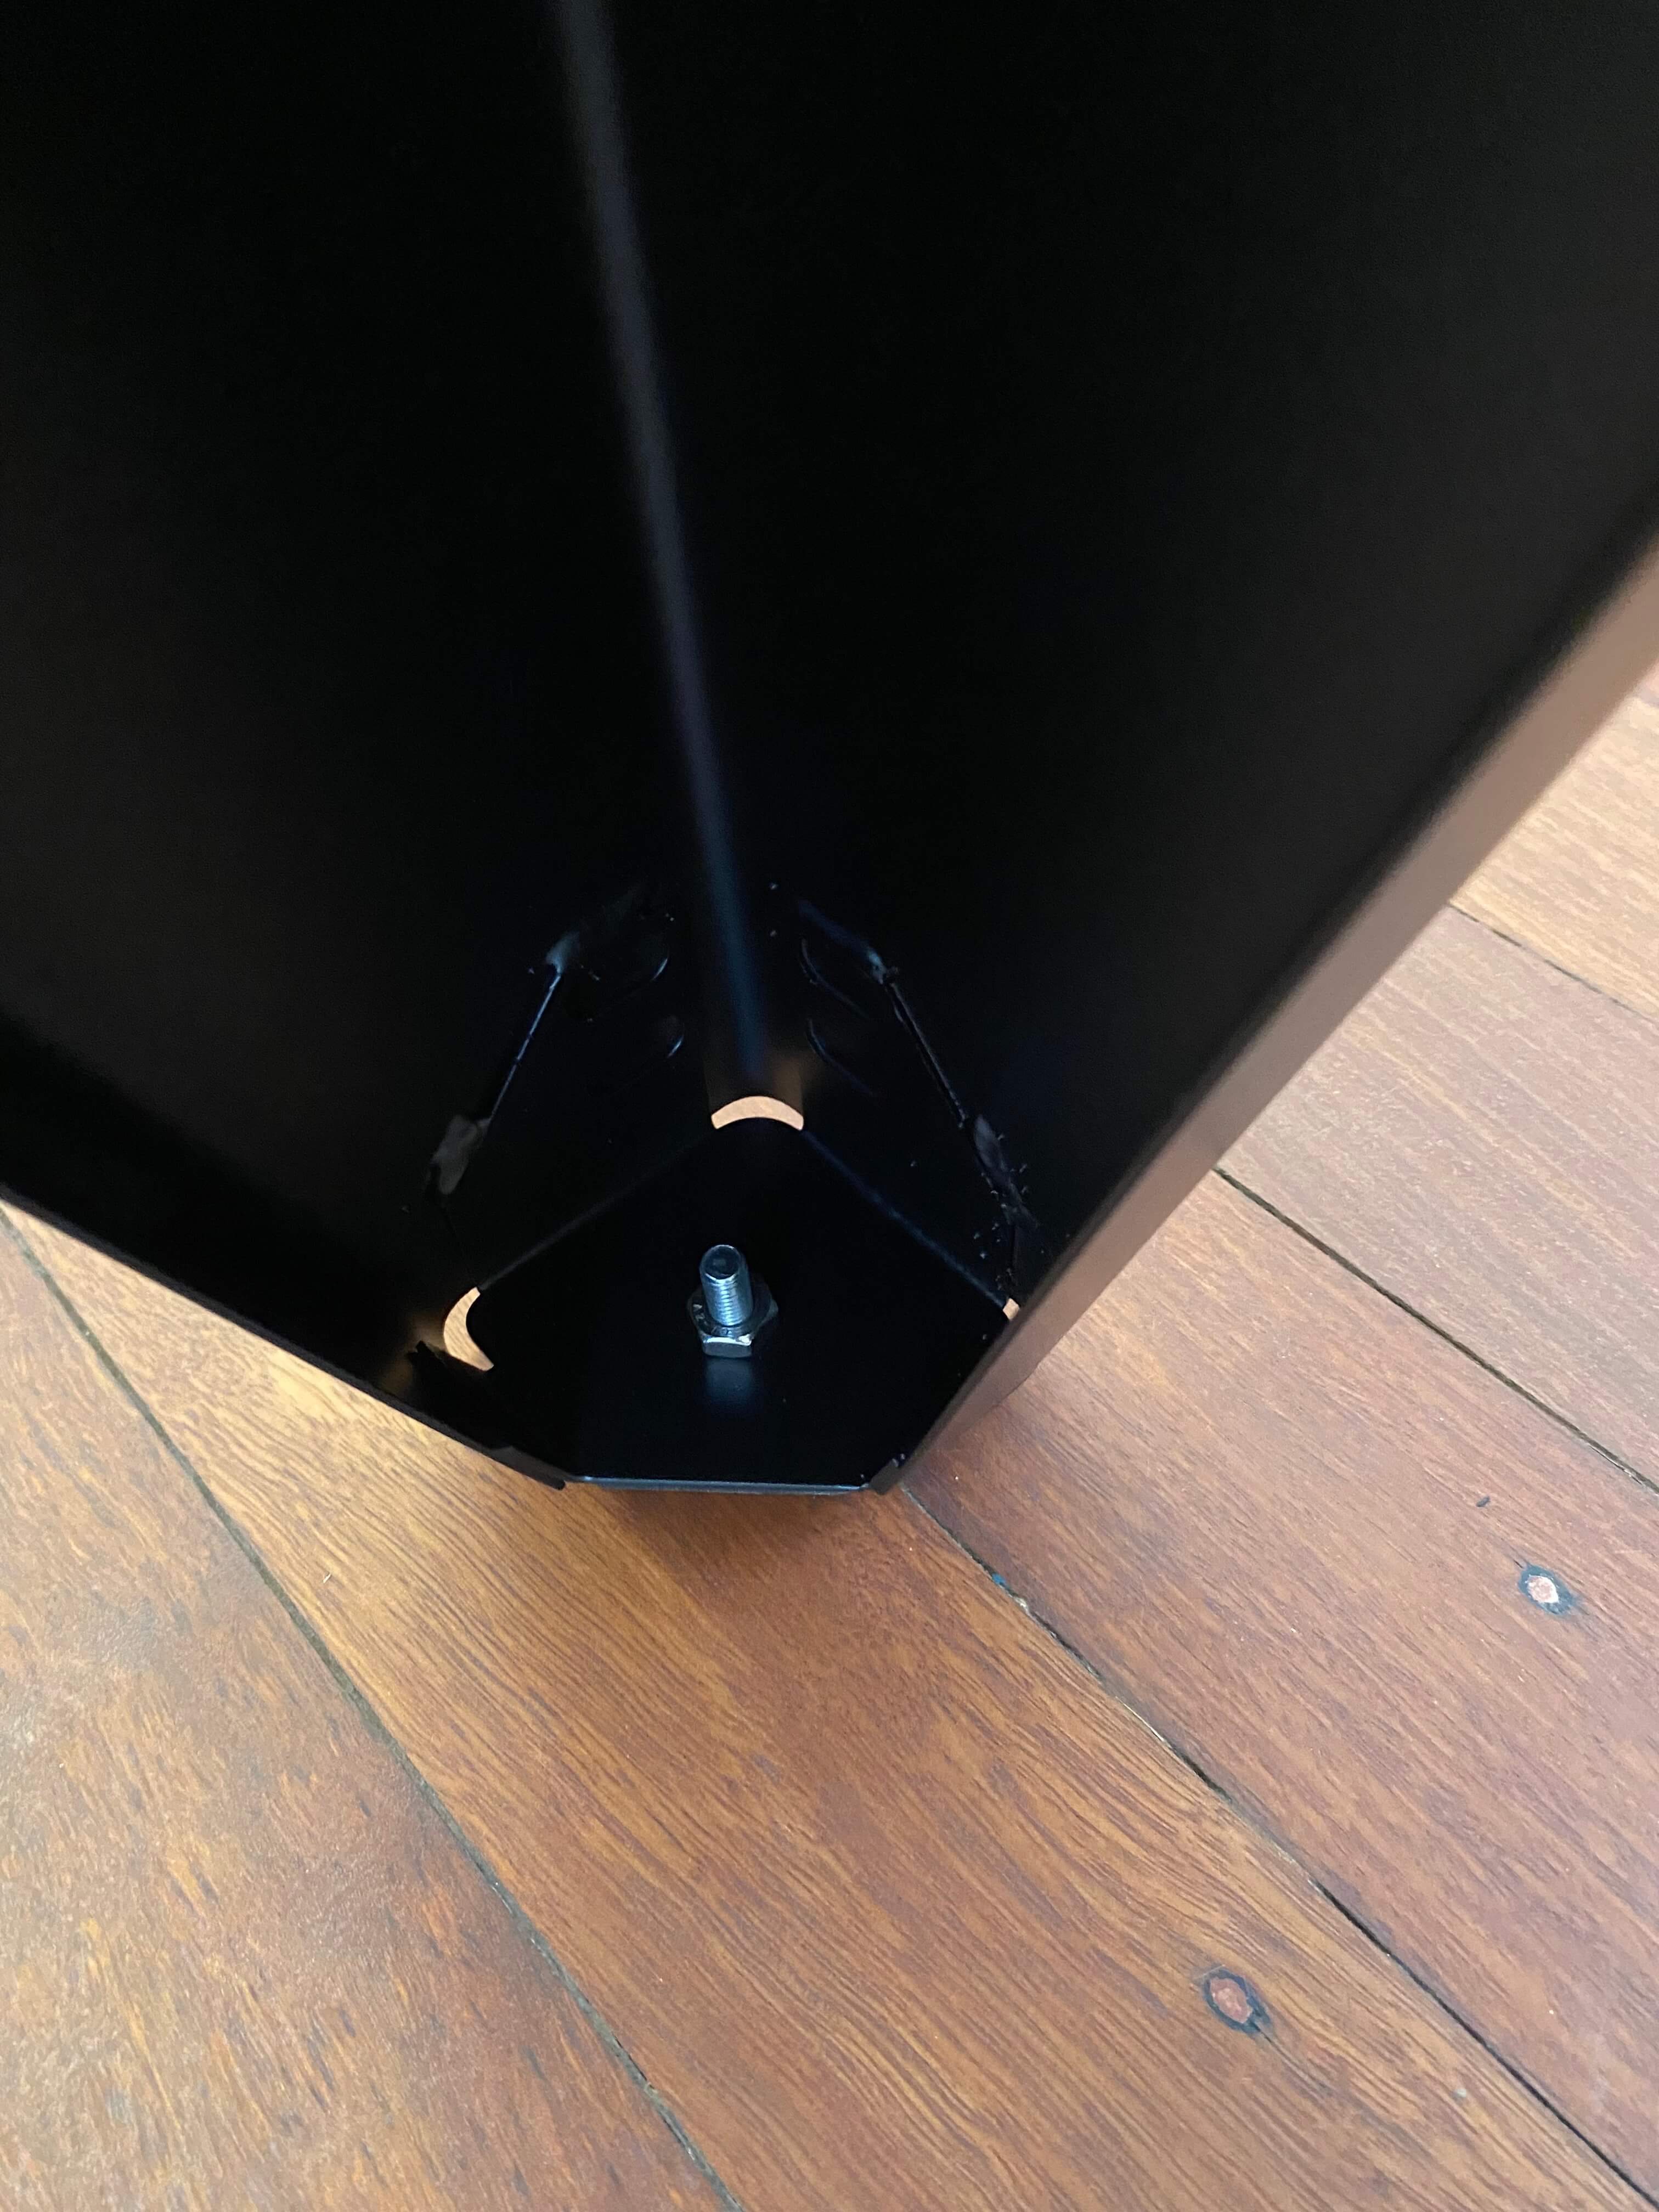
Install the end pole
The end pole drops into the hole at the back of the reformer. Once inserted, secure it with the locking pin.
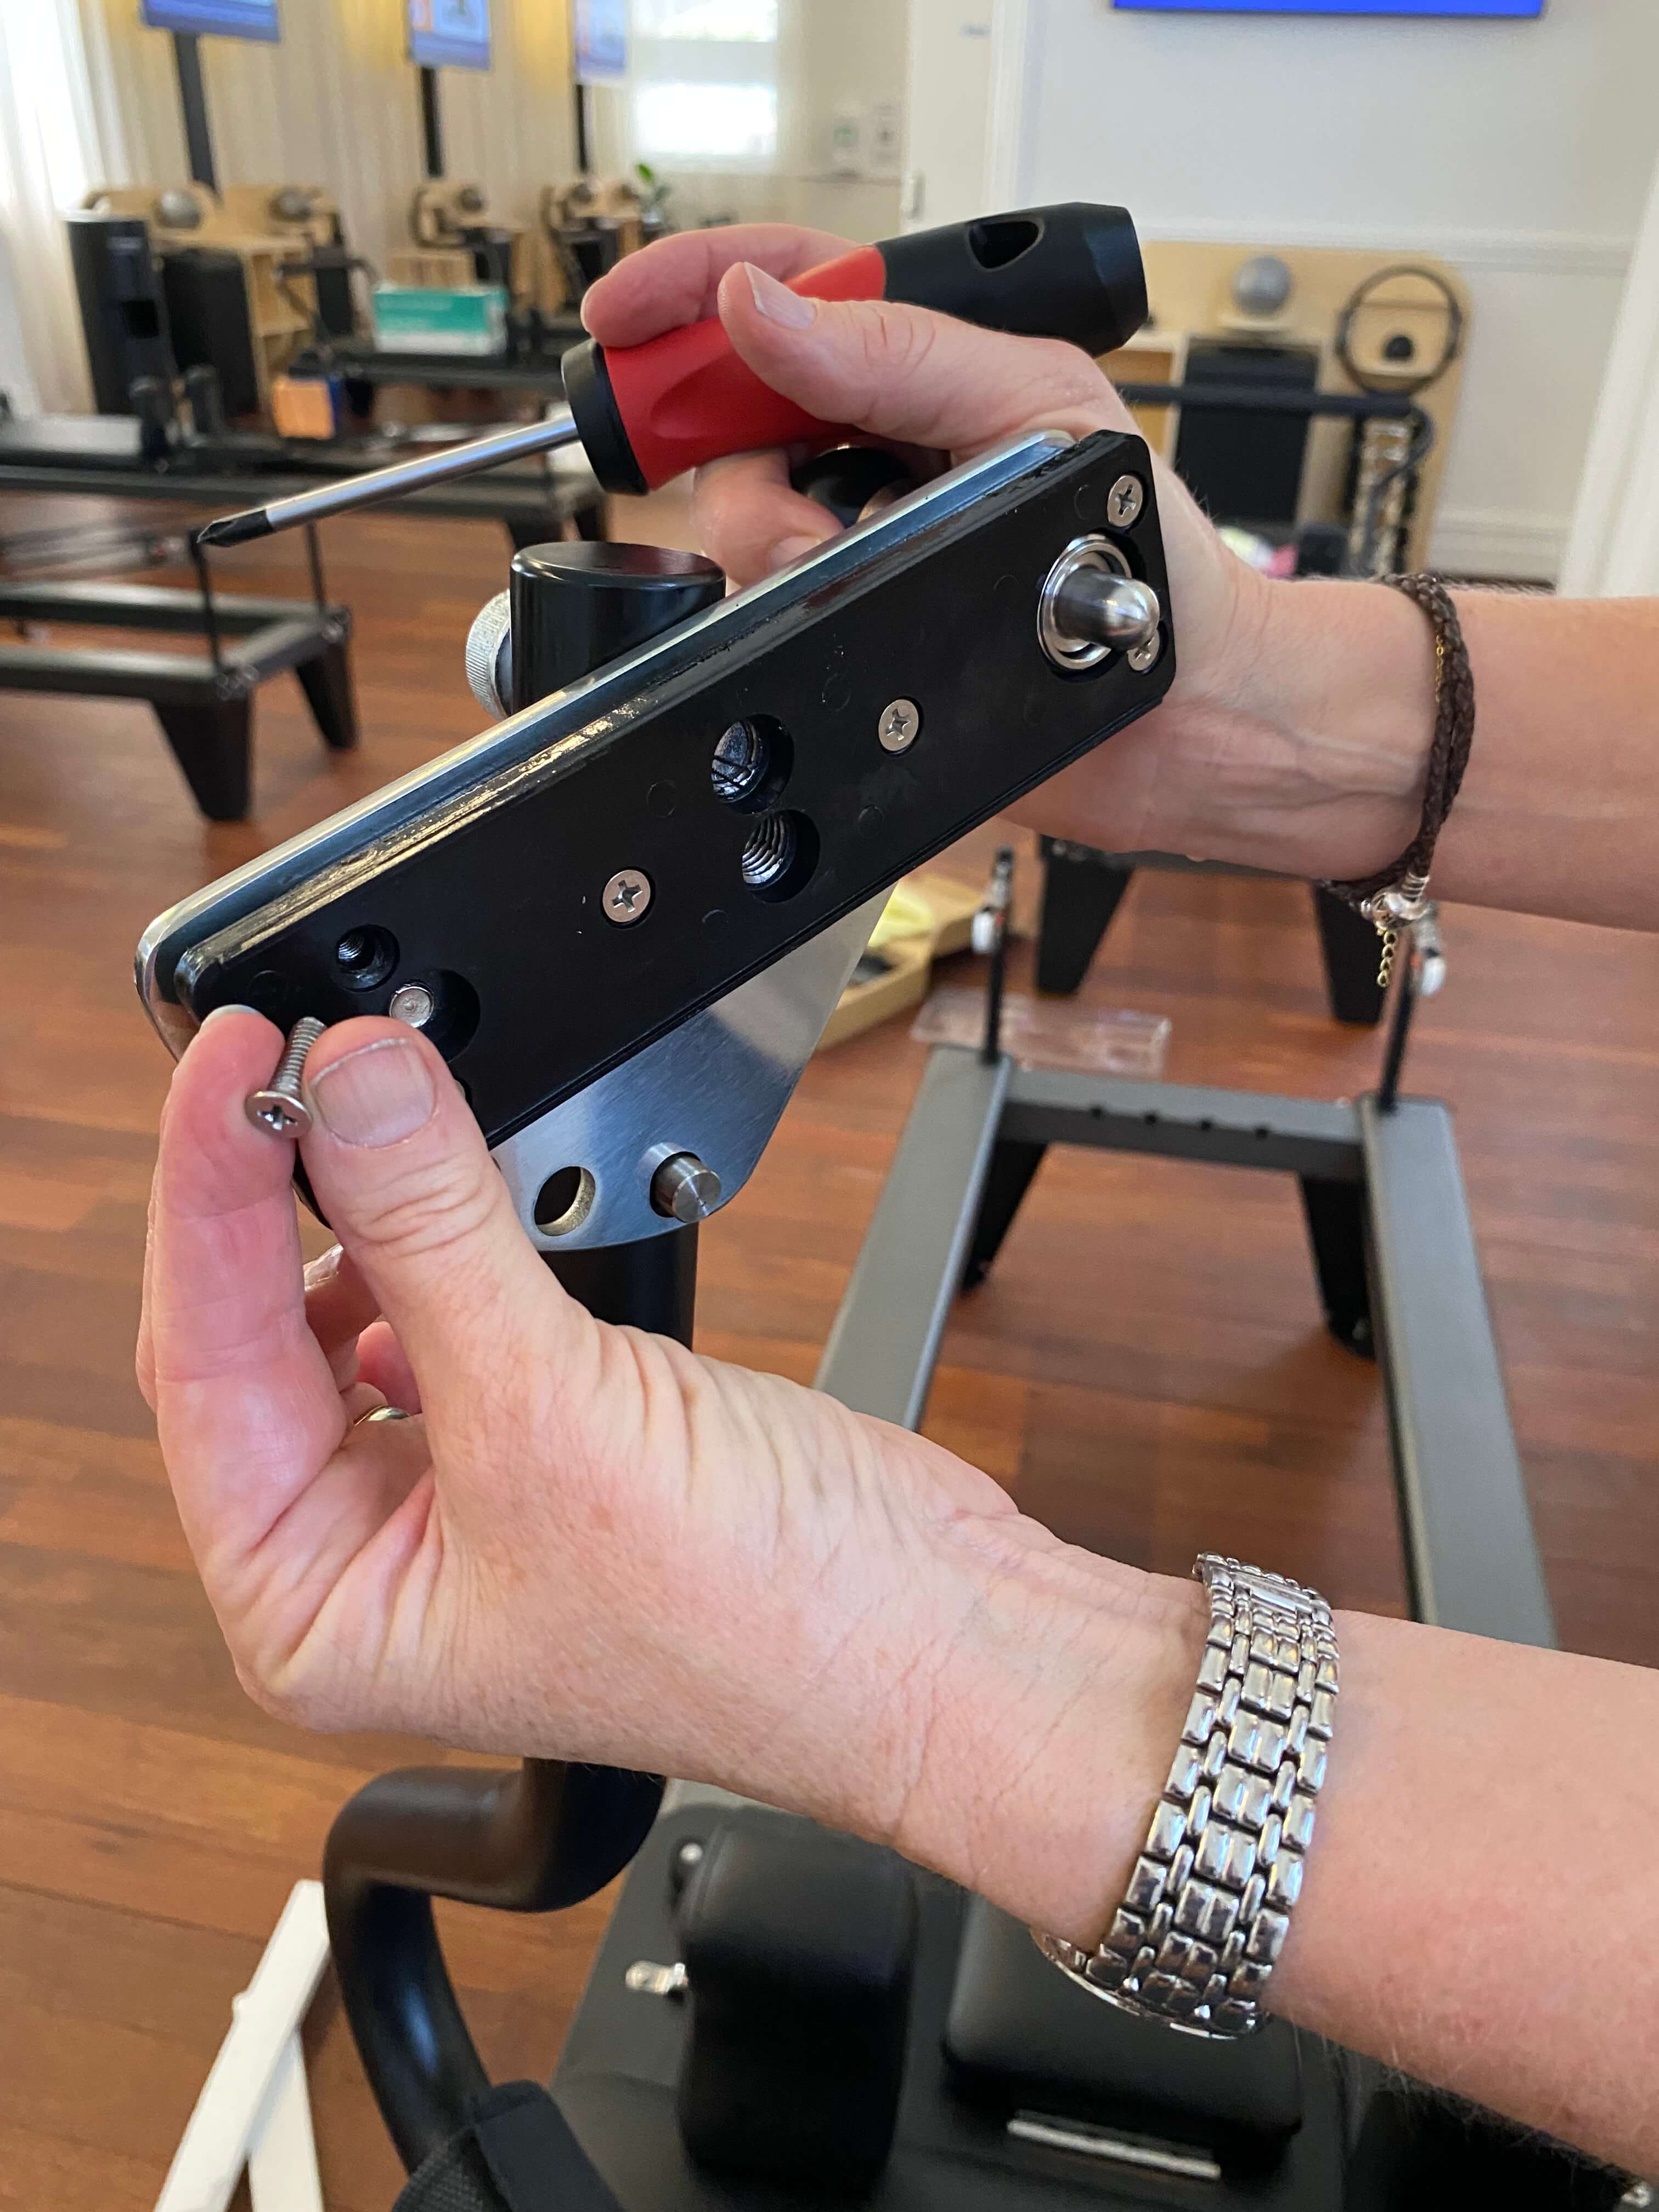
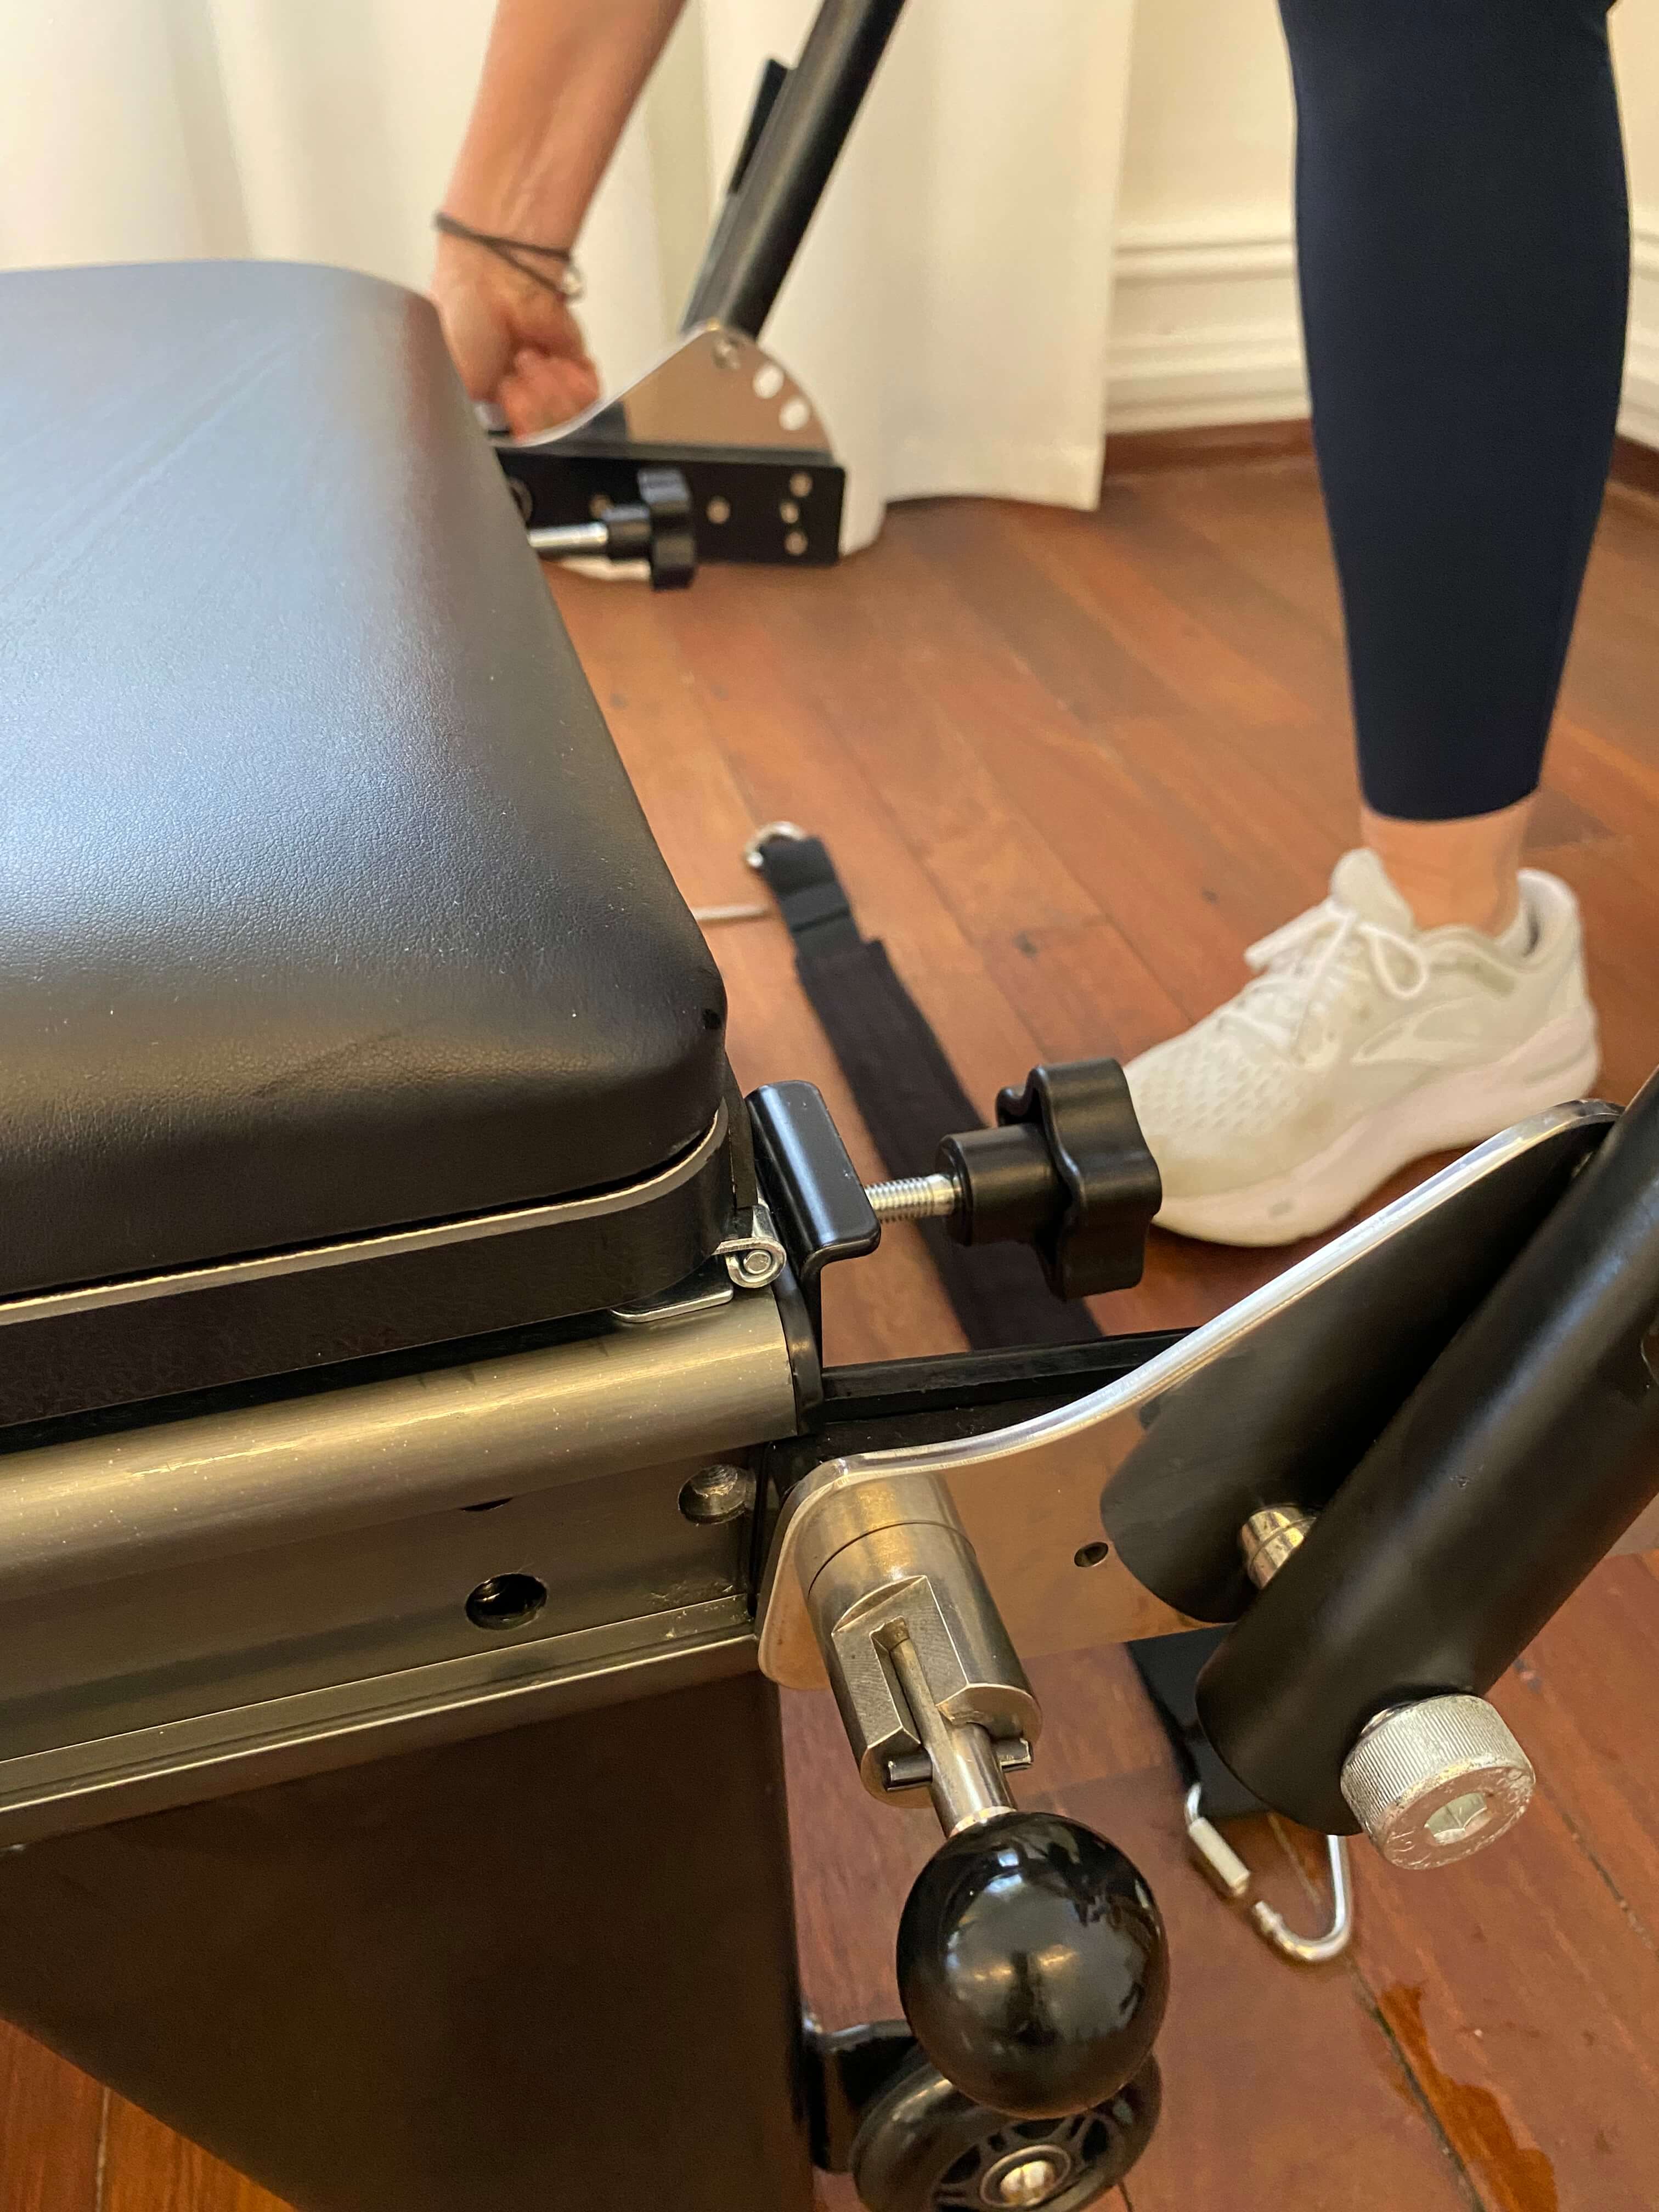
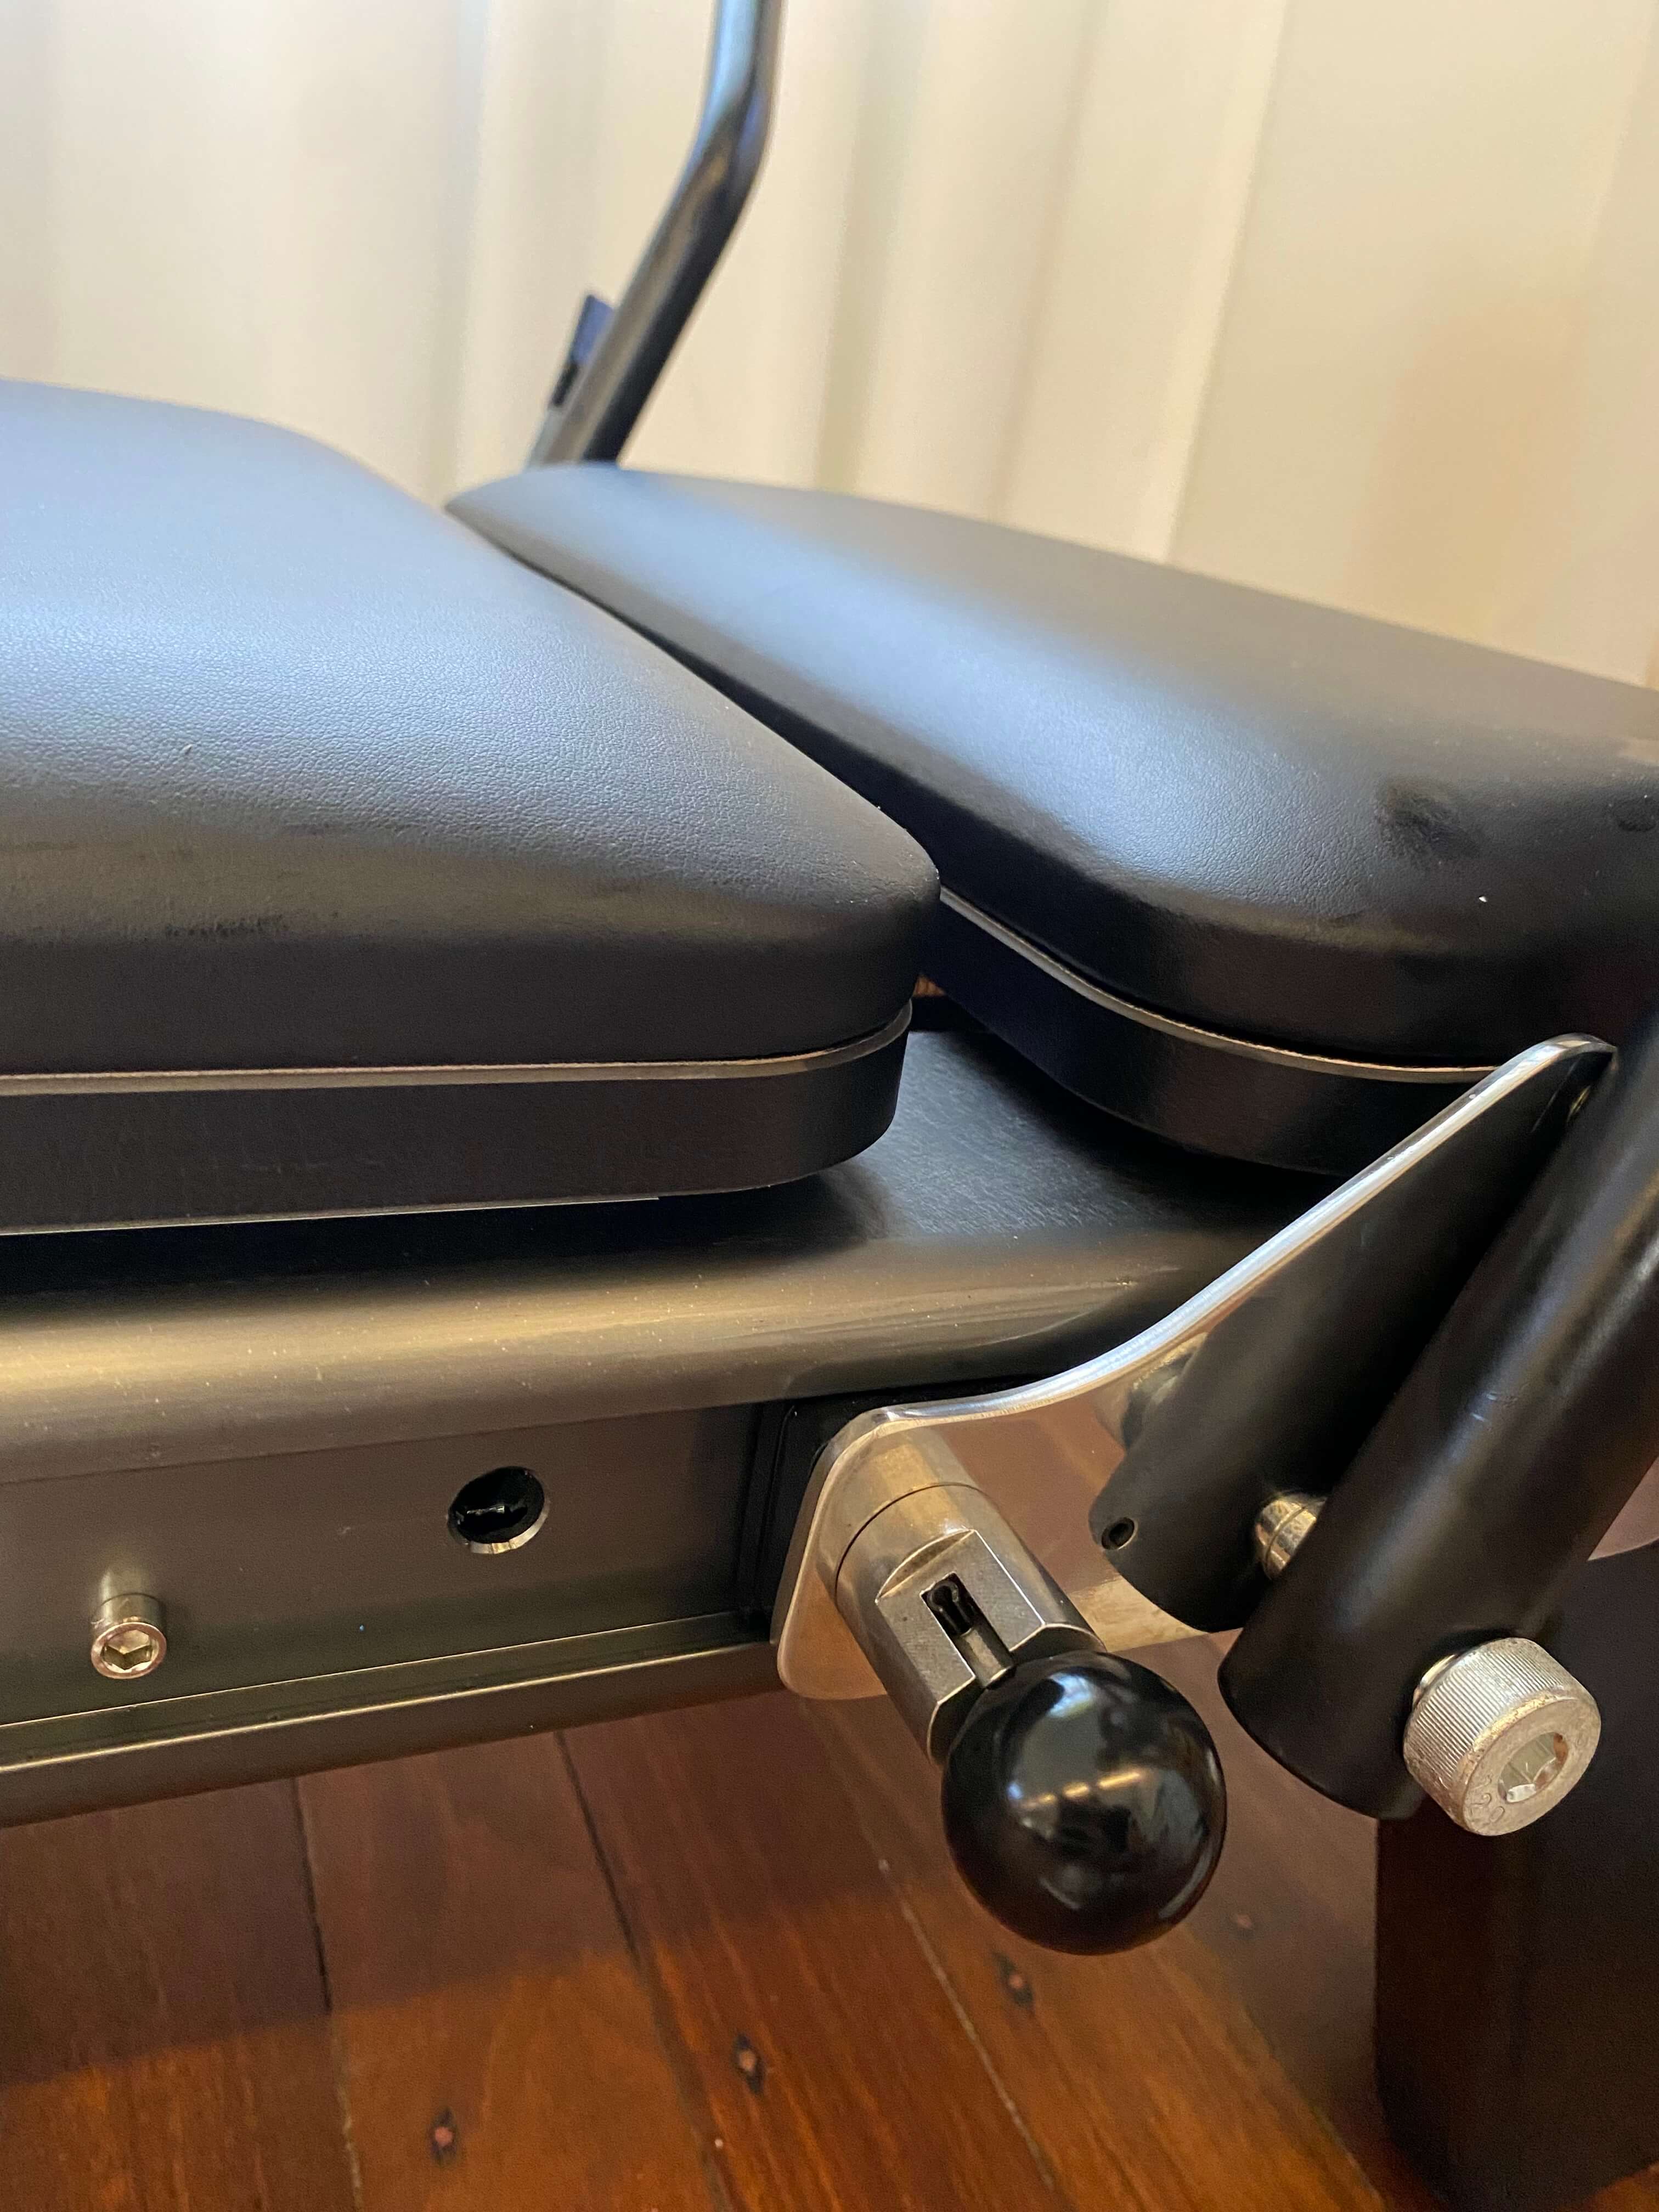
Attach the shoulder pads
Install the shoulder pads into the holes. Secure the pole, then tighten the pole on top until it is secure with no movement. Give them a firm push to test they don’t shift.

Remove the head end plate
Remove the metal end plate at the head of the reformer. Set the screws aside in a safe spot. You’ll need the plate off to install the foot bar in the next steps.
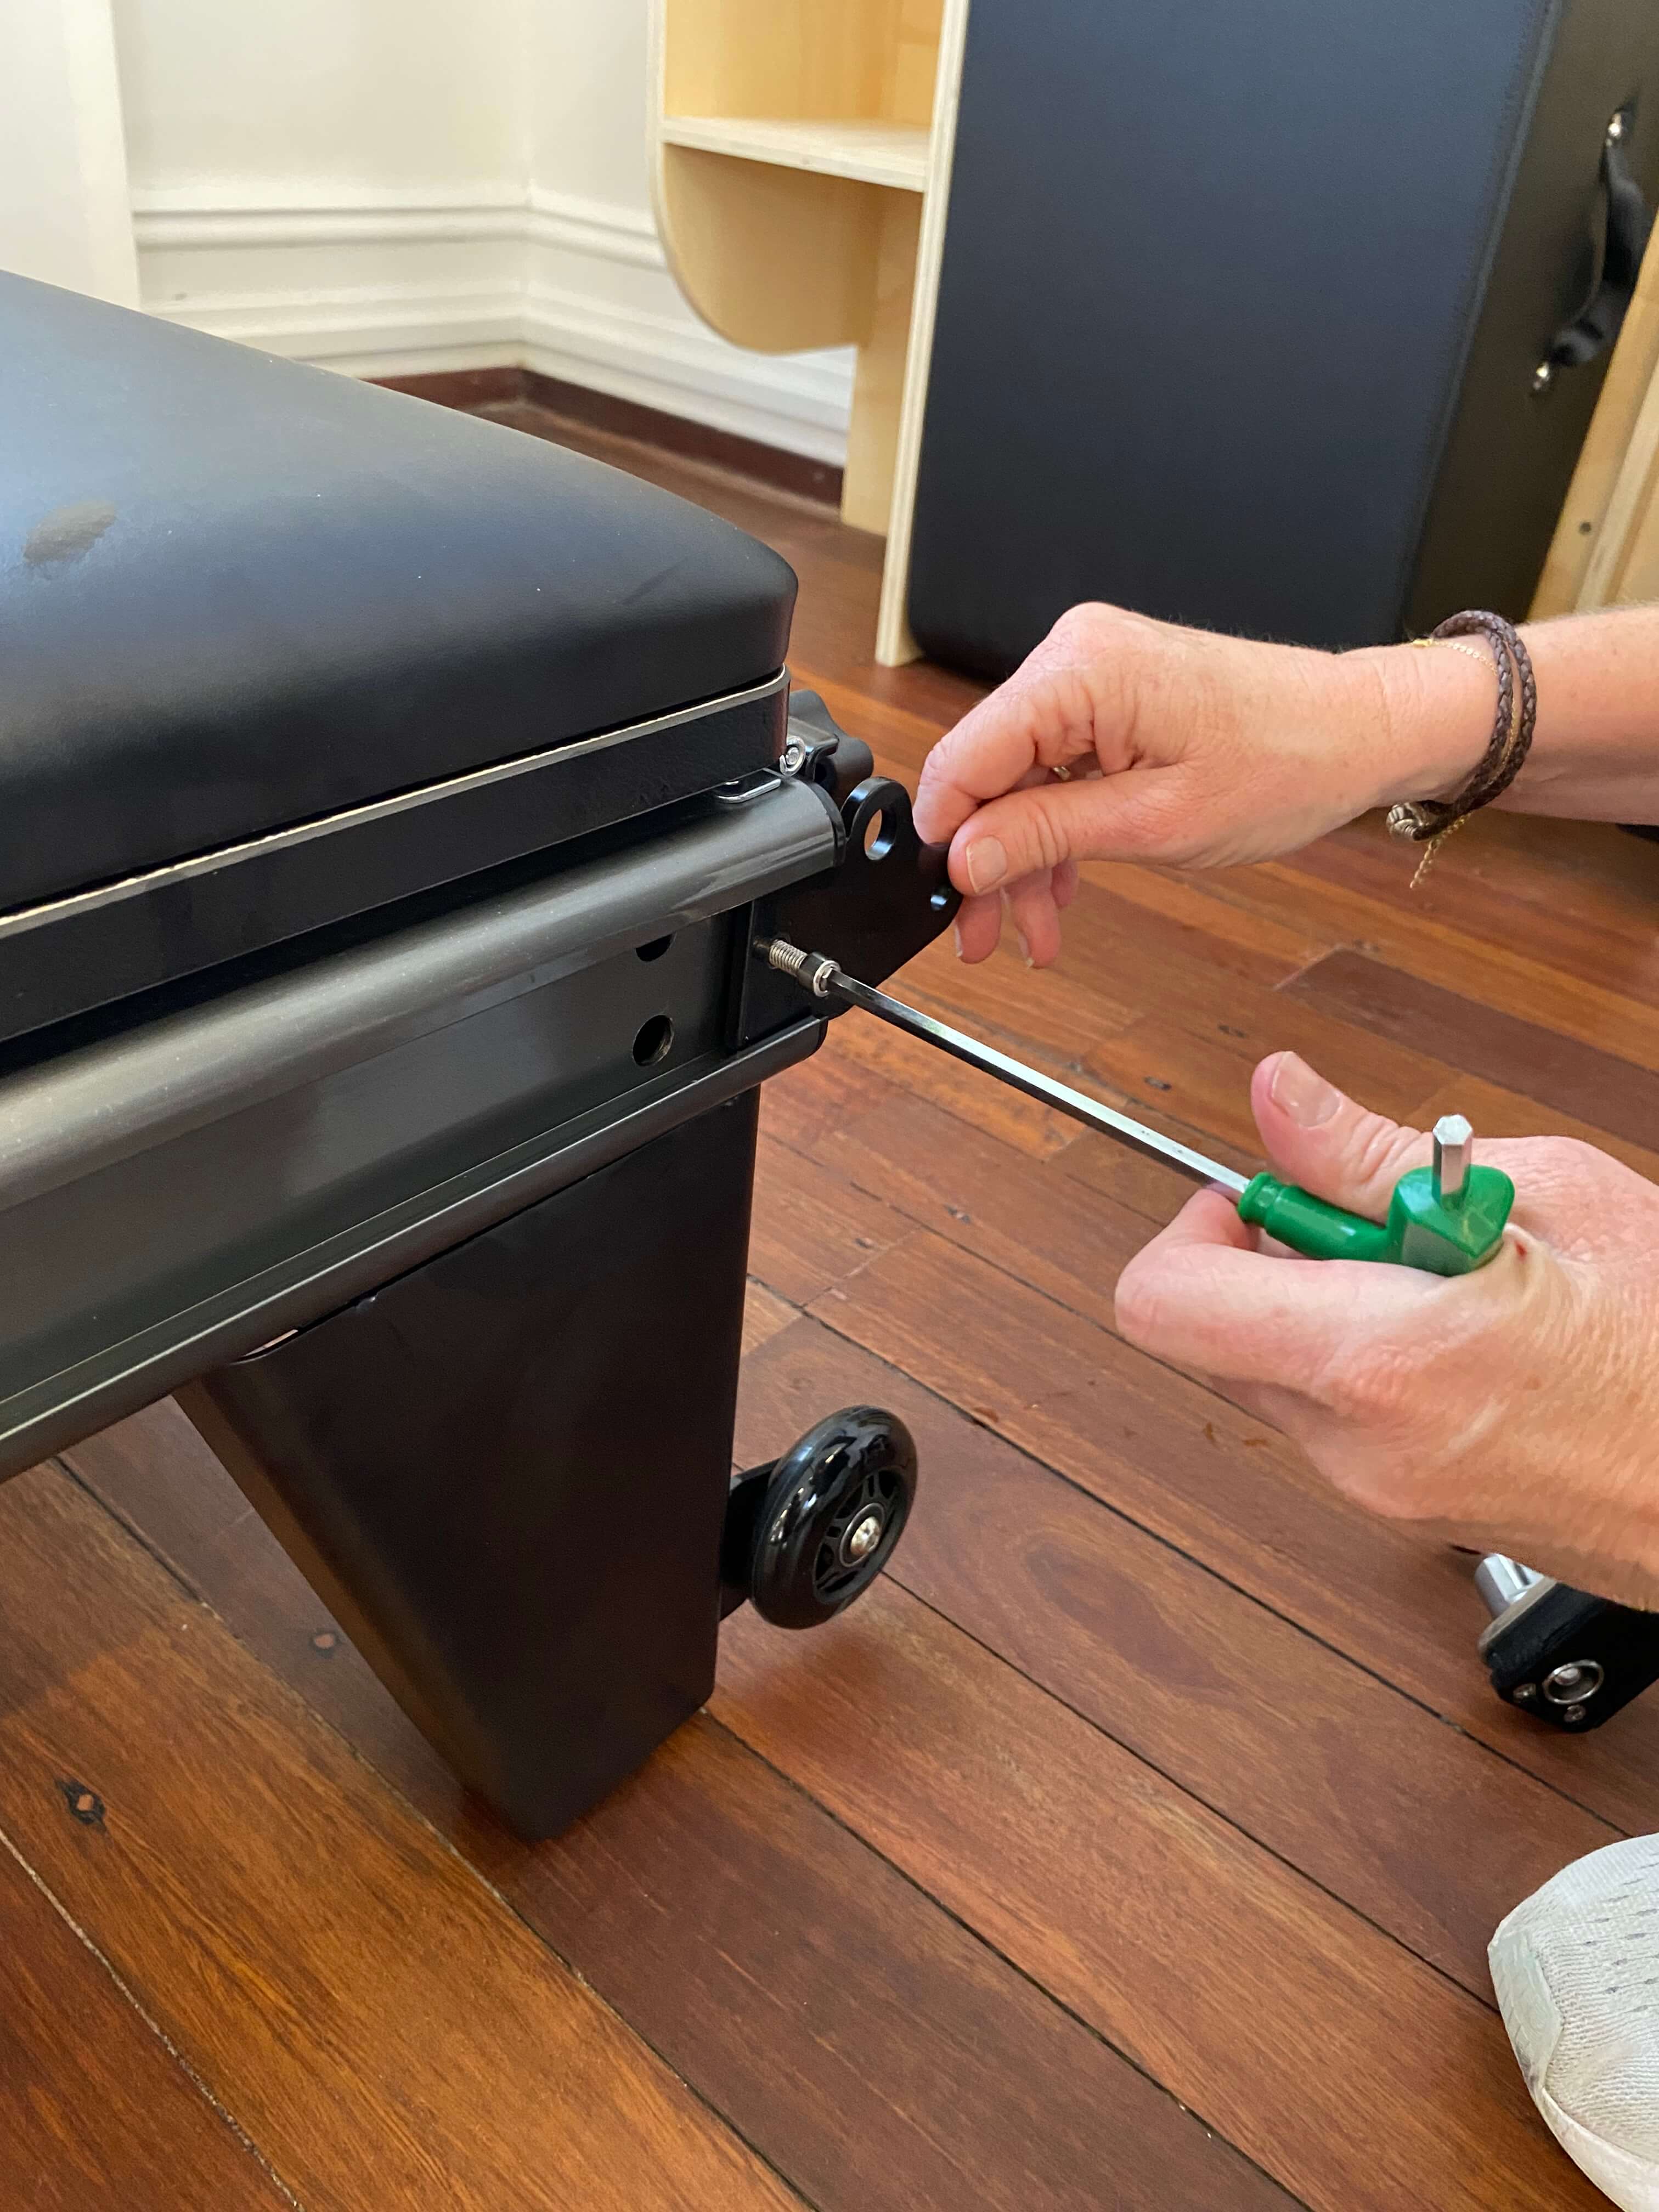
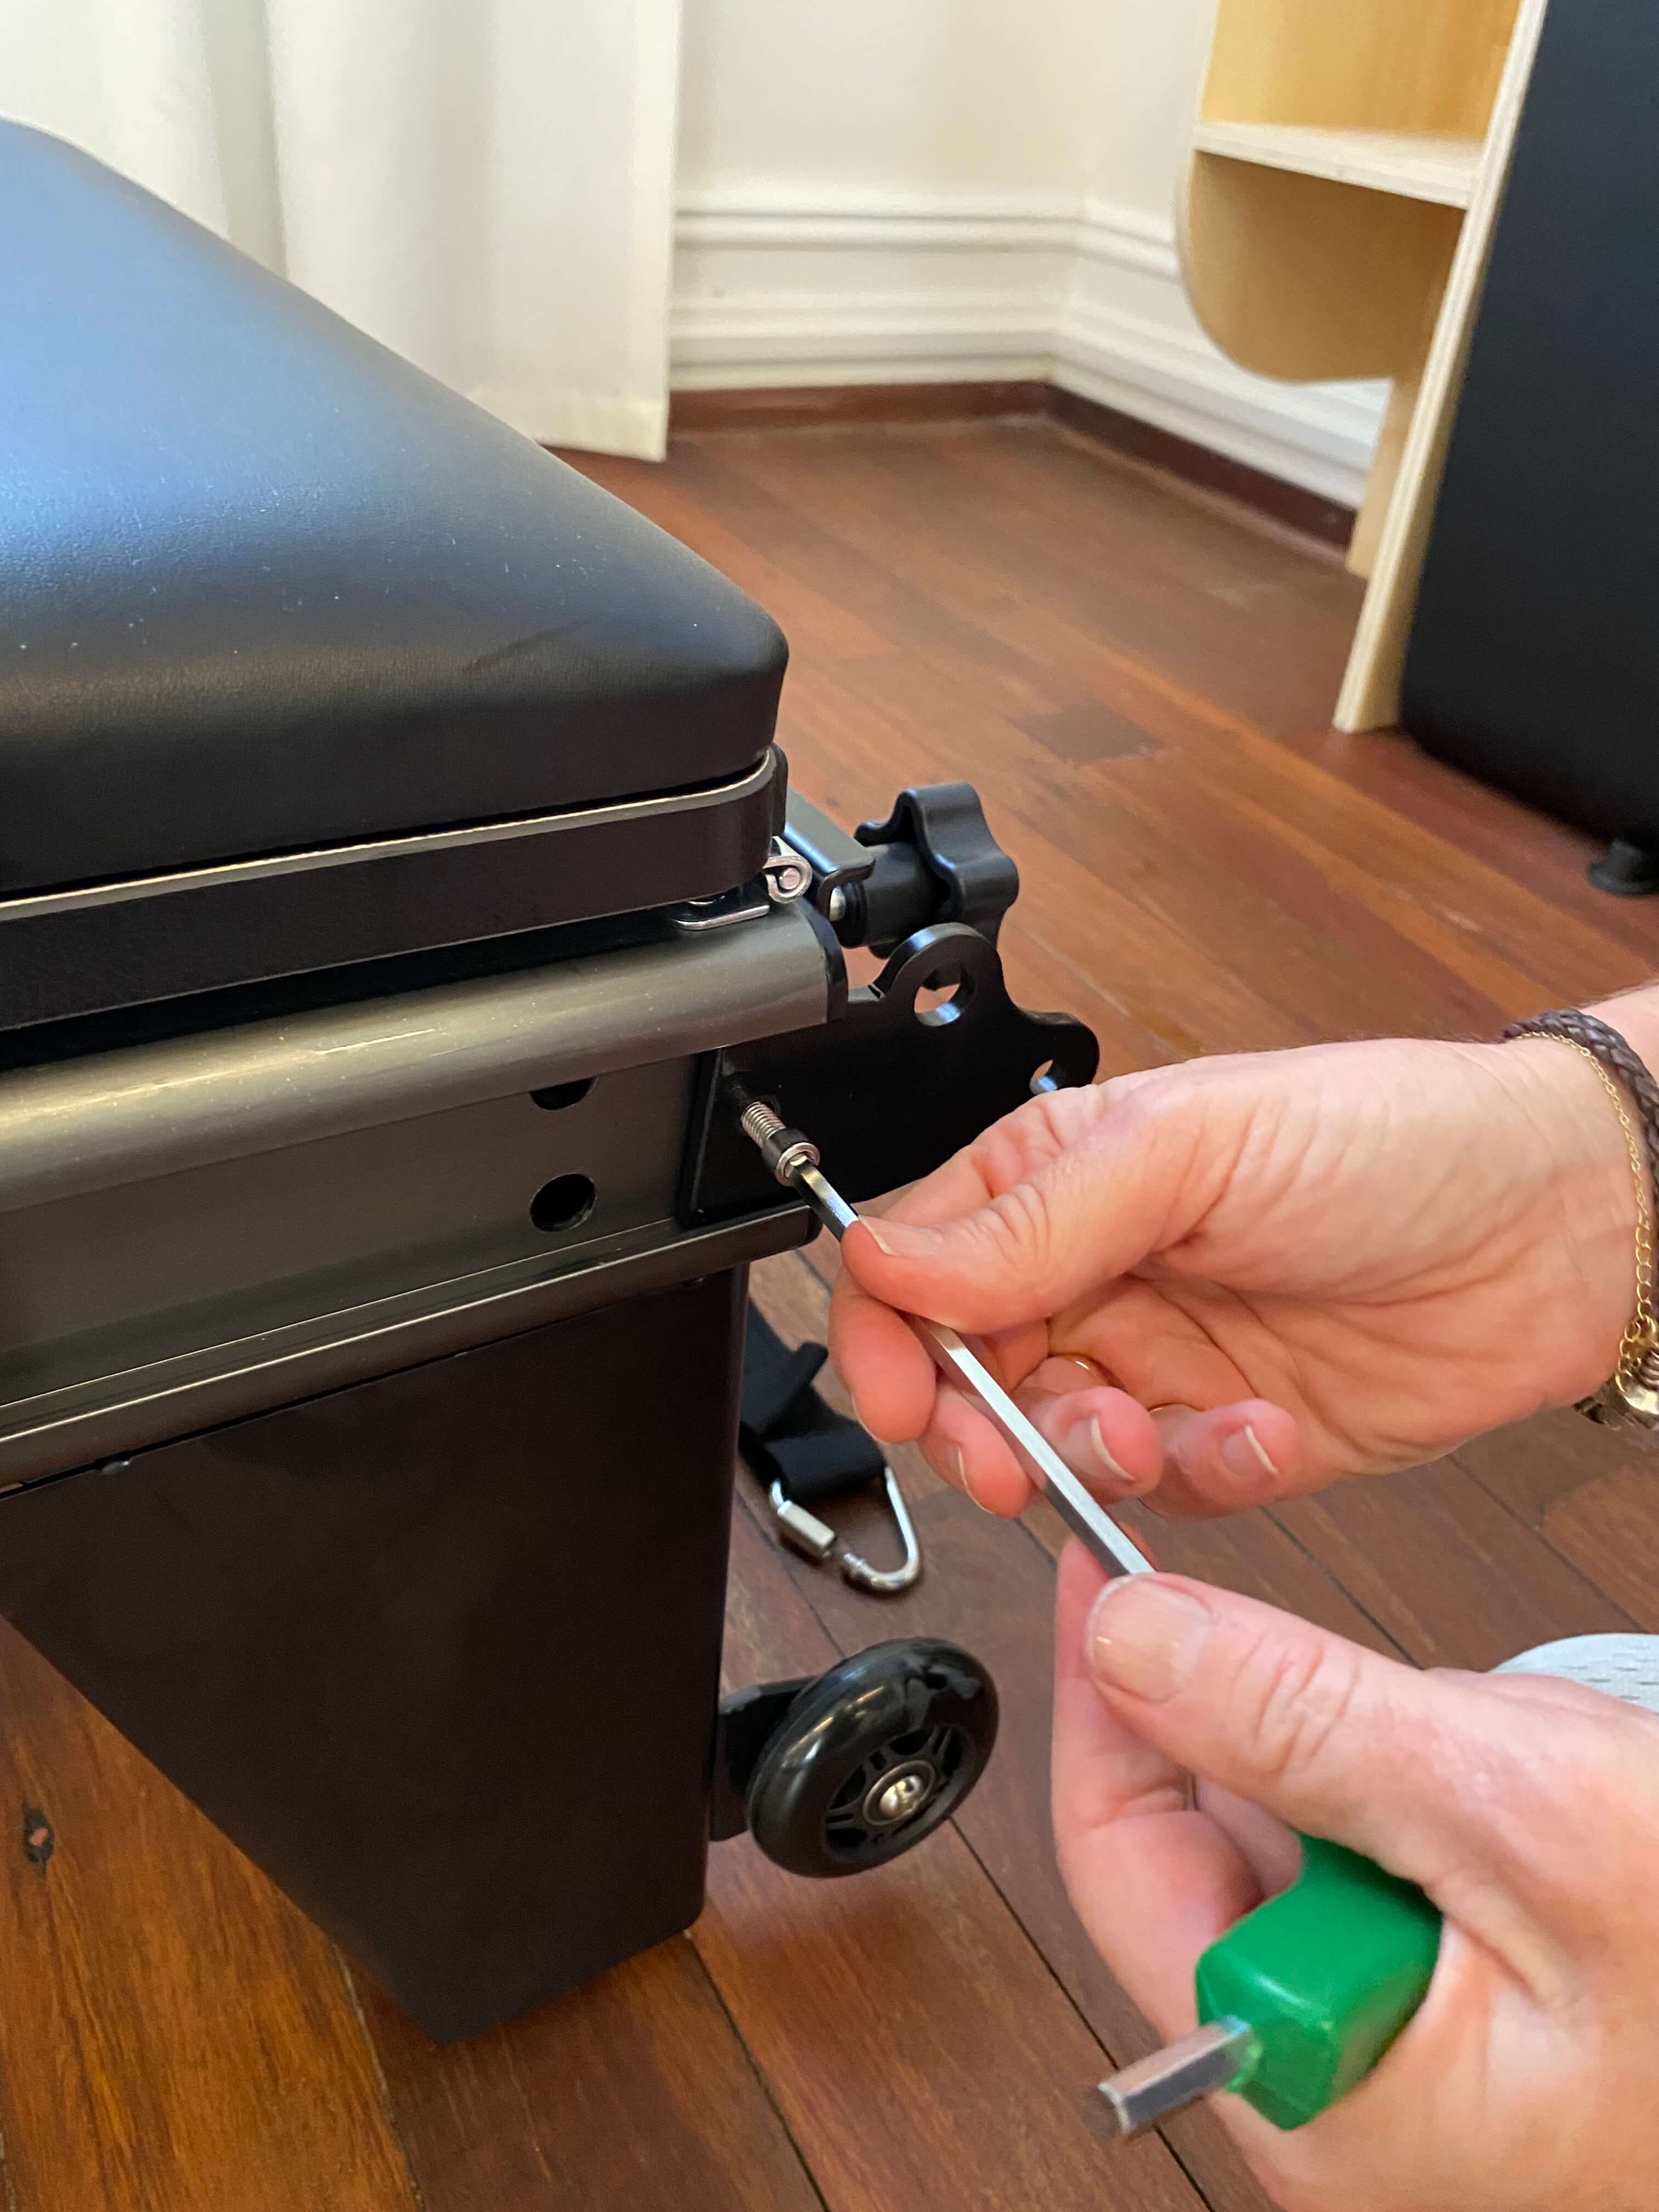
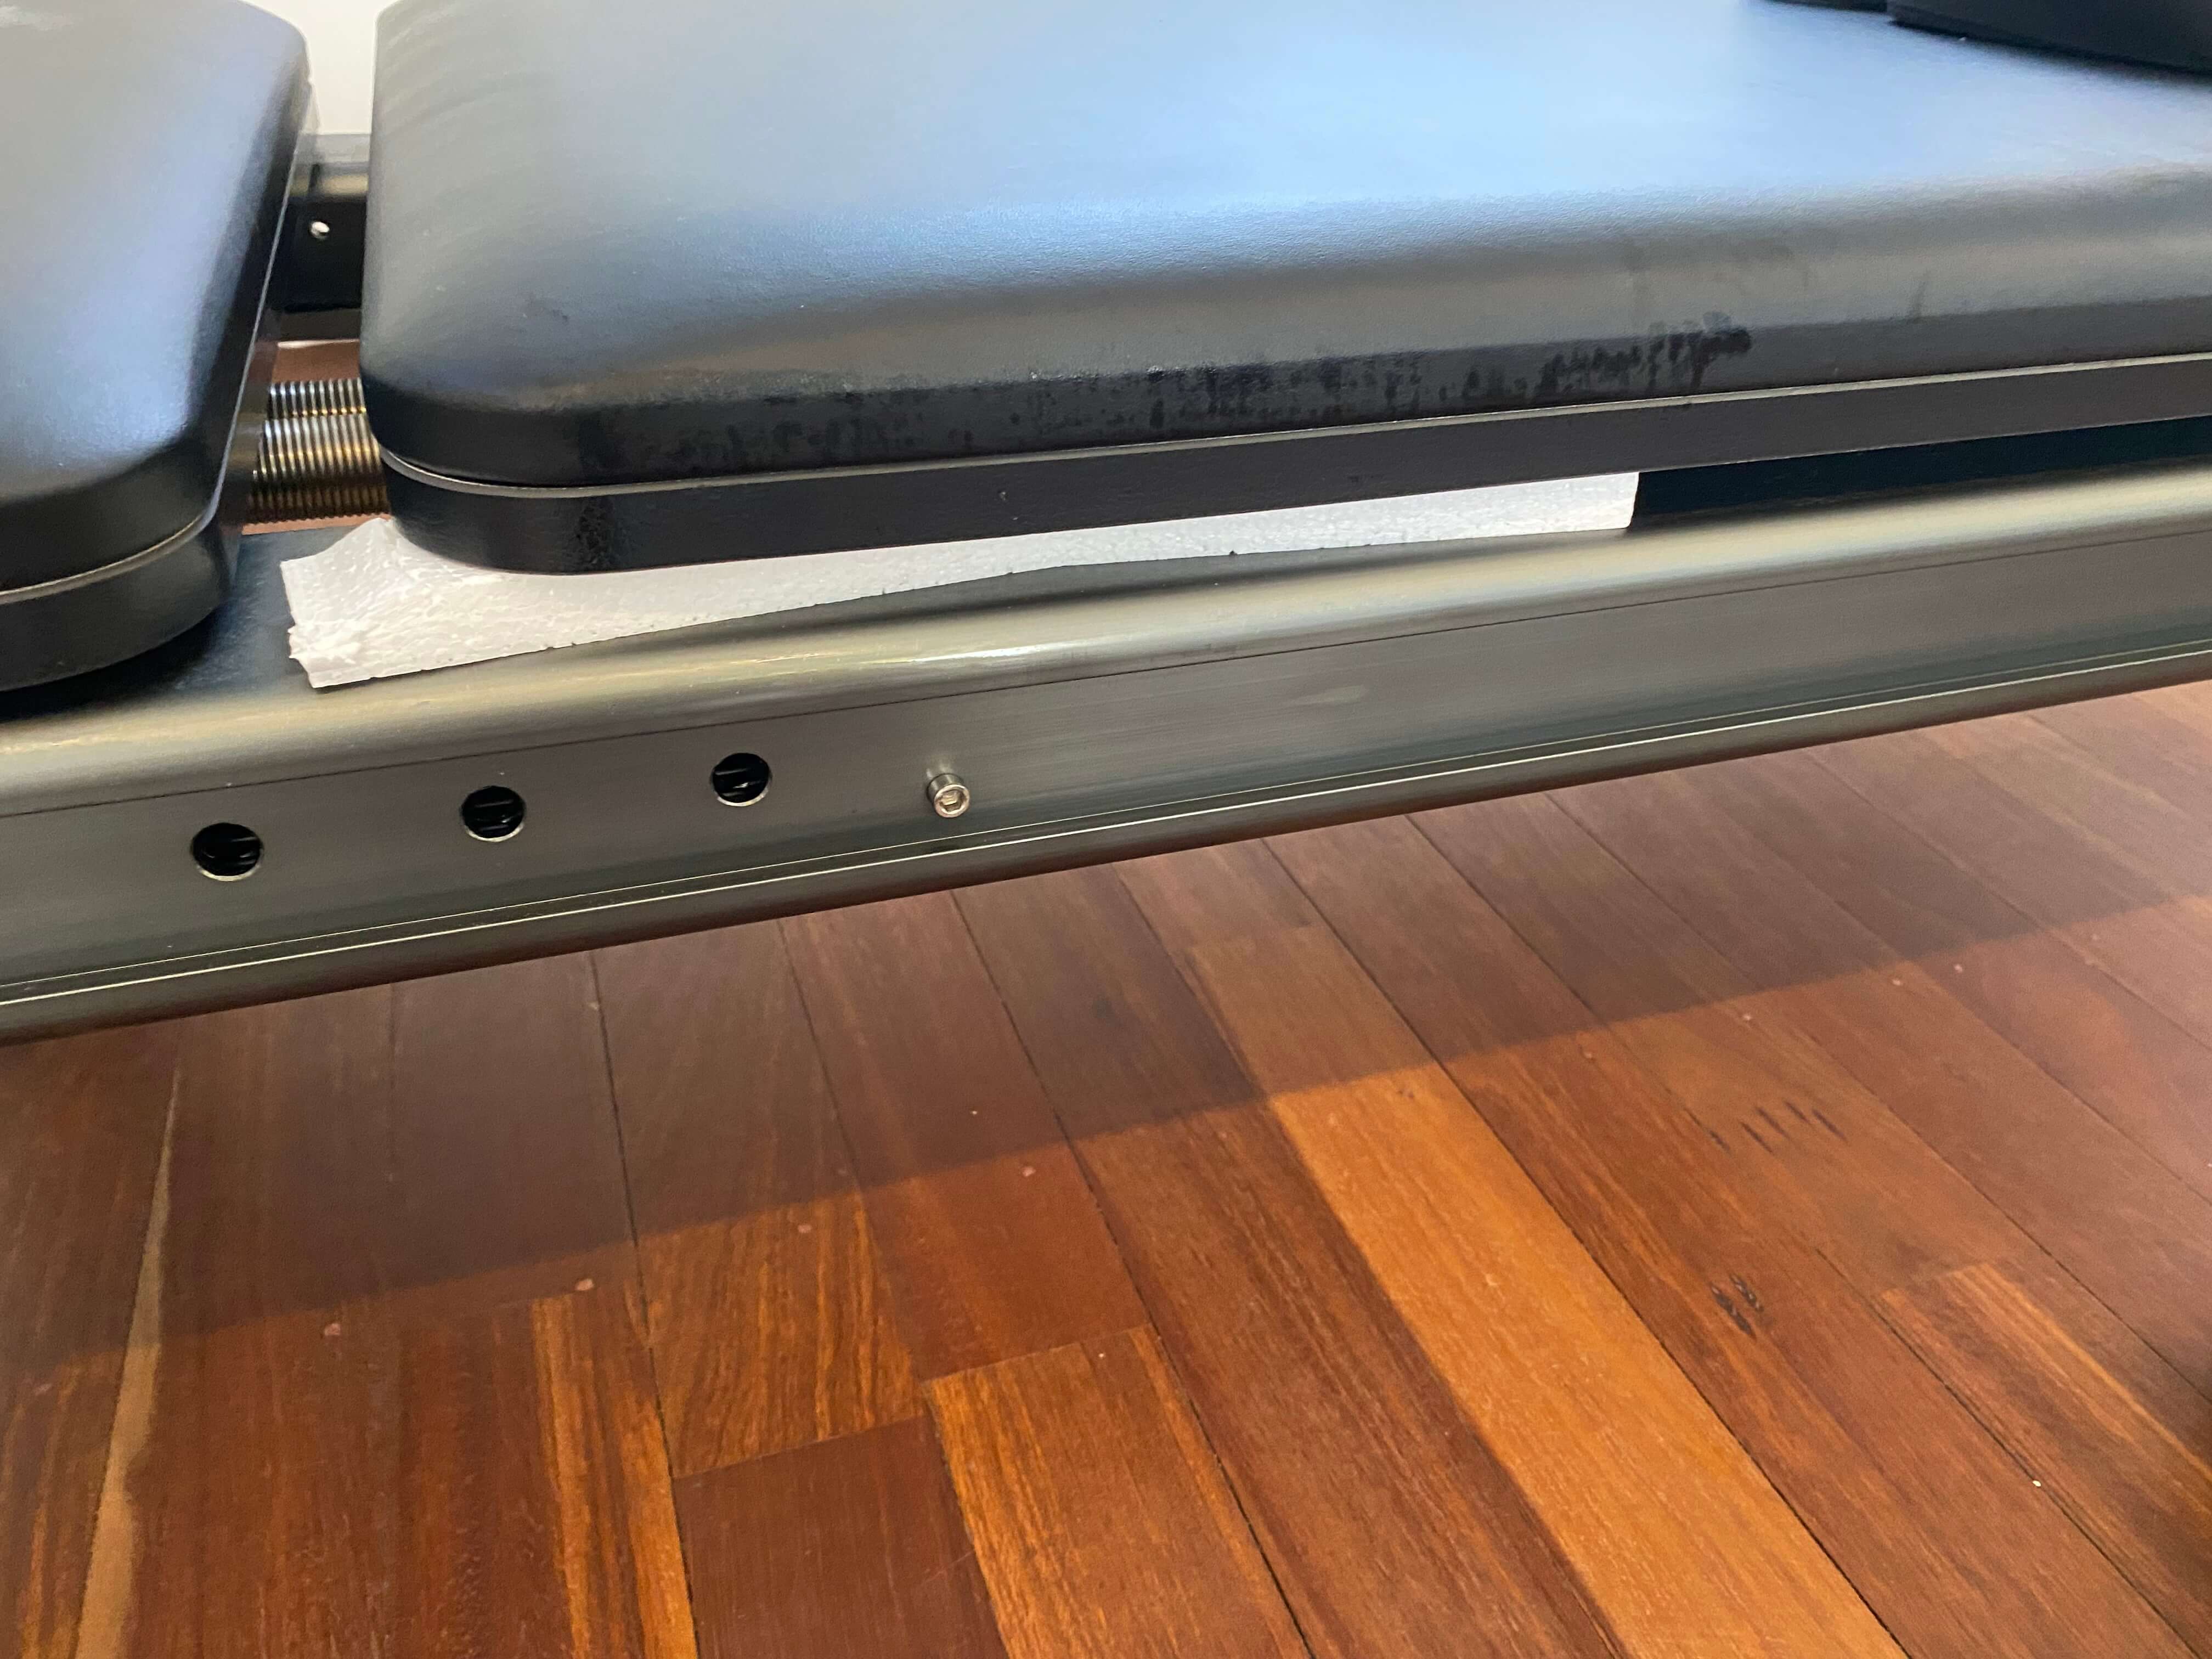
Tighten the foot bar screws
Before installing the foot bar, check and tighten all the screws on both sides. There are six screws on each side. These can come loose over time, so make sure they’re firm before you continue.
Install the foot bar
Slide the foot bar into the rails on both sides of the reformer. Push it along until it clicks and locks into place. Make sure it sits evenly and moves smoothly between positions.
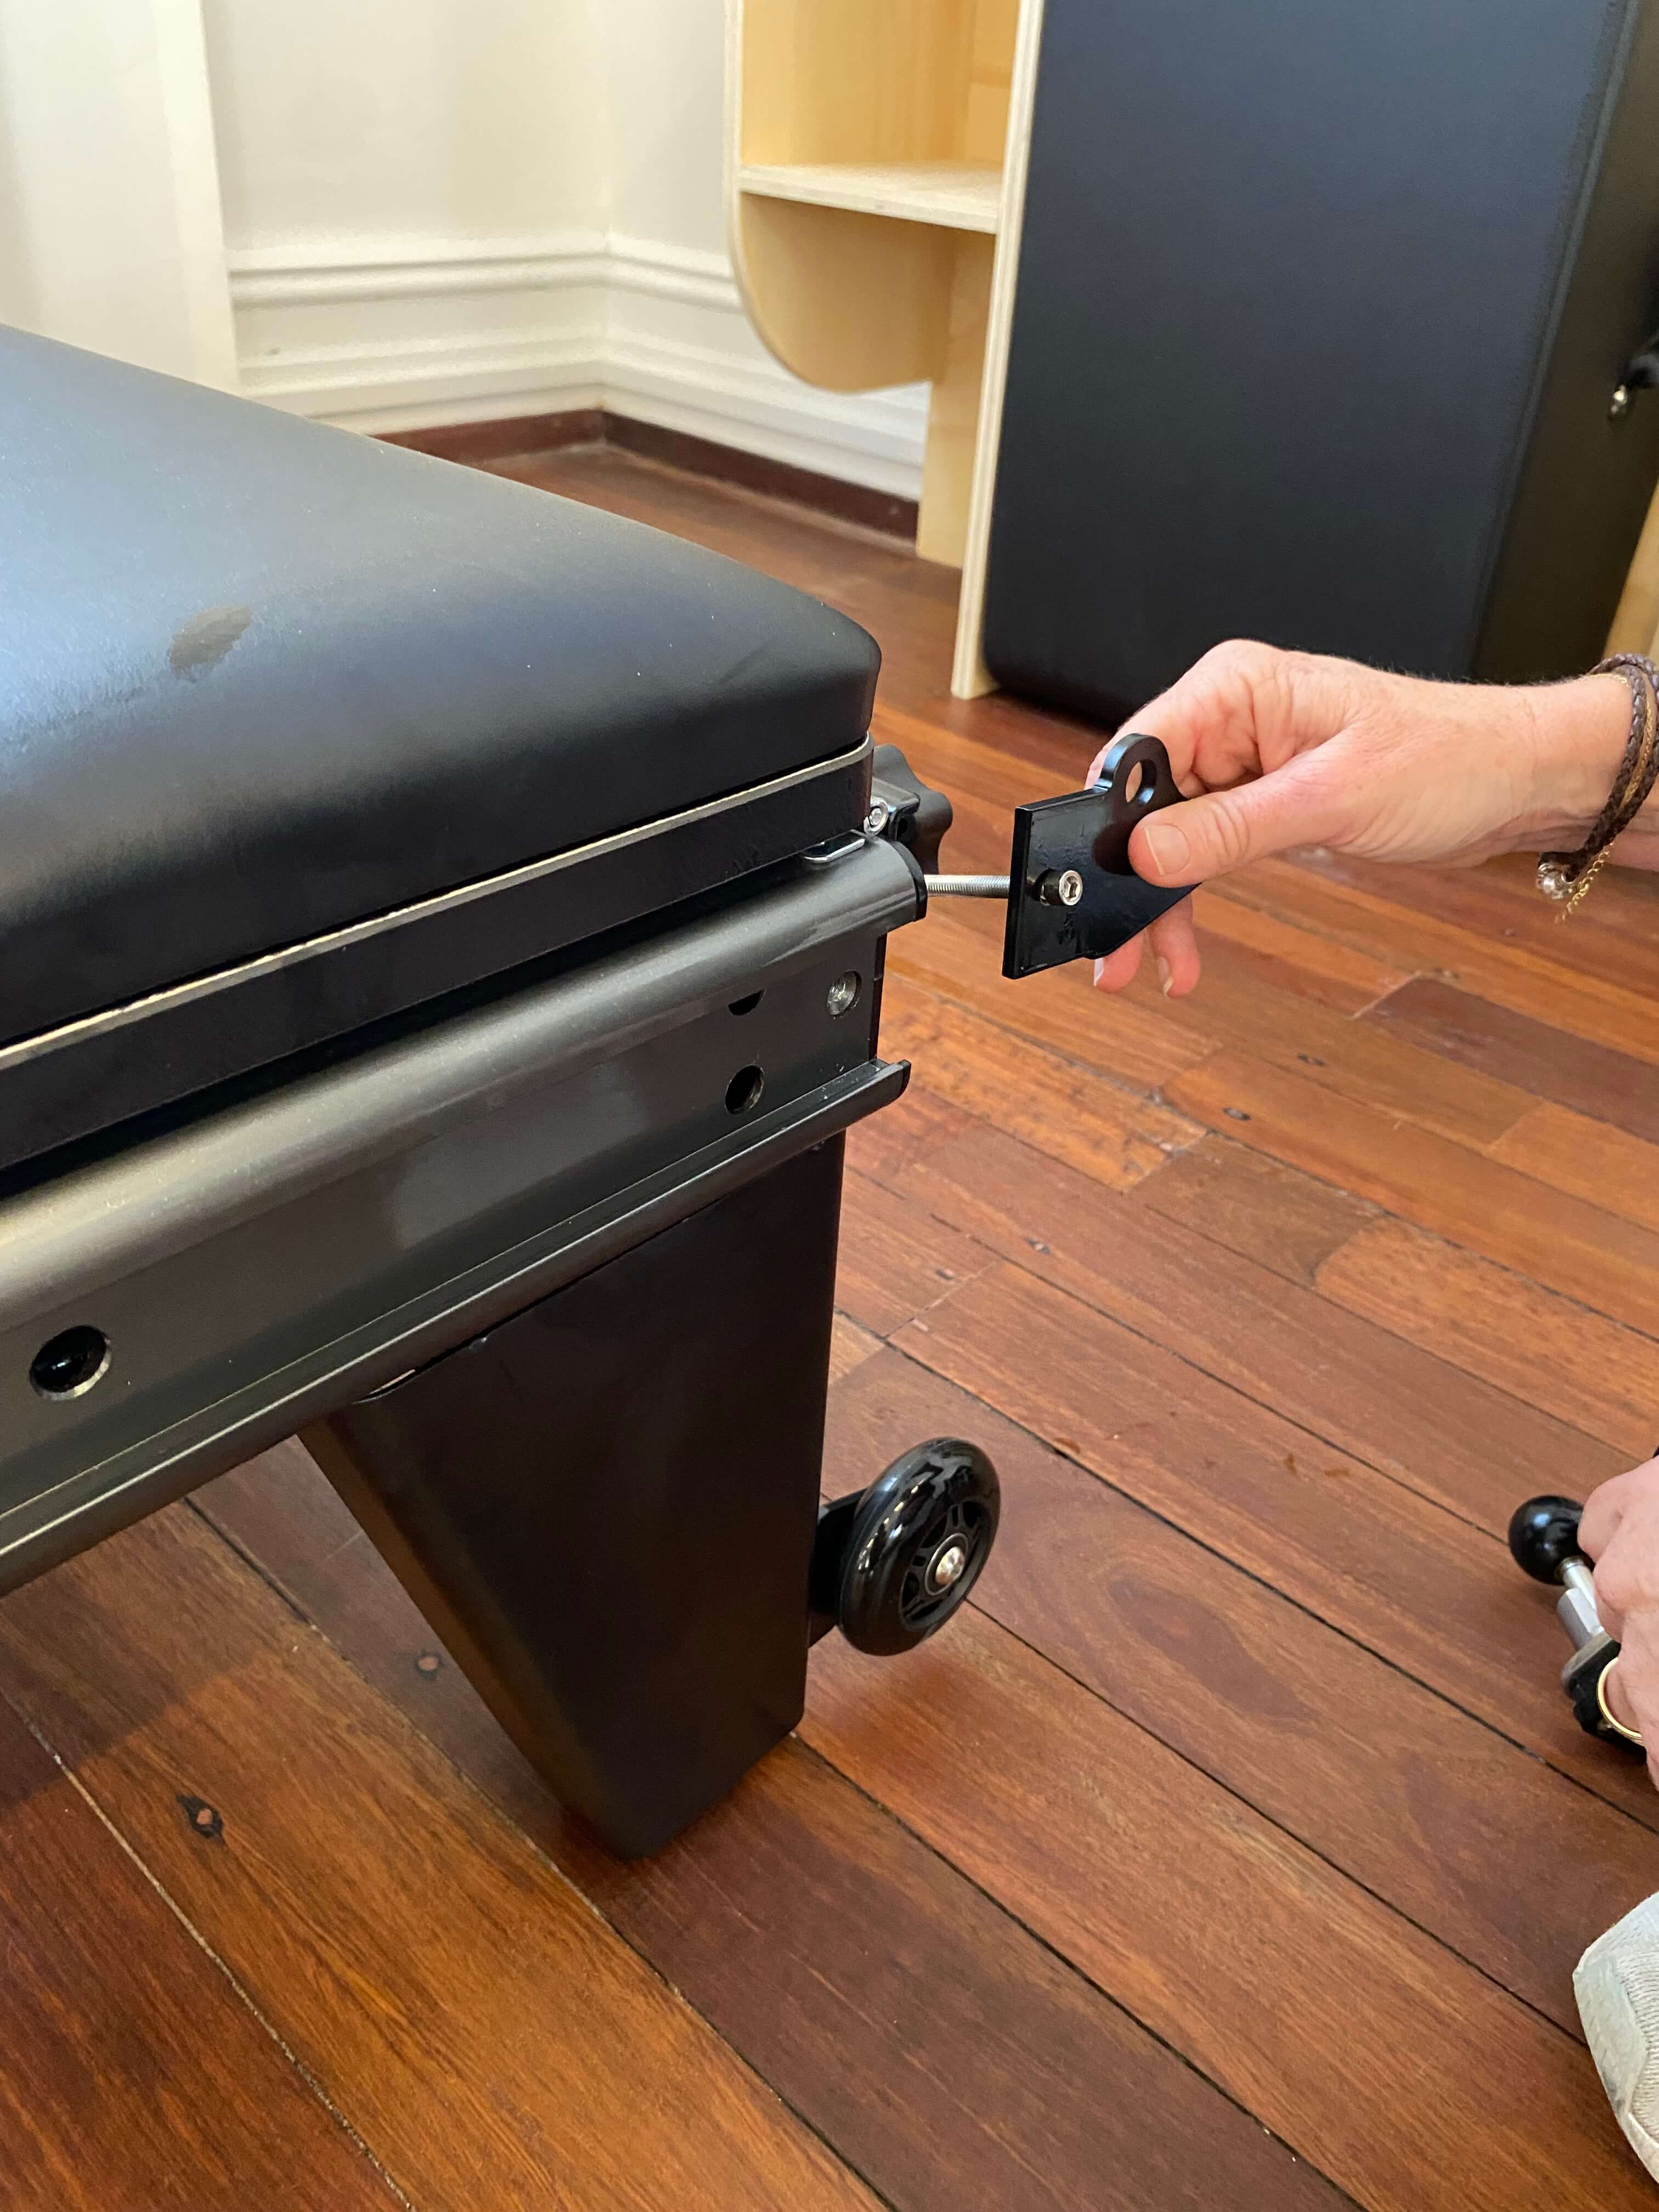
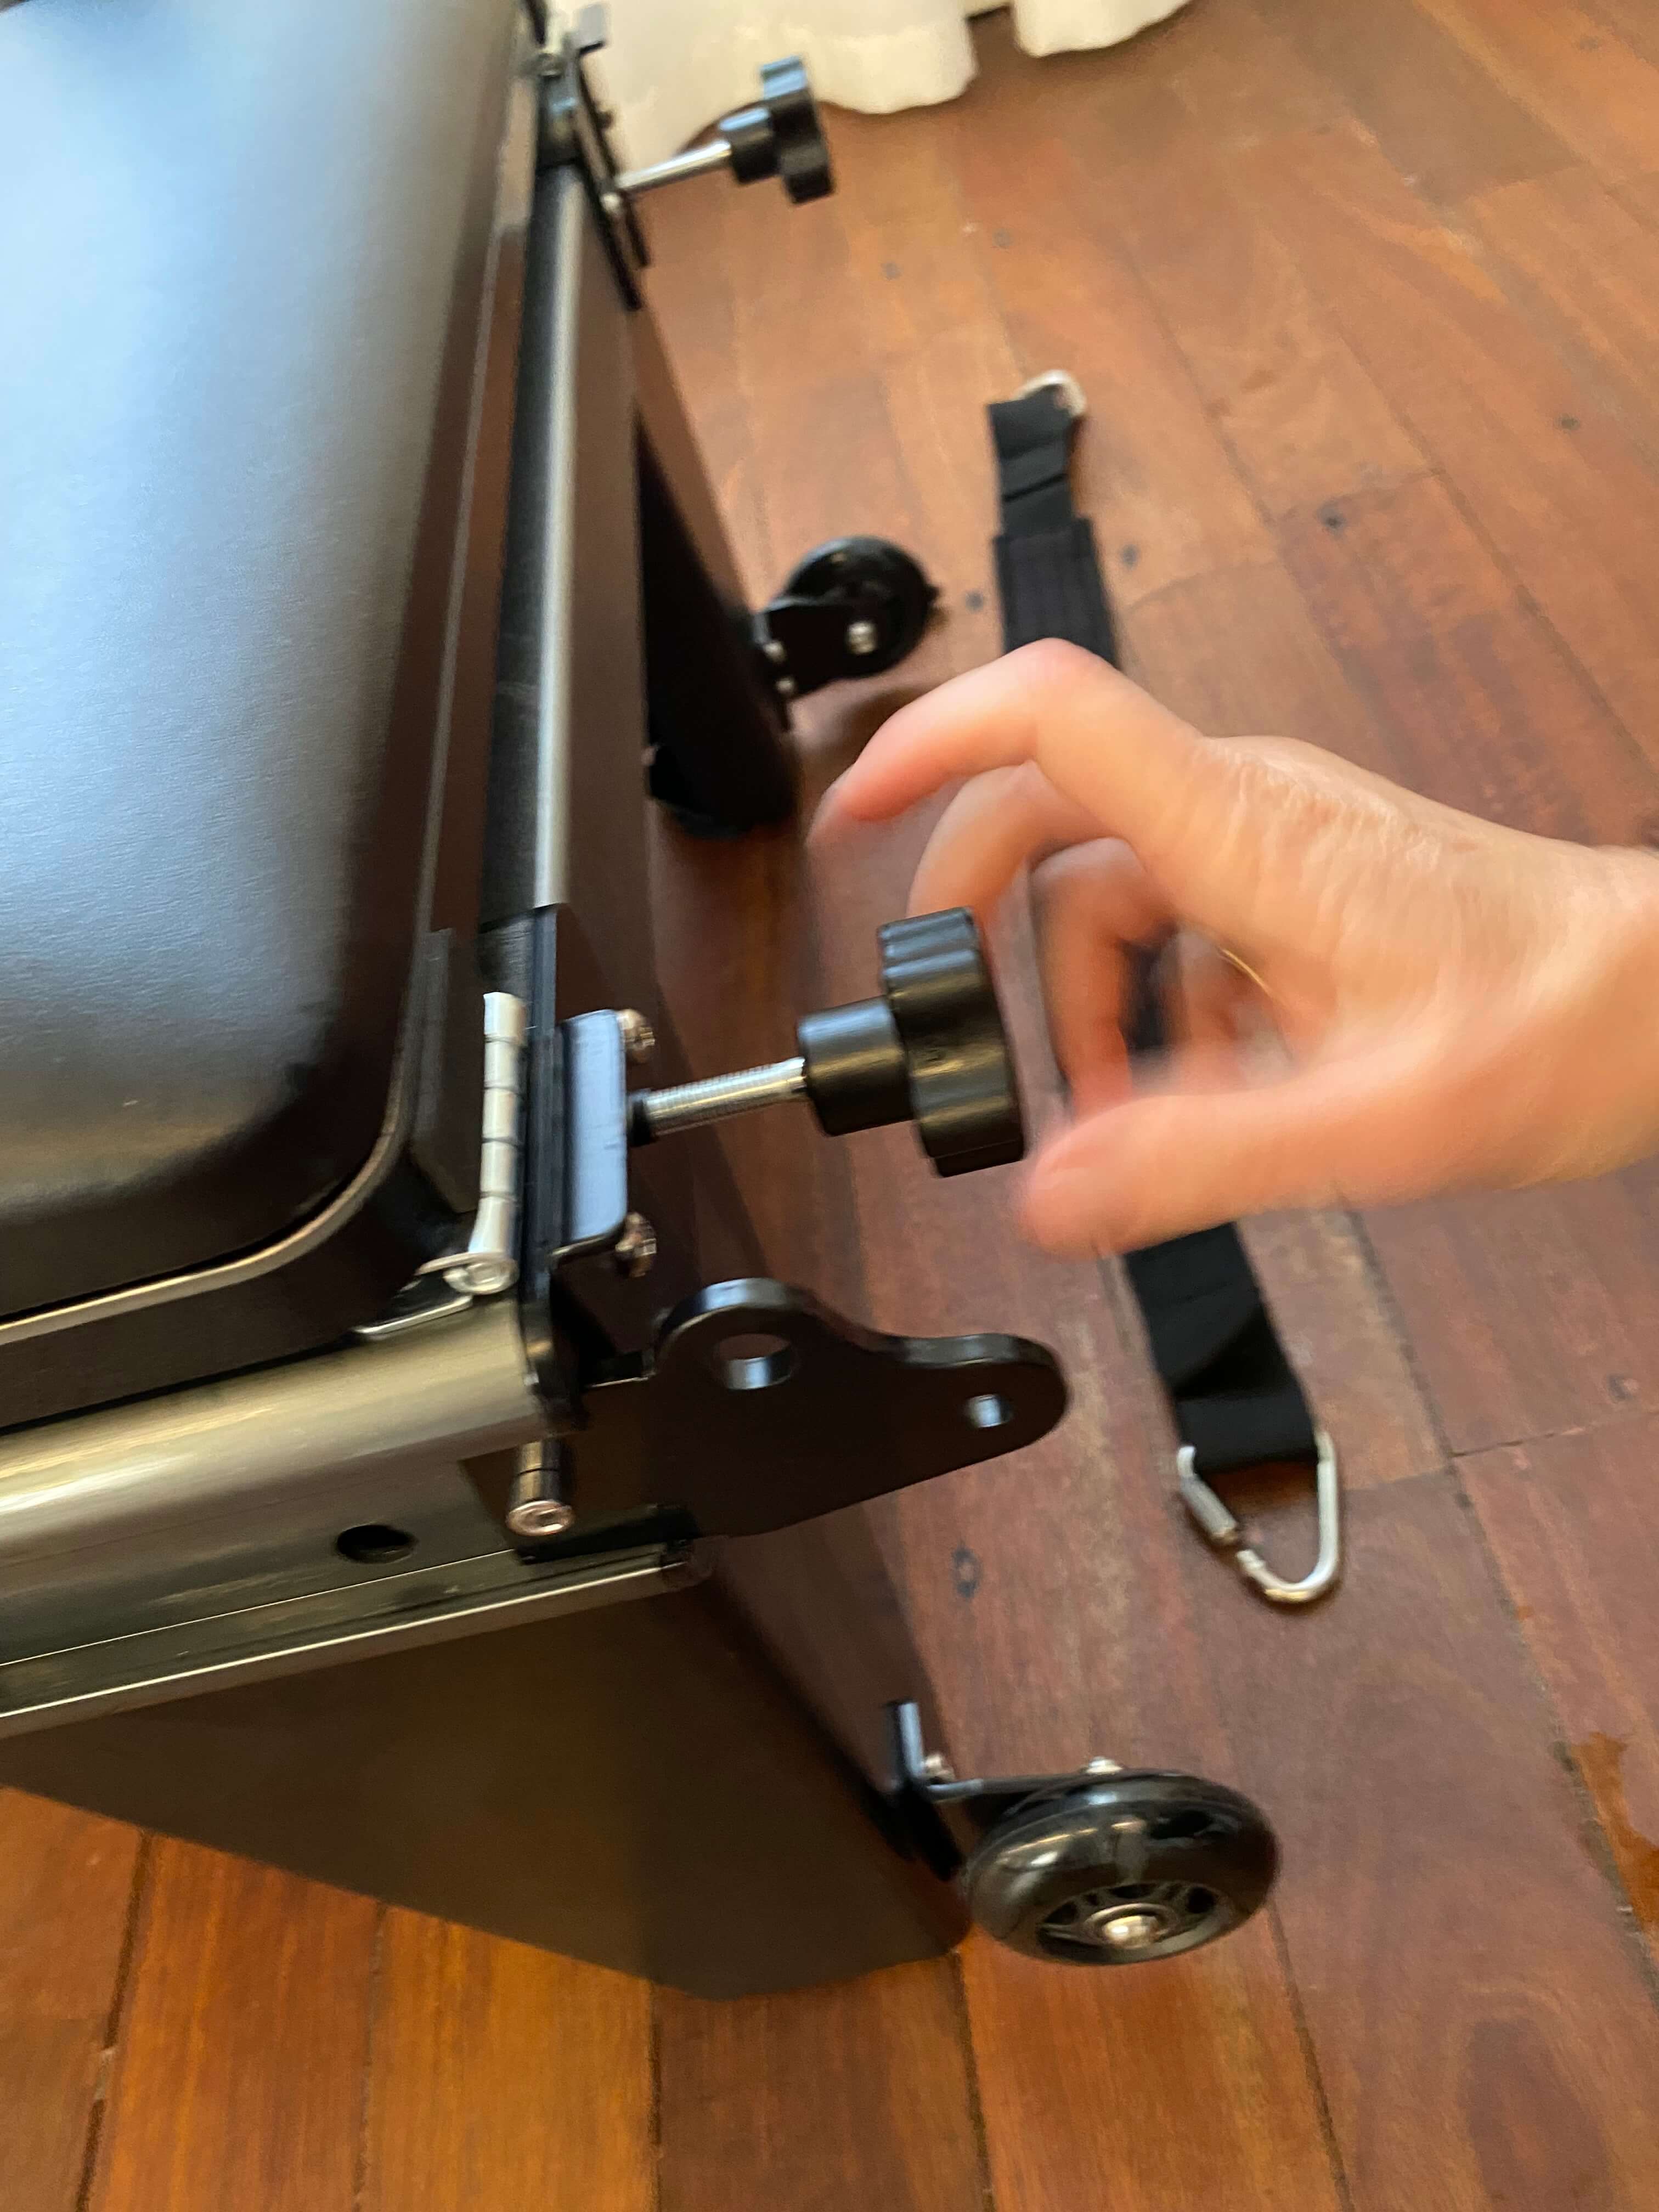
Reattach the end plate
Reattach the metal end plate you removed in Step 5. Tighten the large plastic screws by hand until firm.
Attach the foot strap
Attach the foot strap to the end plate. Thread it through the bottom hole (not the top) and tighten securely.
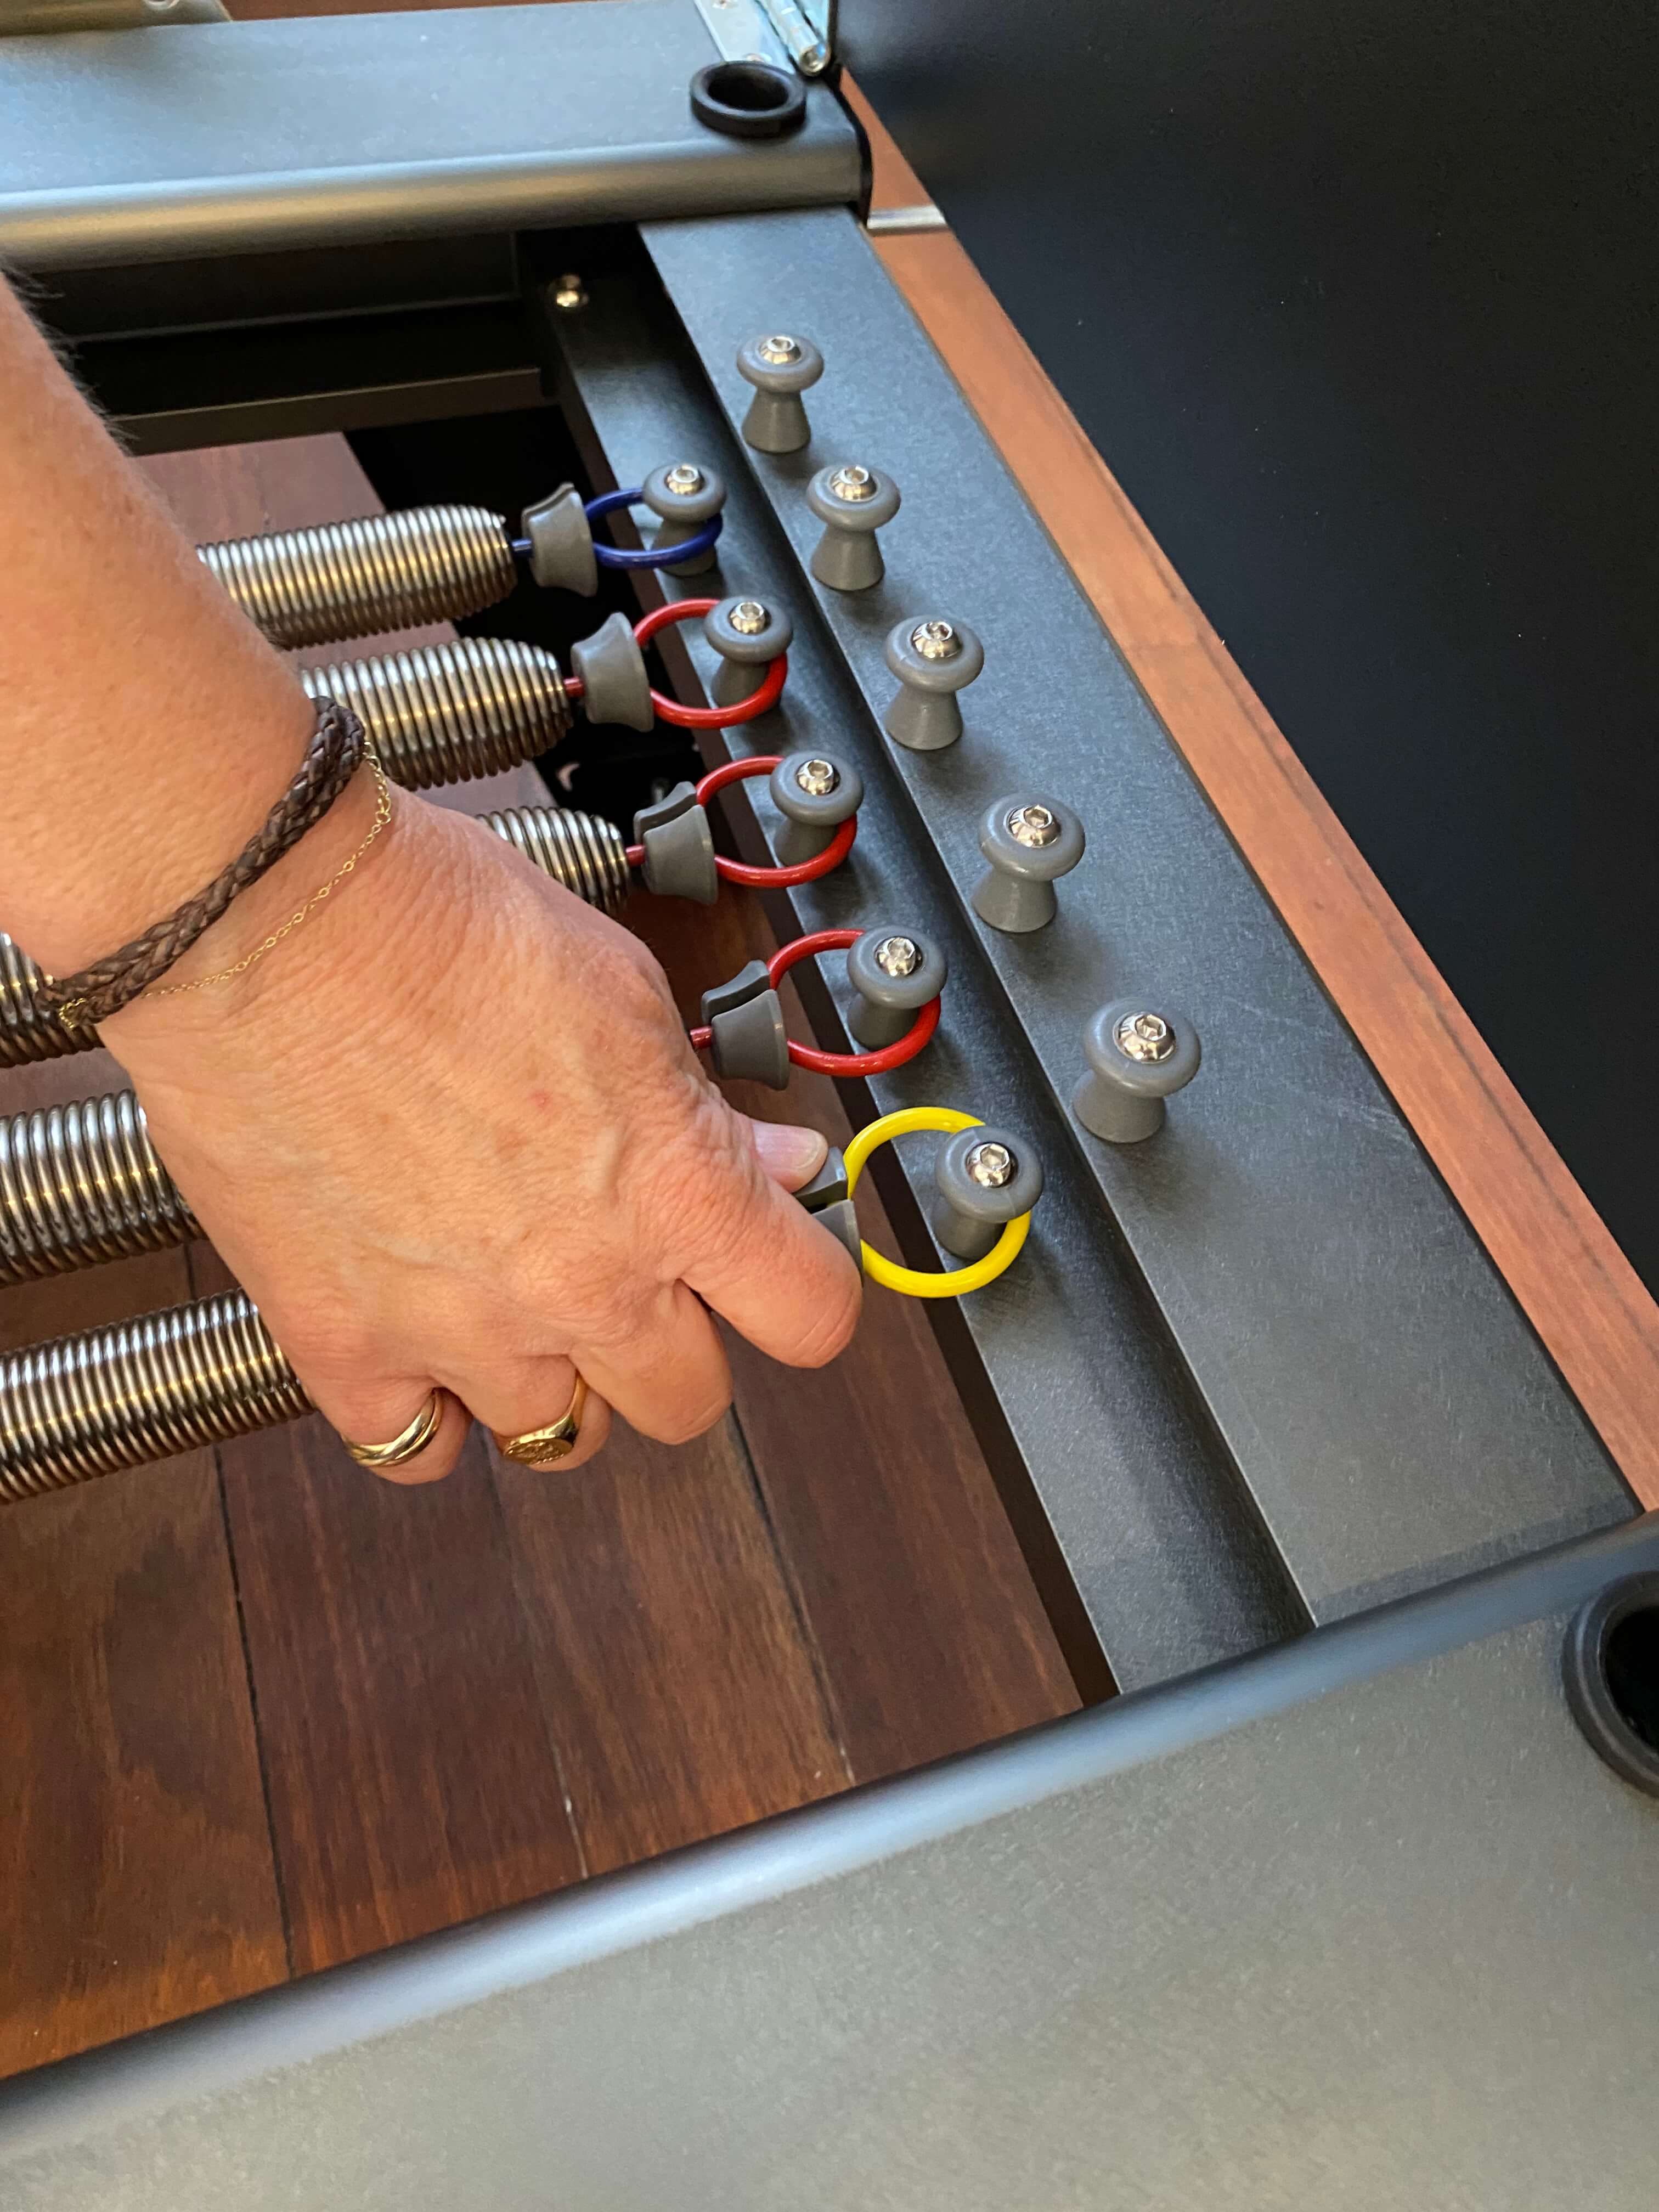
Attach the springs
Remove any foam packing from under the carriage, then attach all springs. Each spring hooks onto the metal posts on the carriage and the spring bar. You should have a full set of colour-coded springs.
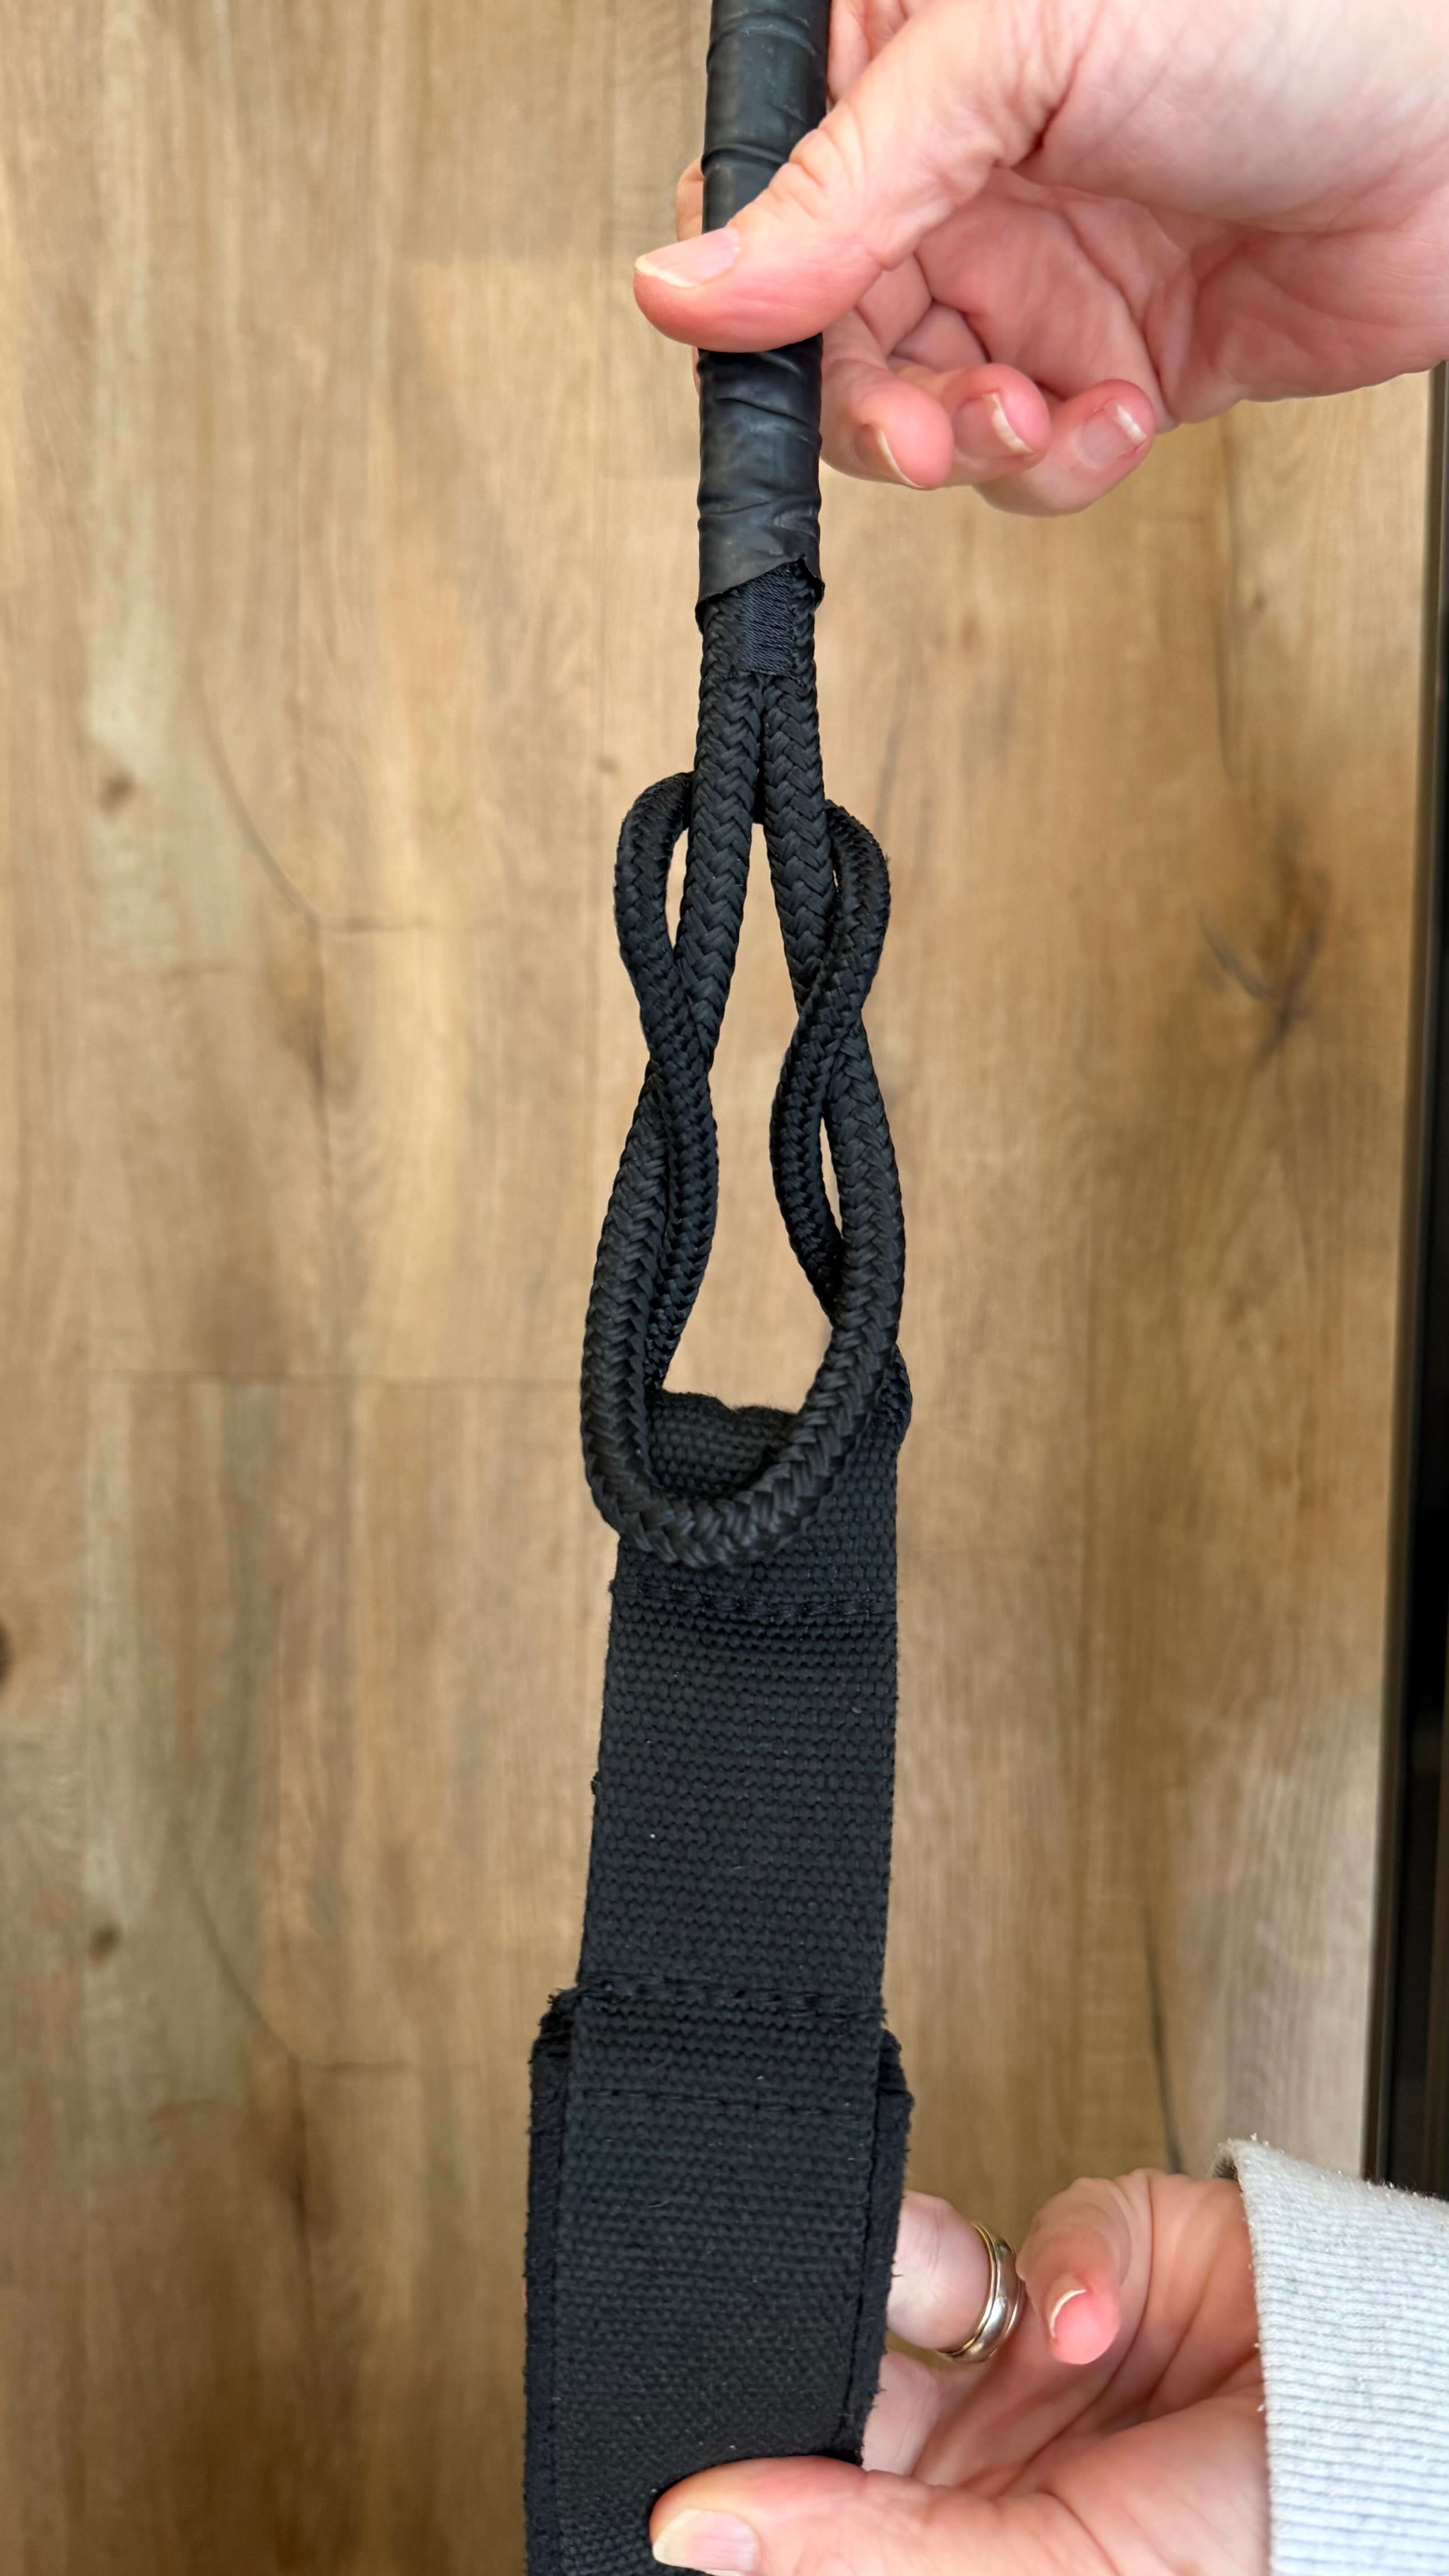
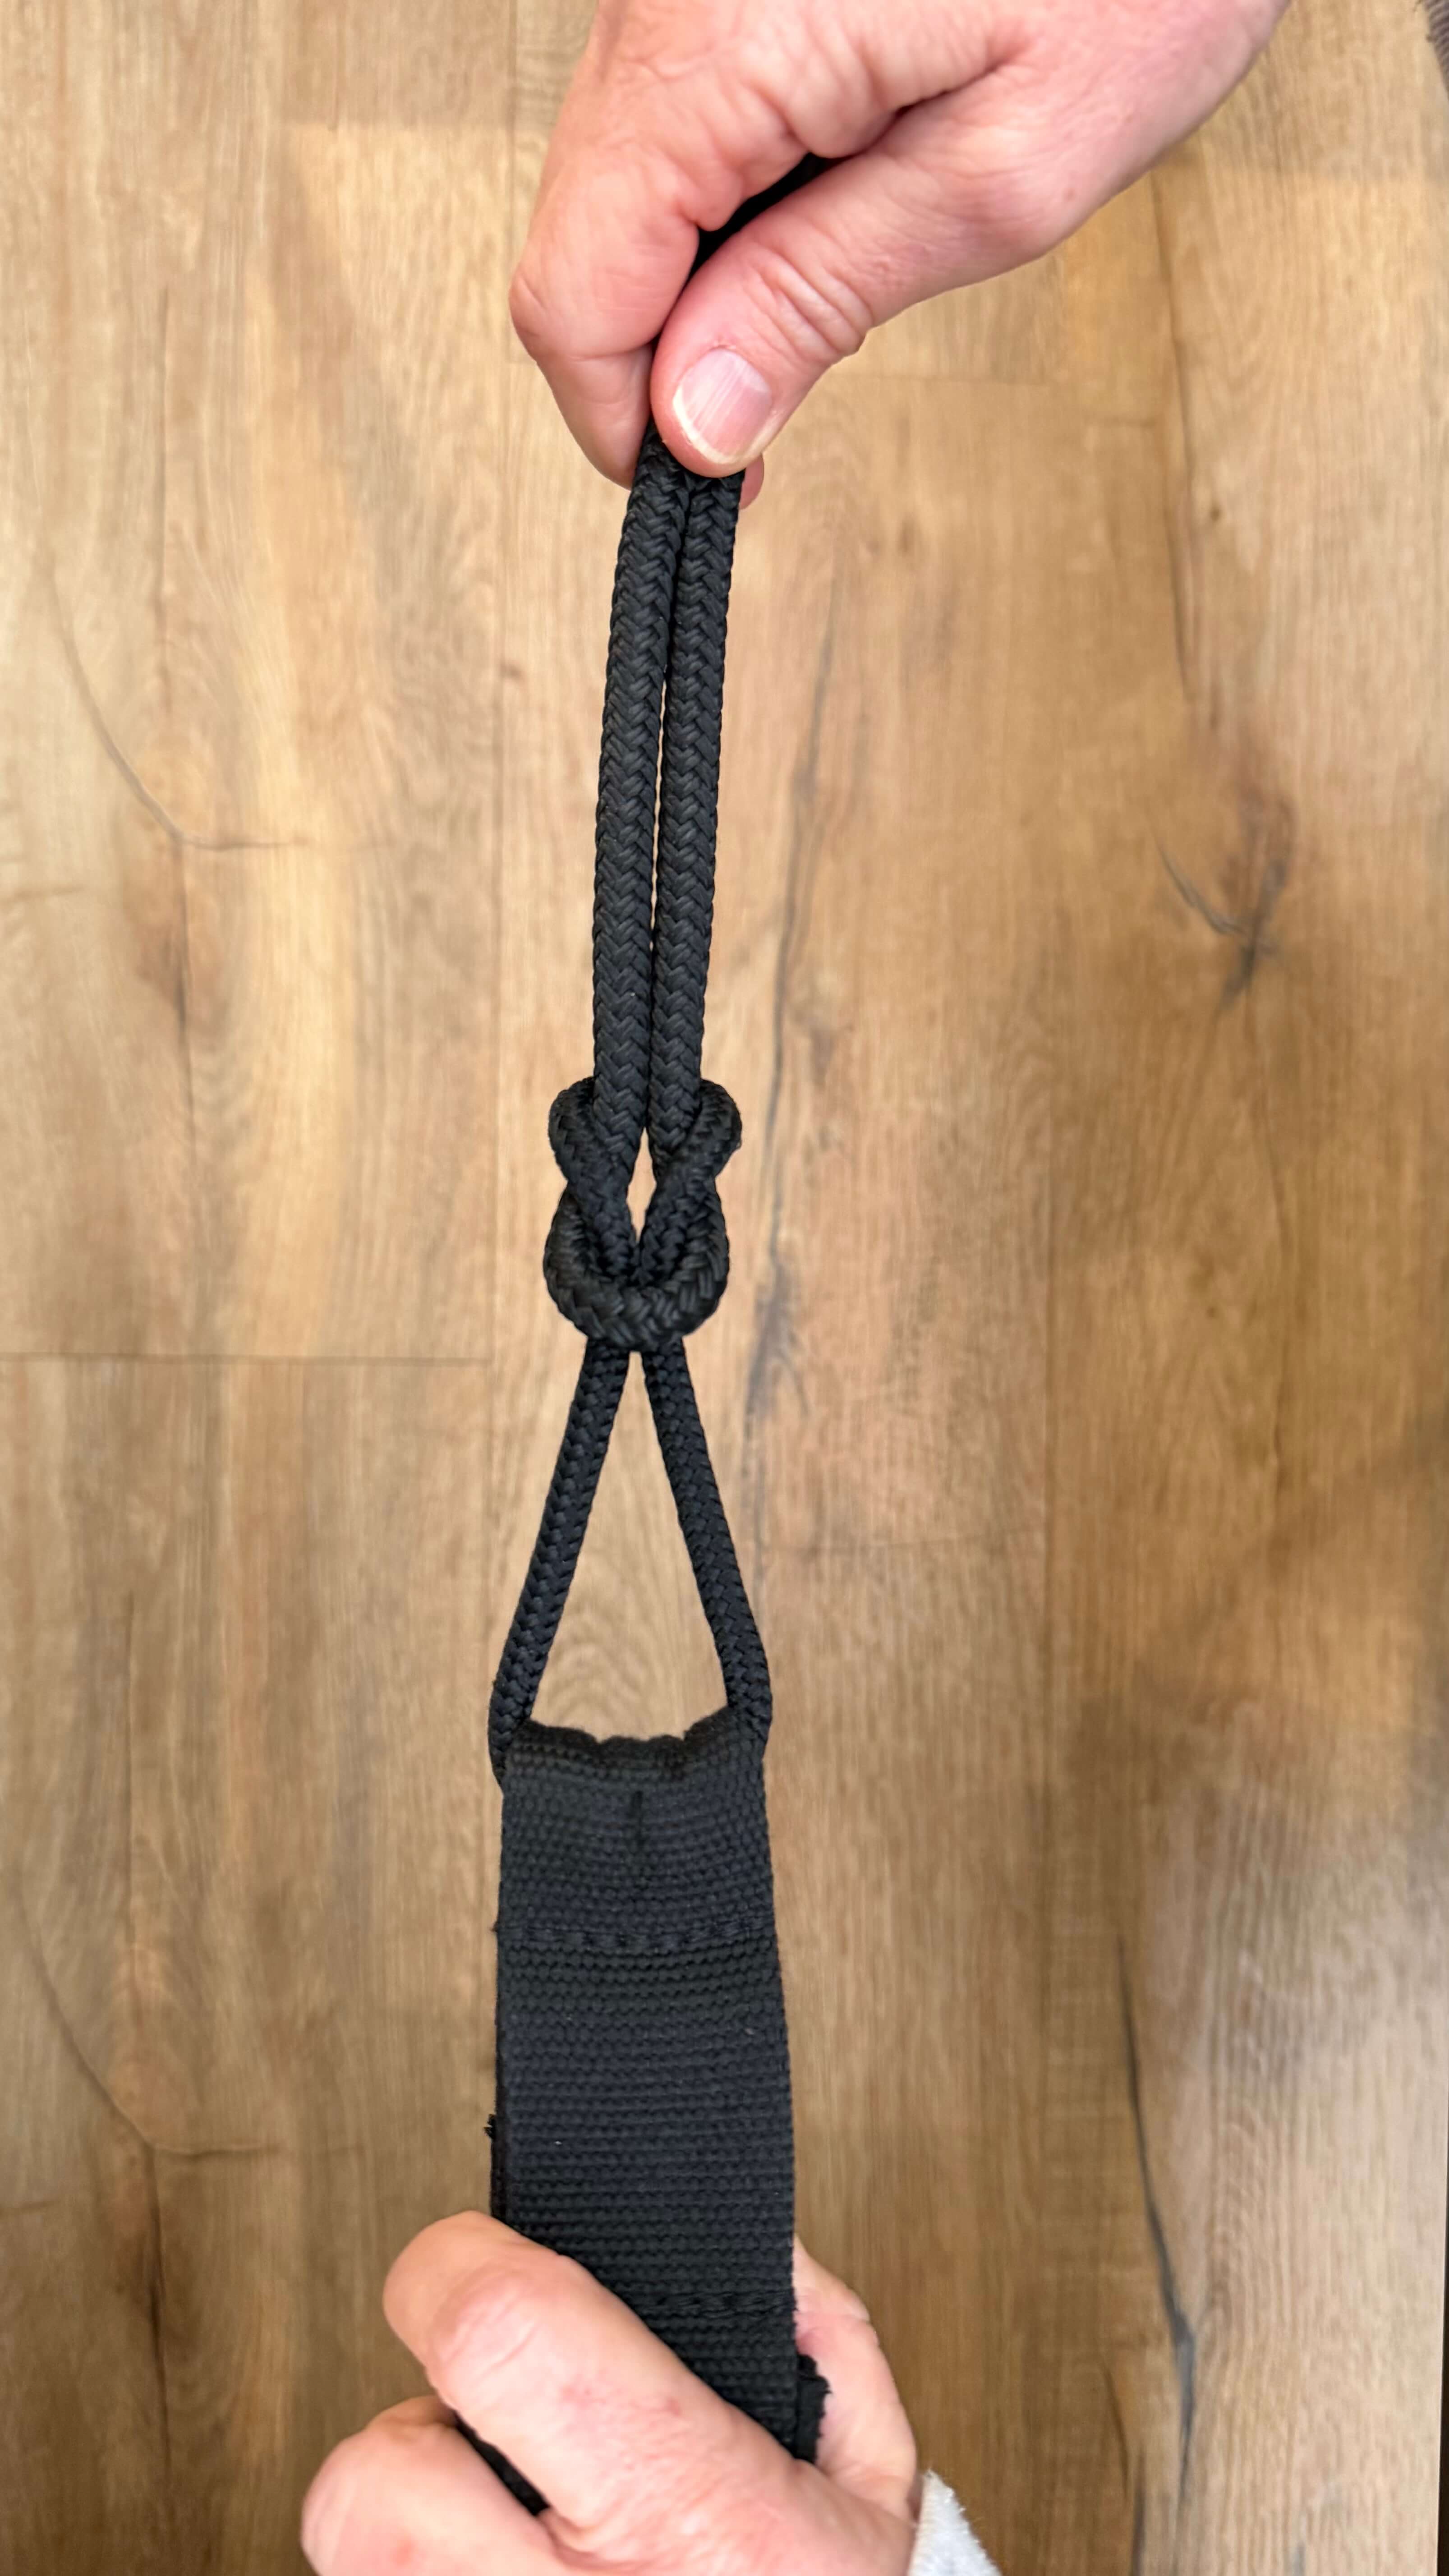
Attach the straps to the ropes
The straps and ropes both have looped ends. Connect these loops together to secure the straps to the ropes.
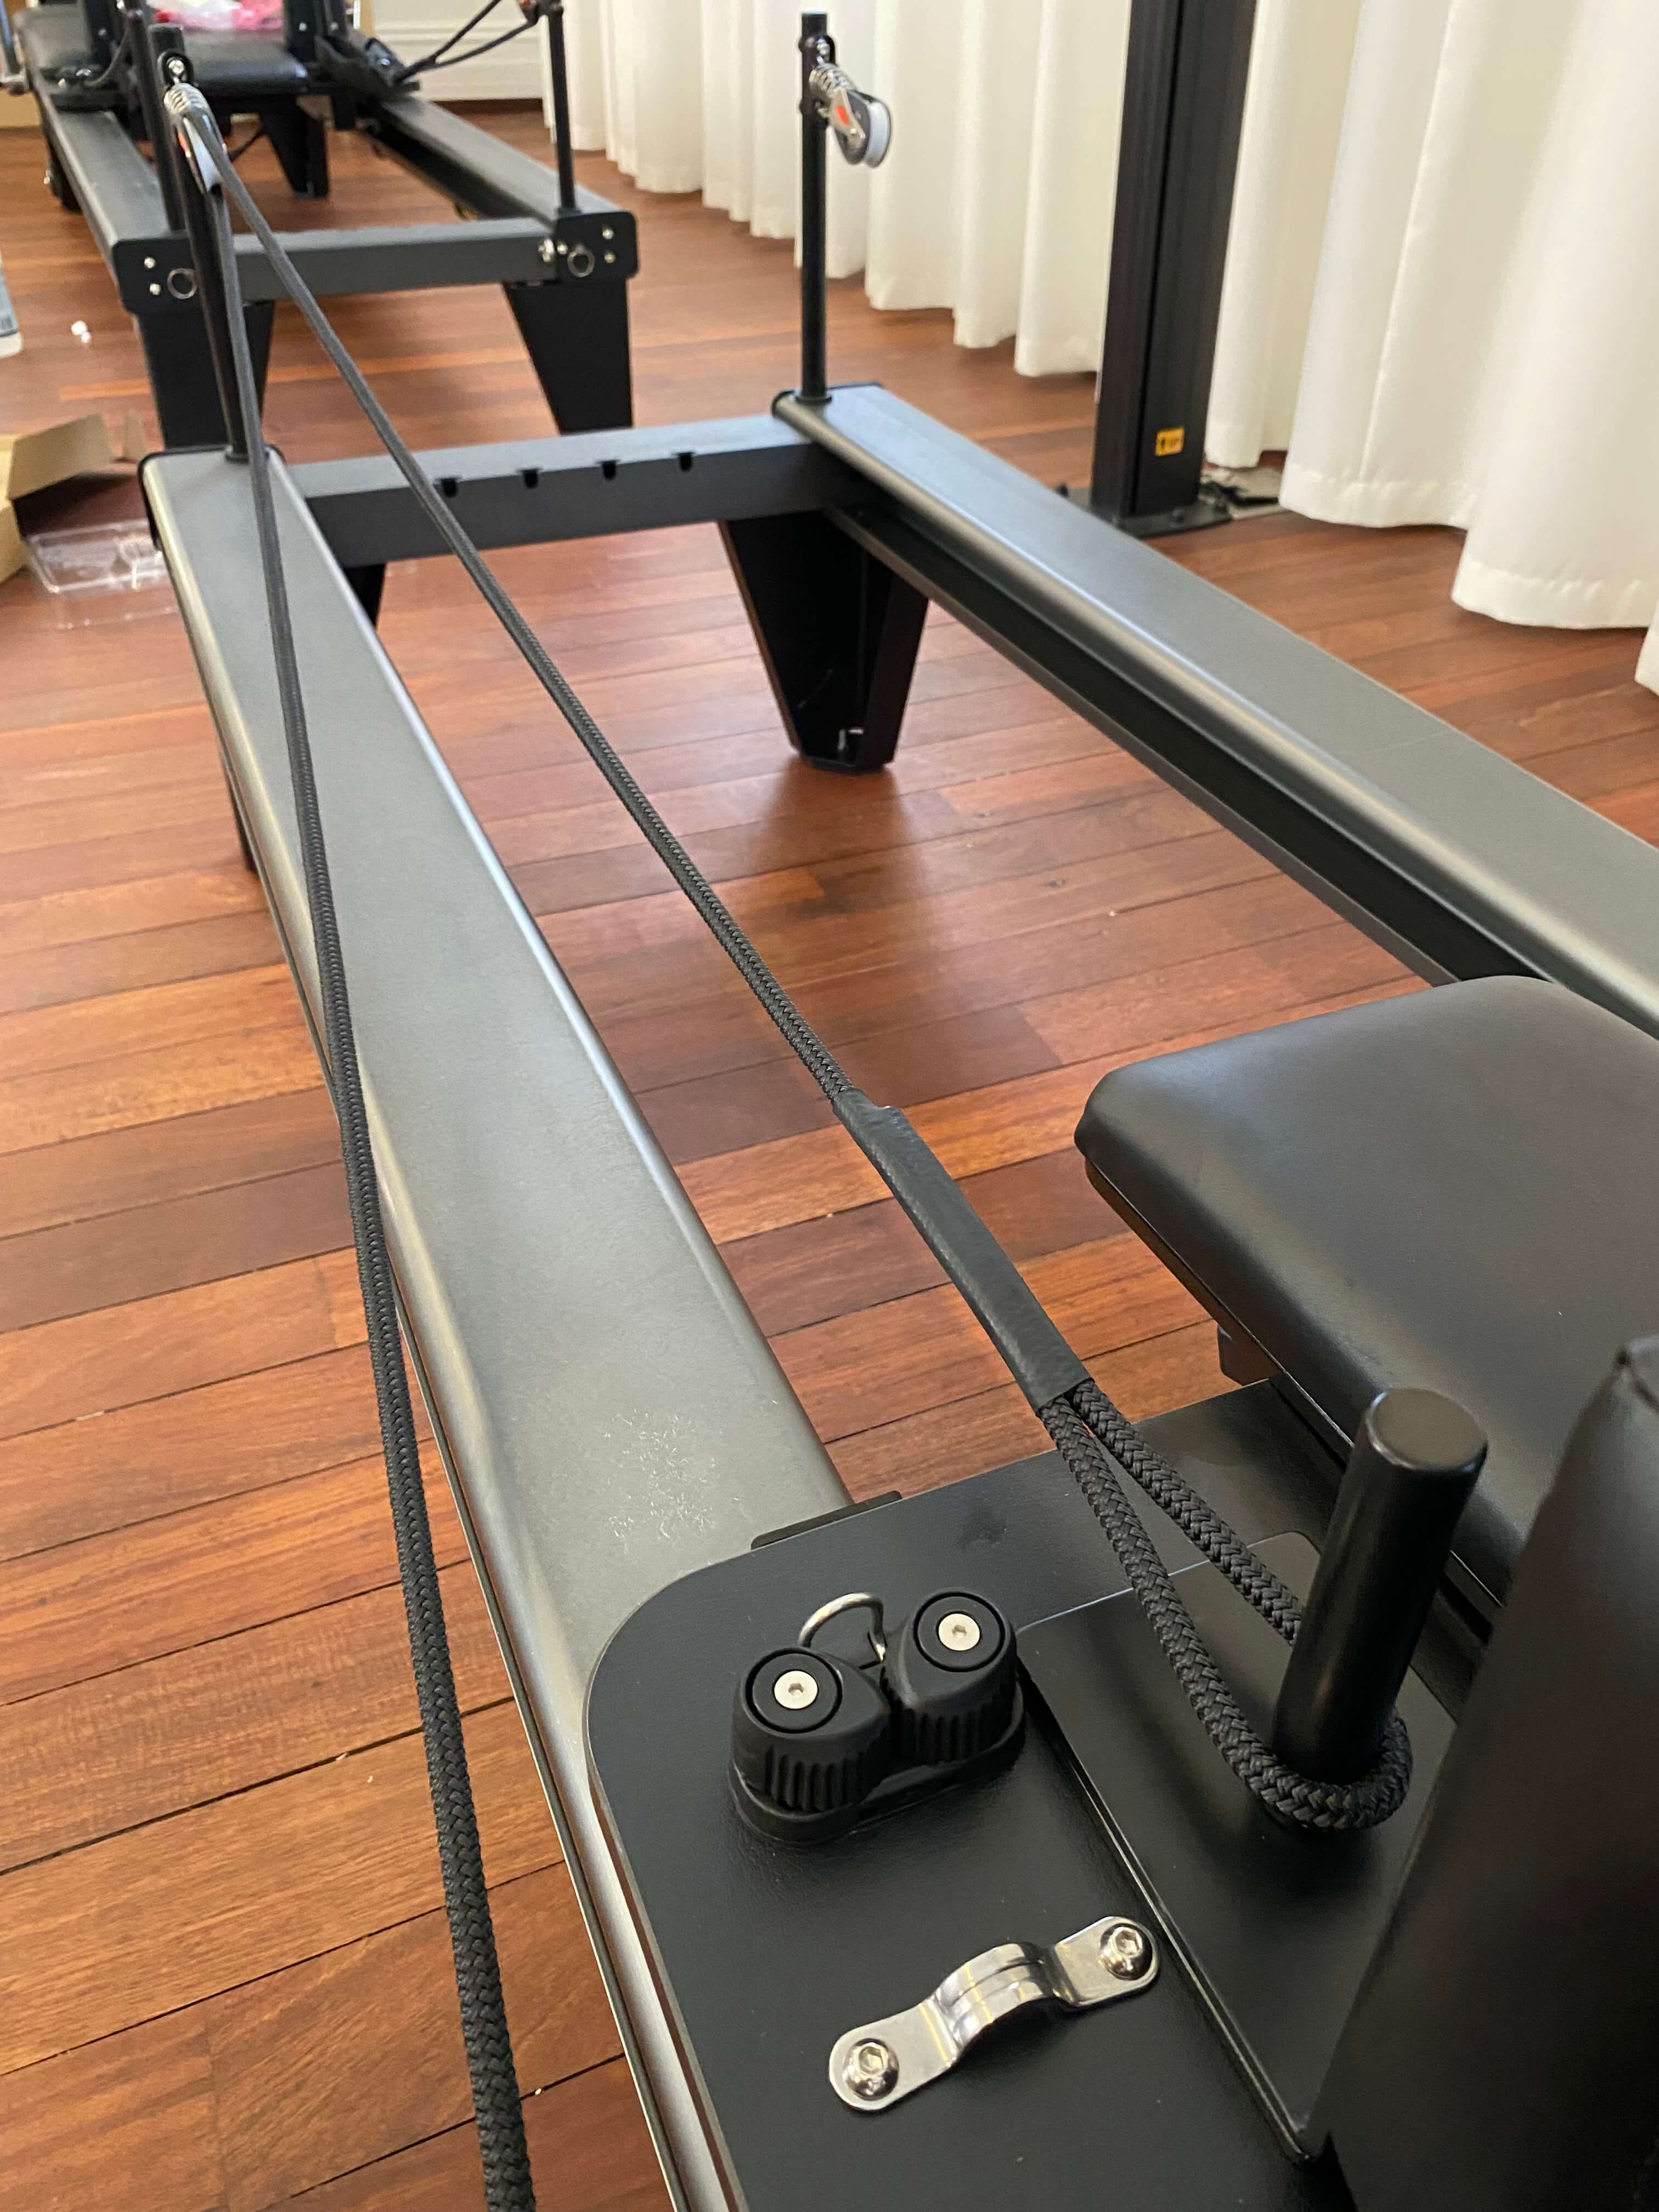
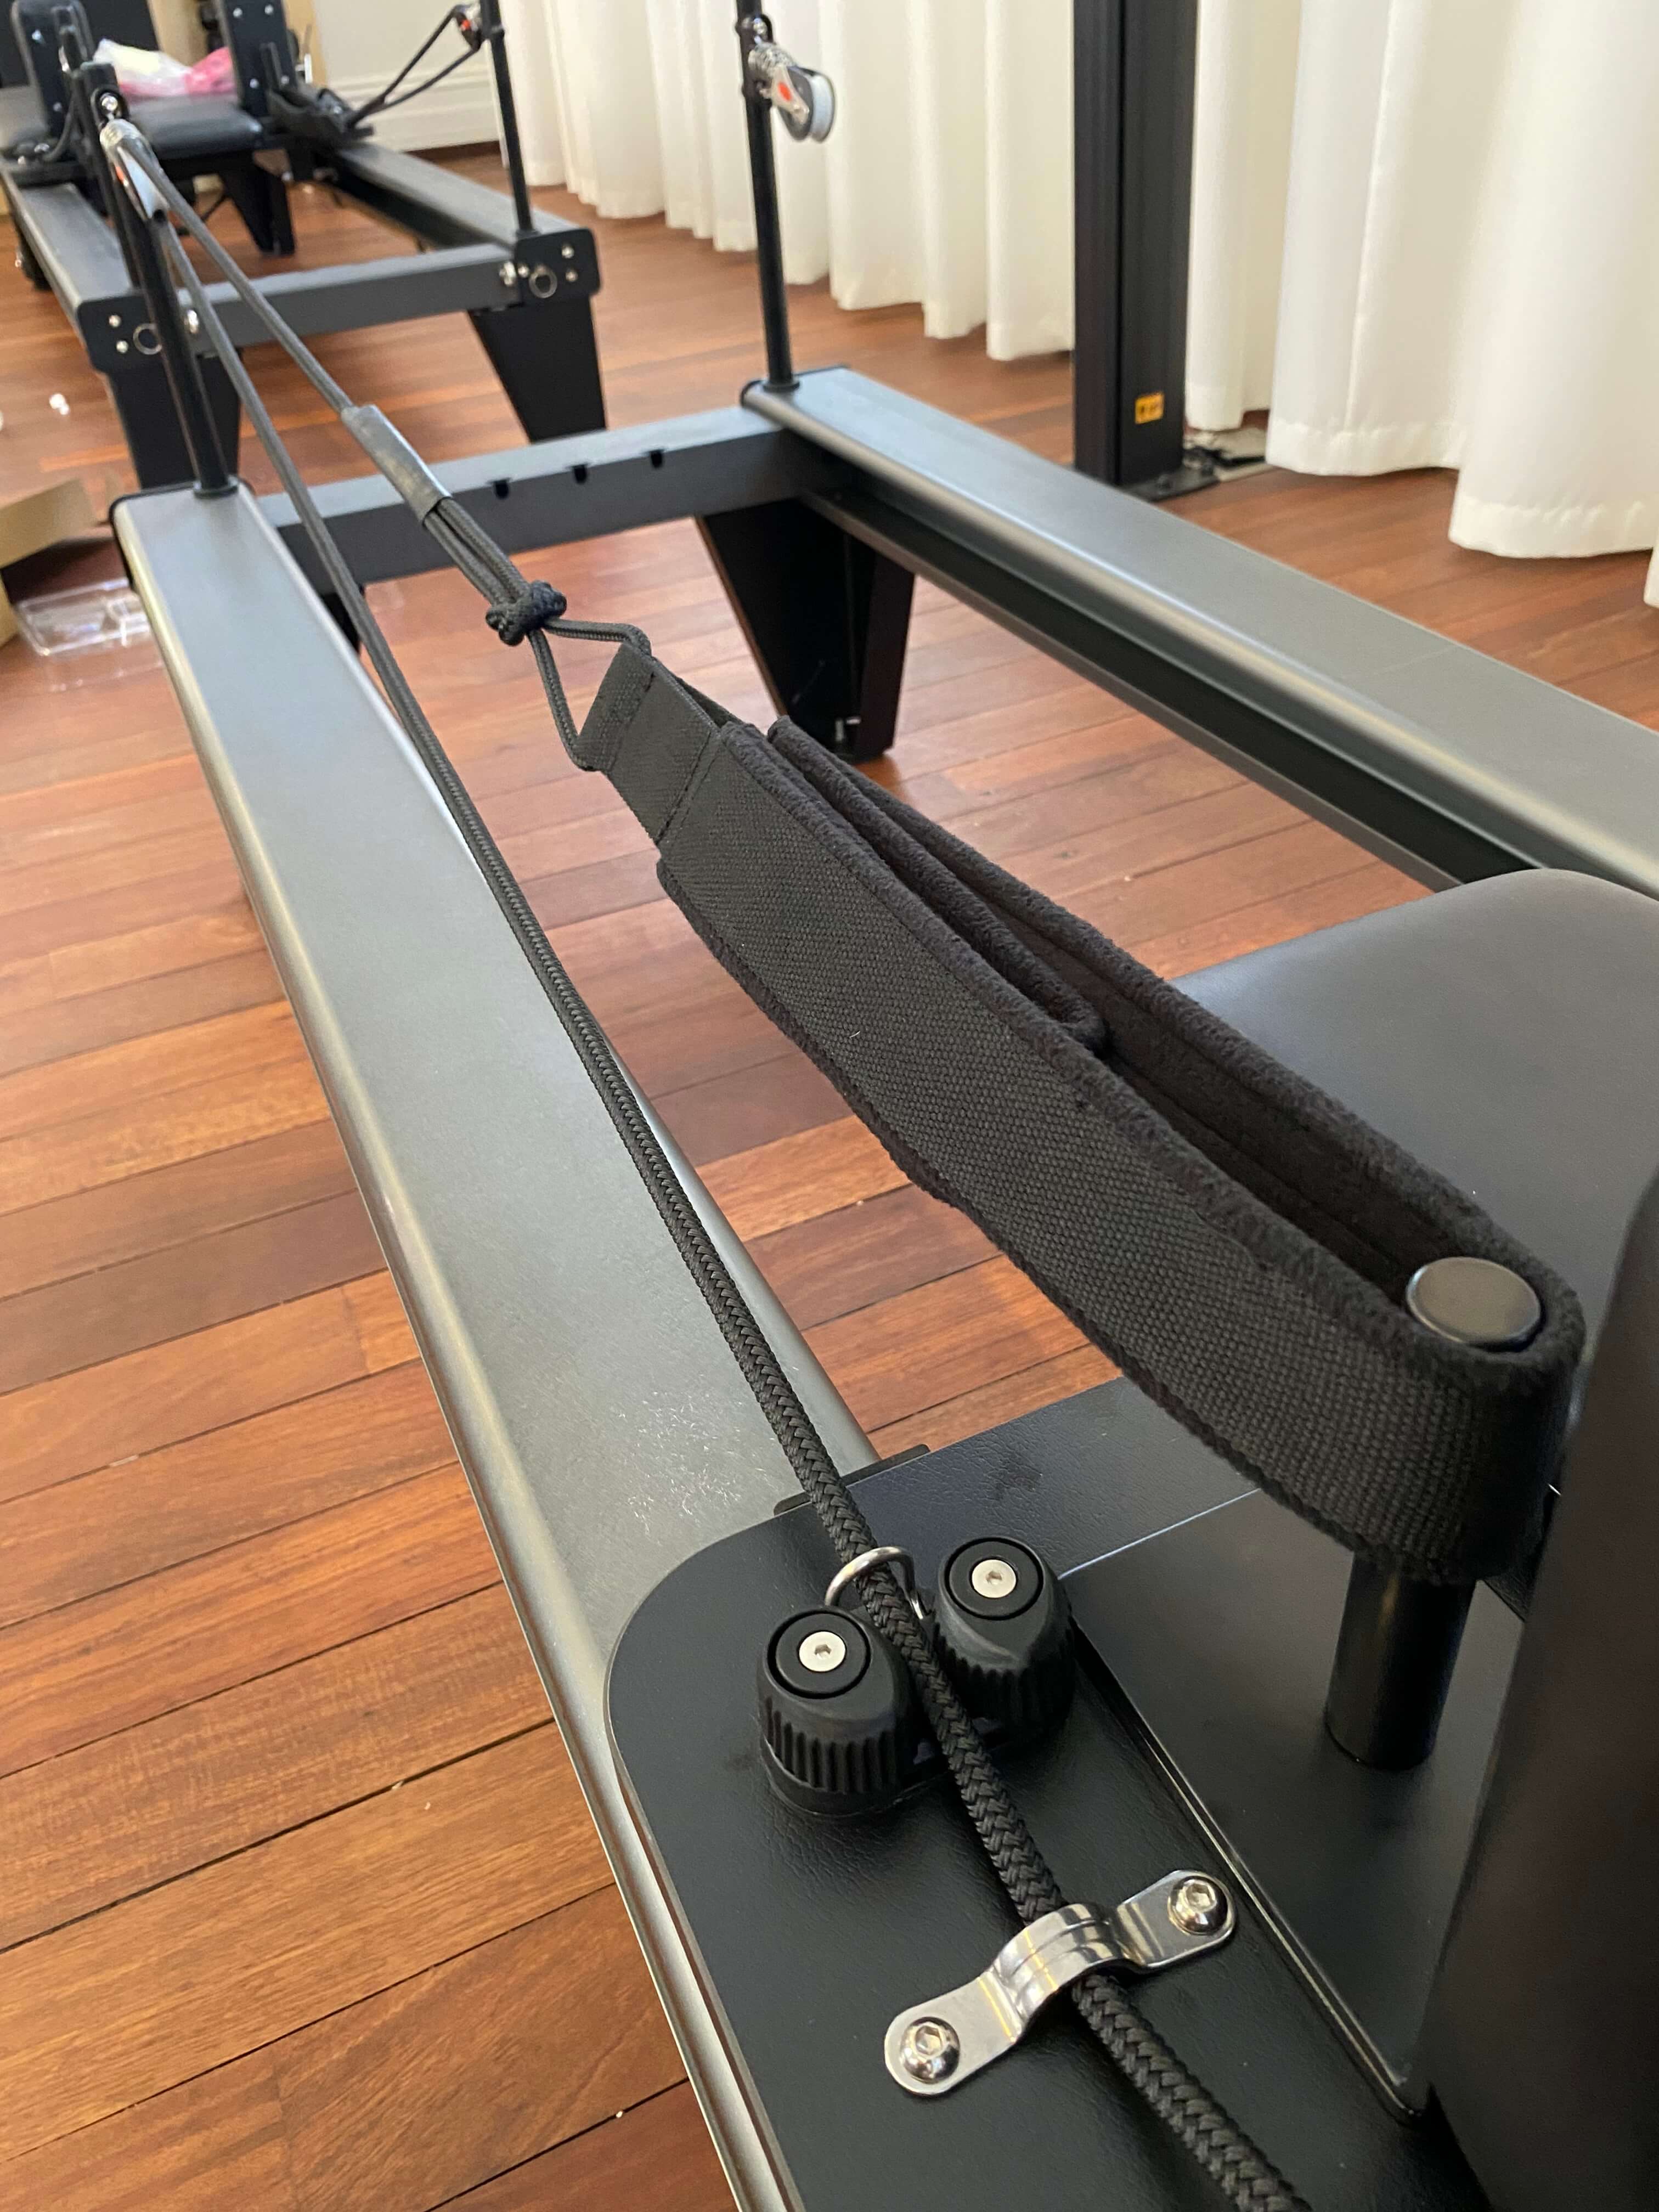
Thread the ropes
Loop the long handle over the shoulder block pole, then pull the ropes through the pulleys on the rear poles, and then evenly back through the locking toggles. Make sure both sides are even so the straps end up the same length.
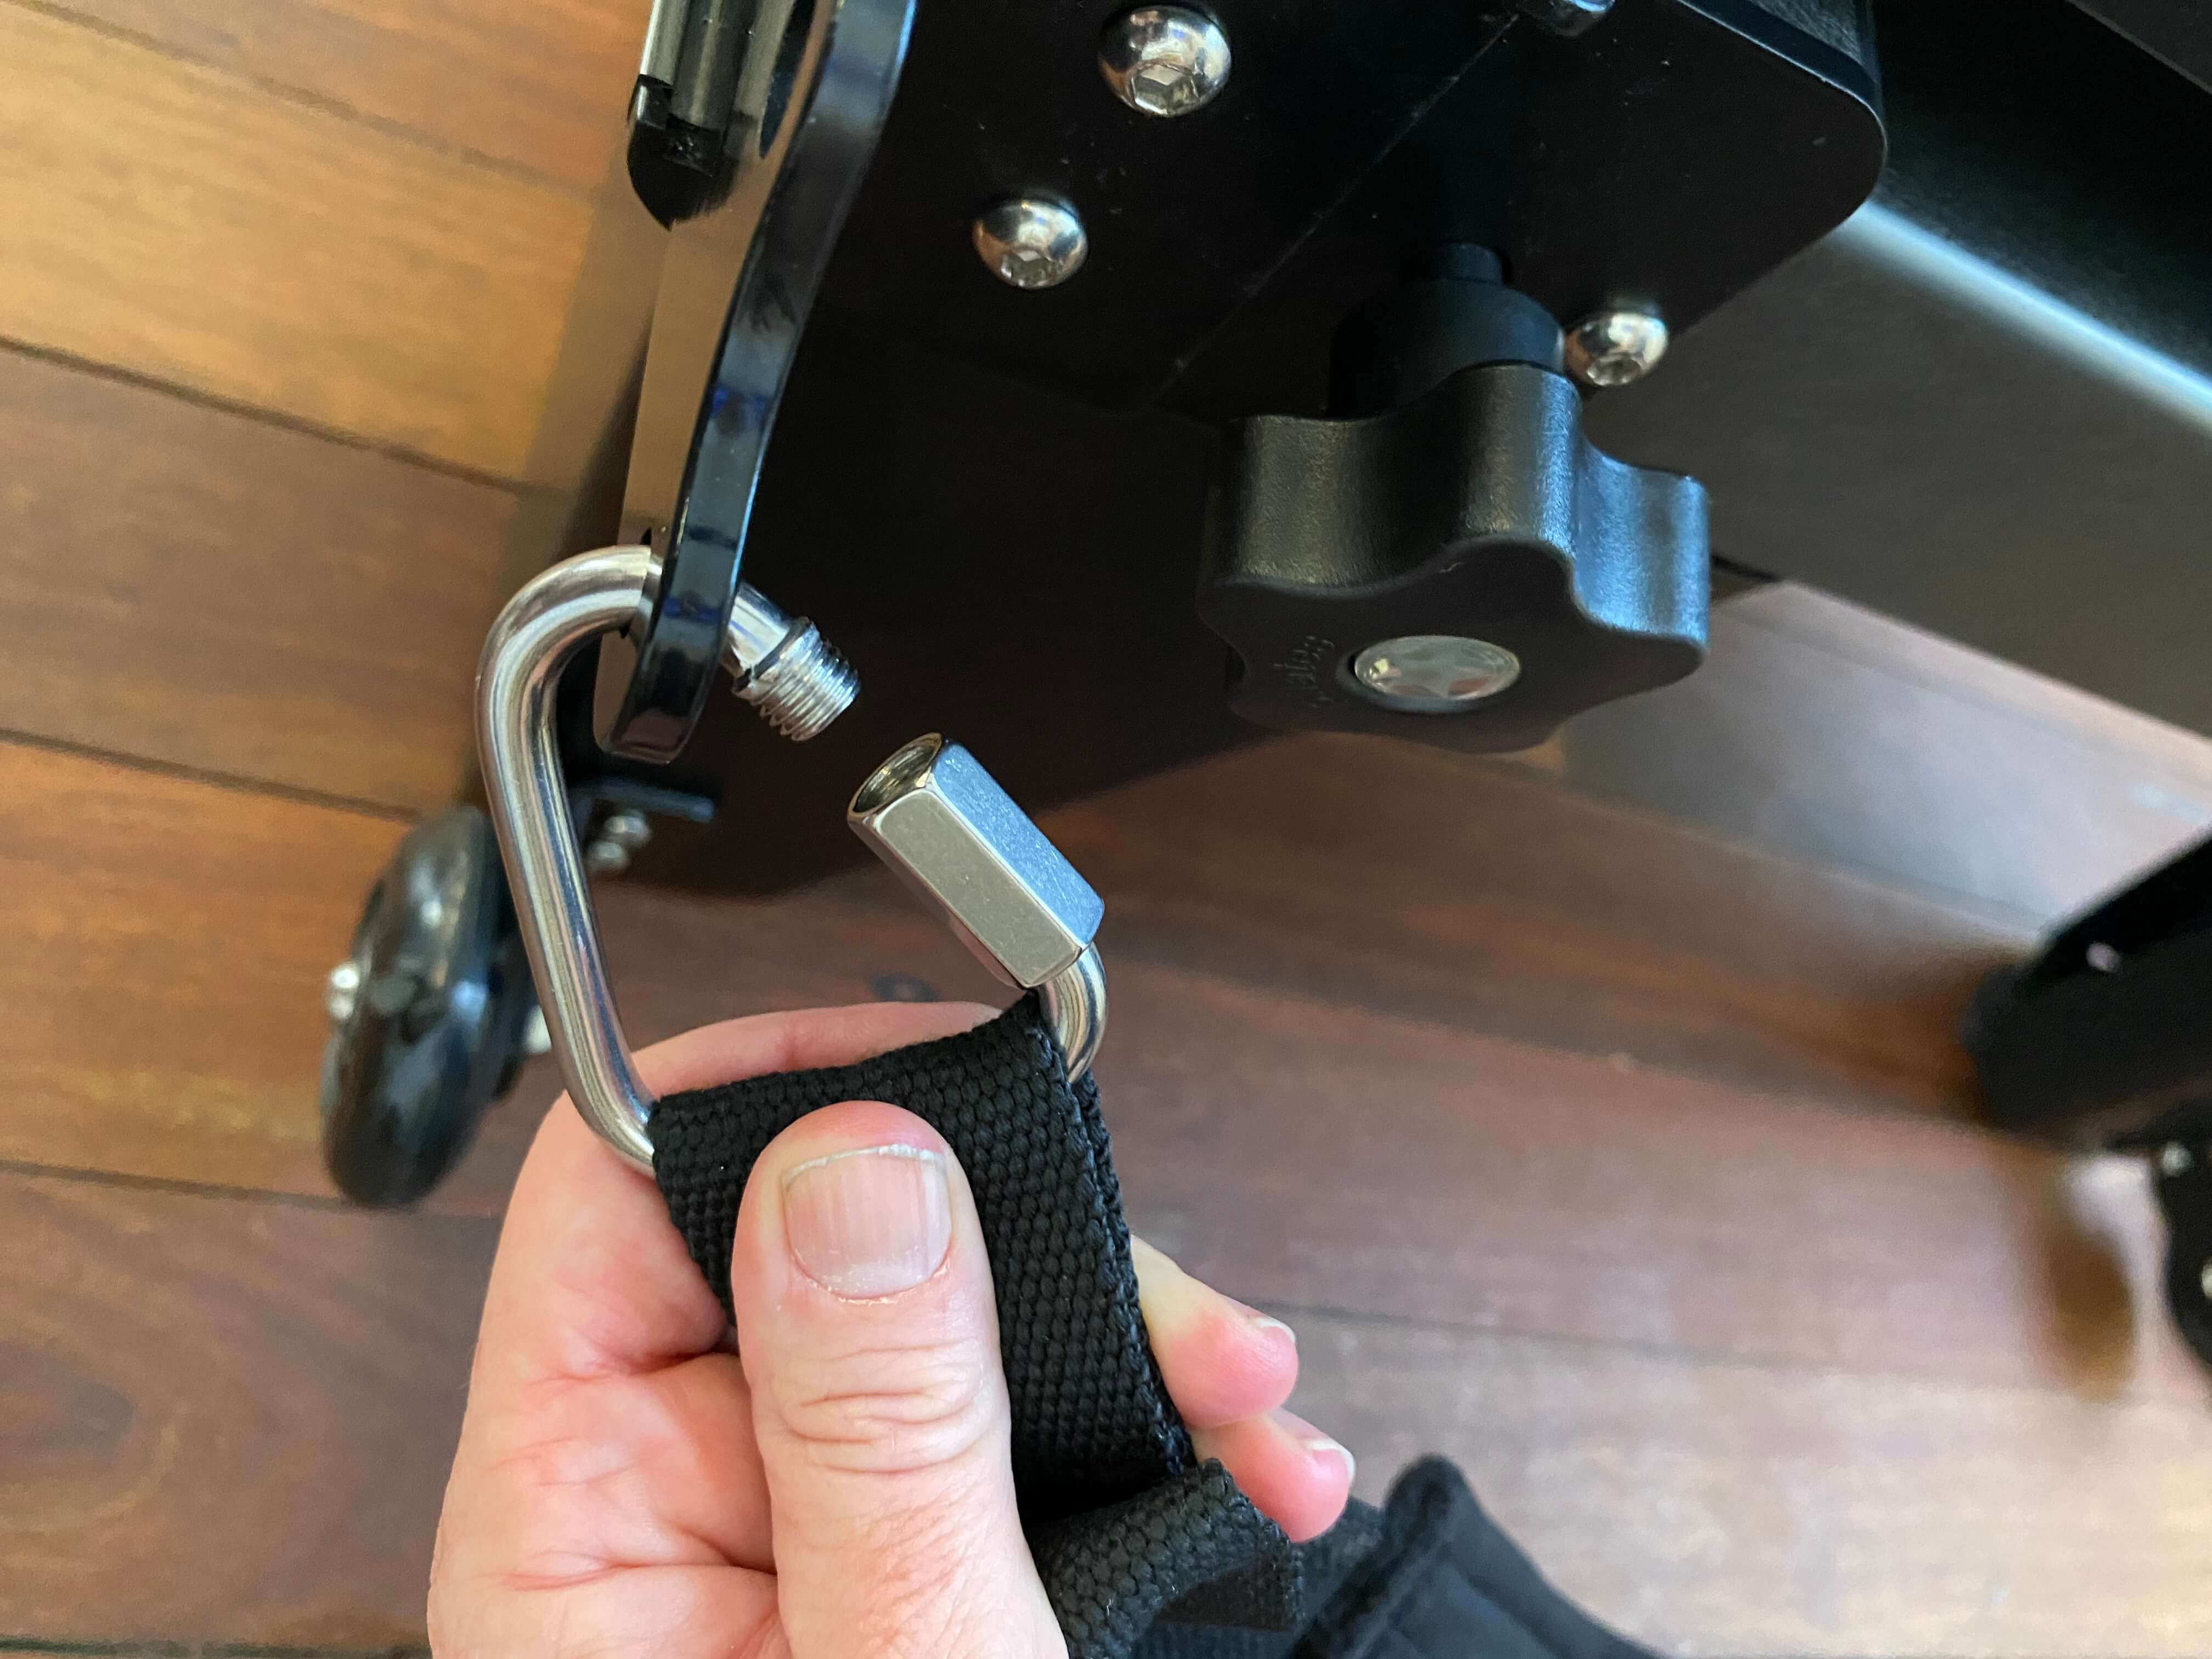
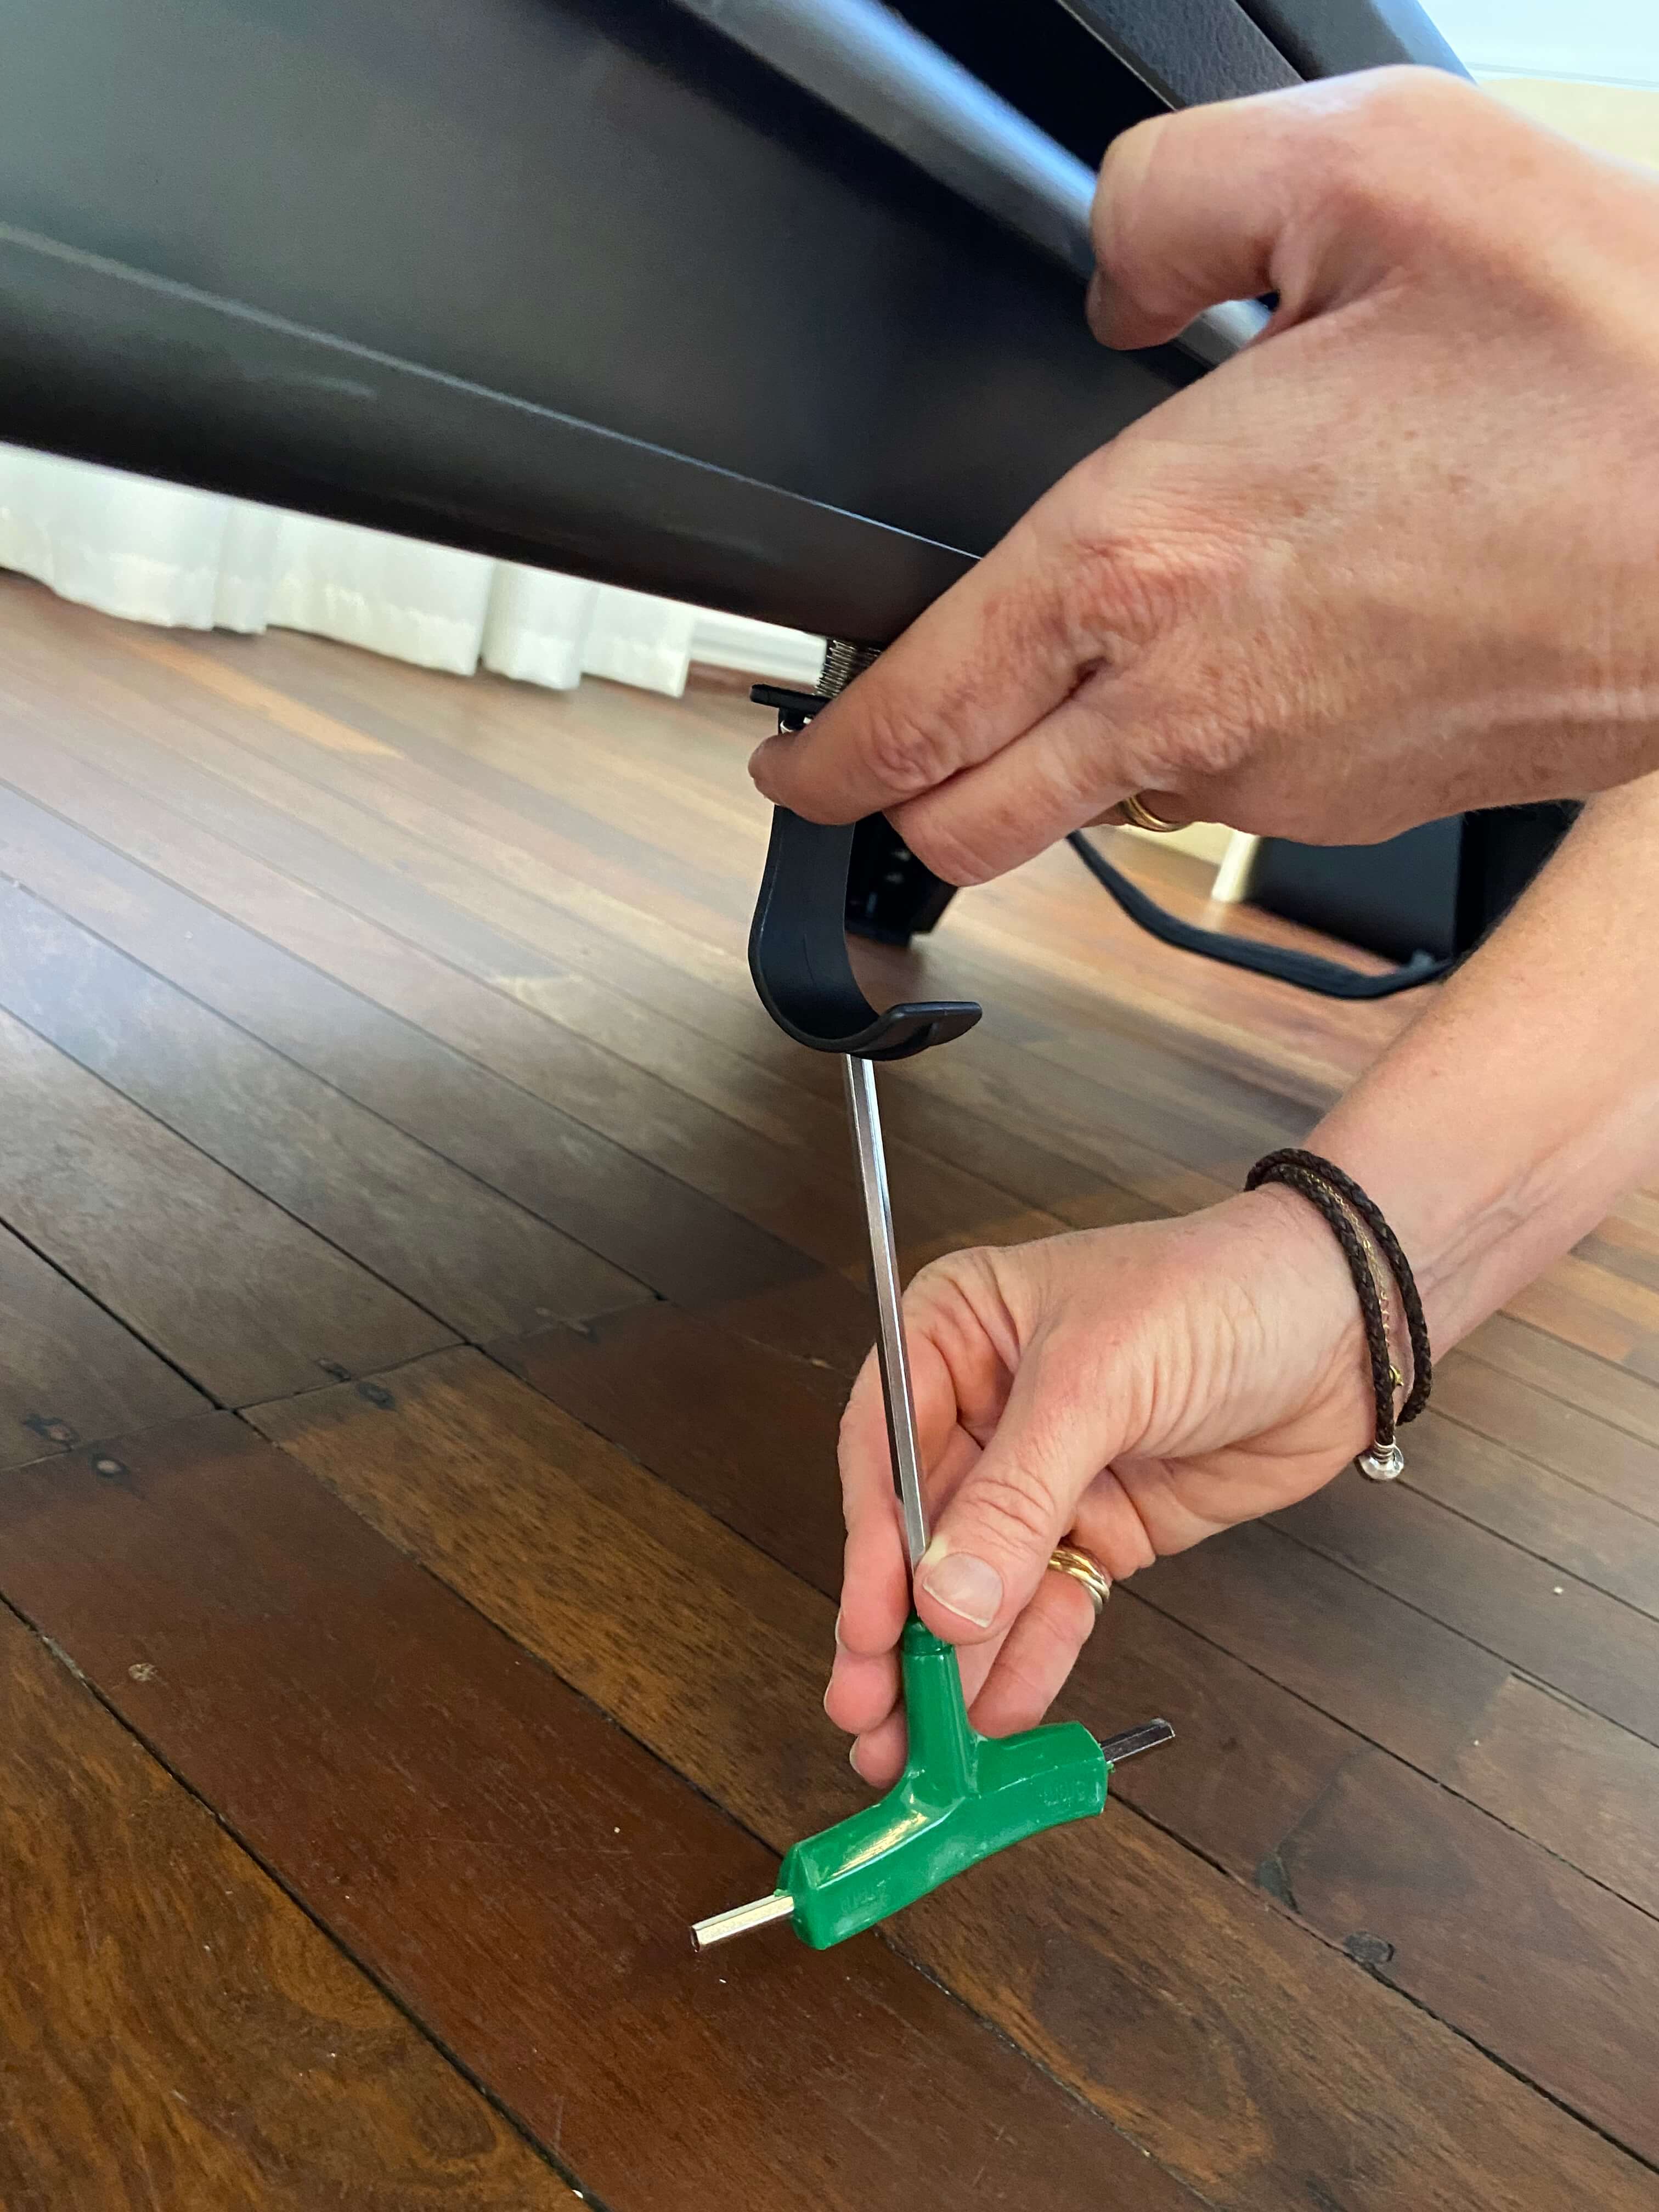
Attach the hooks
Attach both hooks to the underside of the reformer. You’ll find pre-drilled holes on the right side. These hooks are used to store the wooden pole when not in use.
Final check
Go through the entire reformer and check that all screws and bolts are tight. Pay special attention to the feet (so it sits level) and the handle. Give the carriage a few test slides to make sure everything runs smoothly.

You’re all set!
Your Pronto Home Reformer is fully assembled and ready to go. Look for your welcome email, subject line “Welcome to Pronto Pilates On Demand”, tap the sign-in link, pick a class, and start your first home workout.
Need help?
If you run into any issues during assembly, reach out to our team at team@support.prontopilates.com.au and we’ll get you sorted.